A brief overview of the install process and any obstacles I occurred while installing the HIGHSPEEDIDO Laminated V5 IPS & Case replacement for GBA SP.
HIGHSPEEDIDO Laminated V5 IPS Review Video
I wasn’t planning to do a video for this and then changed my mind at the last moment, so the lighting and focus are not quite as good as usual.
My GBA SP I bought second hand some time ago has seen some things over the years. It’s quite scratched up and I’ve always wanted to add a screen replacement so it’s easier to see what’s going on.
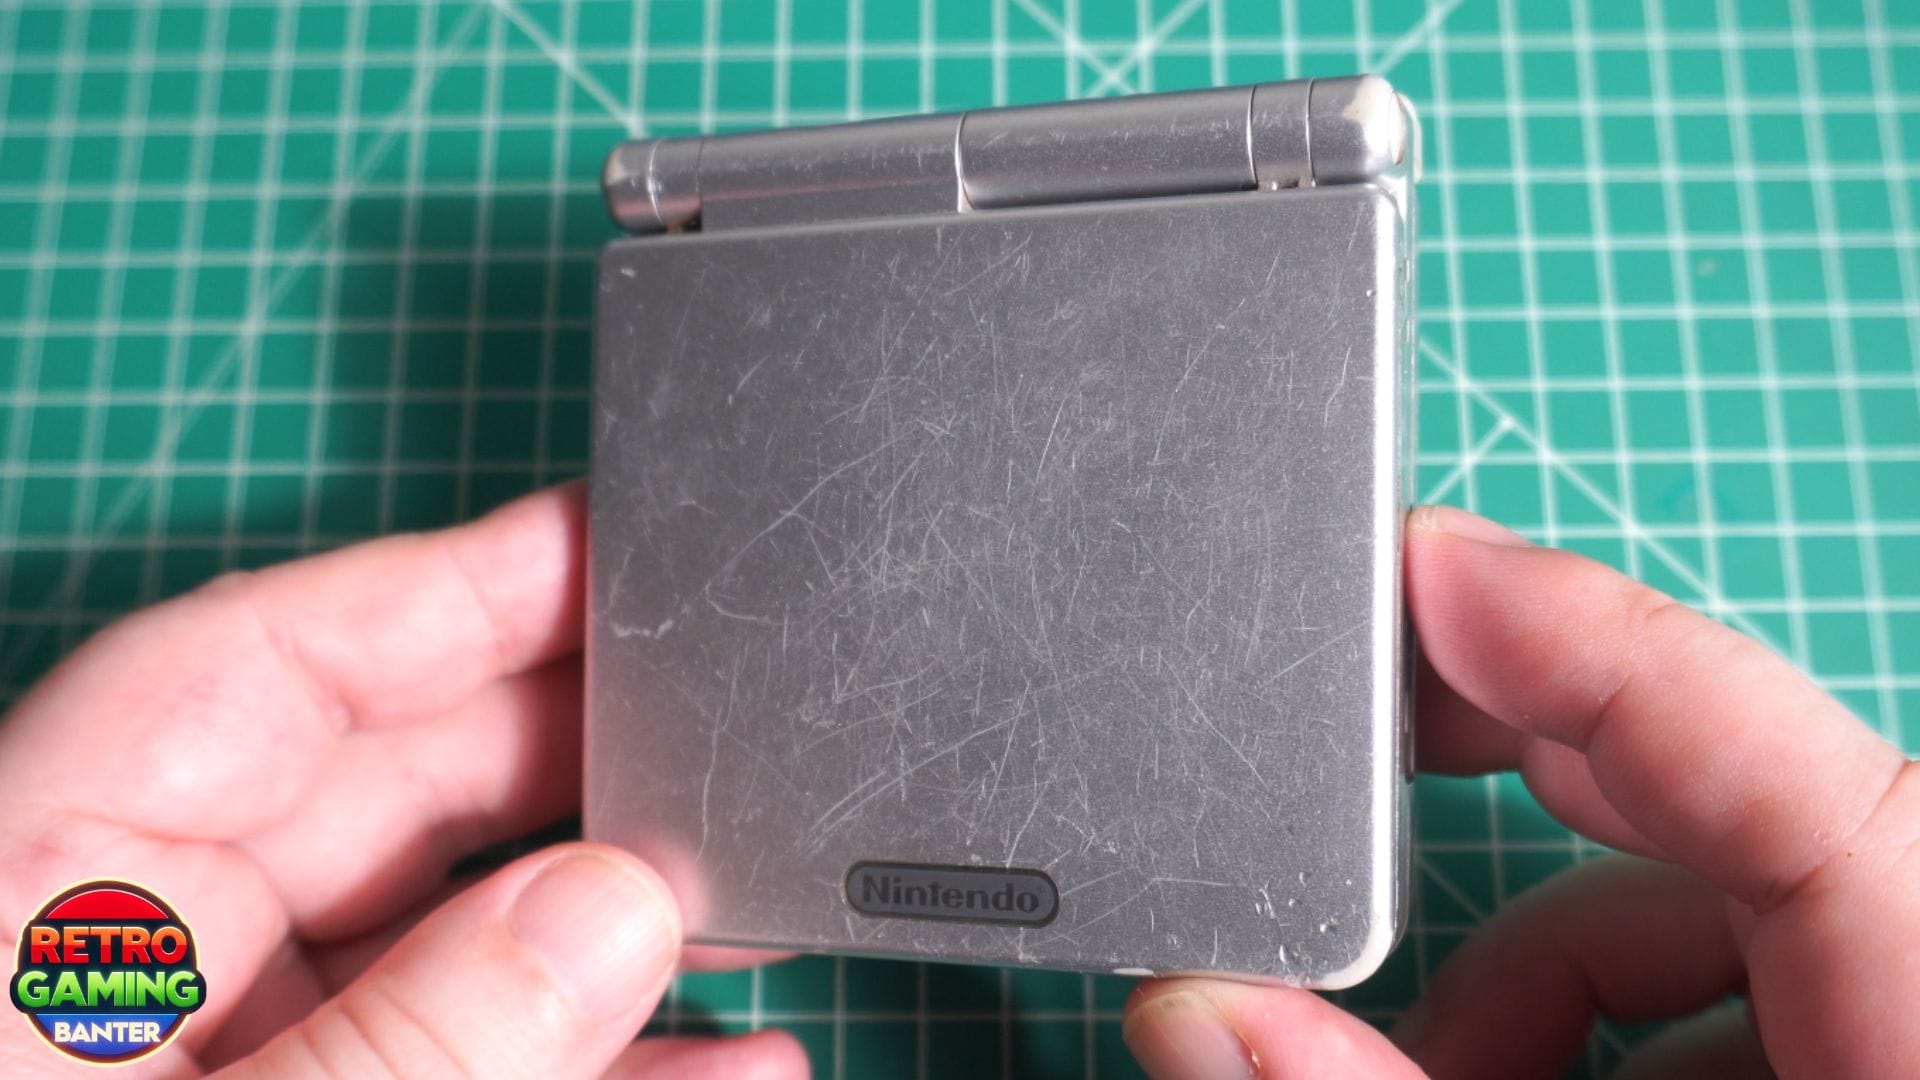
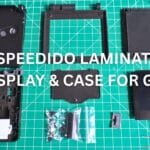
I bought a HIGHSPEEDIDO Laminated V5 IPS display and shell replacement. It comes with everything you need to reshell and upgrade to the new display.
- HIGHSPEEDIDO LAMINATED V5 IPS FOR GBA SP: https://s.click.aliexpress.com/e/_c3SvTFIF
- GBA SP Clear Plastic Shell: https://s.click.aliexpress.com/e/_c4mb8RL9
- GBA SP Louder Speaker: https://s.click.aliexpress.com/e/_c3k6NFEj
- GBA SP 3.7v rechargeable battery: https://s.click.aliexpress.com/e/_c2ucbSCT
First I start with unscrewing the battery compartment screw and remove the original battery. It still works after all these years but definitely has a shorter battery life. There’s six security screws holding the case together which requires the included screwdriver to be used. And it’s open. There’s a fair bit of grime on the shell but the board itself looks to be in great condition.
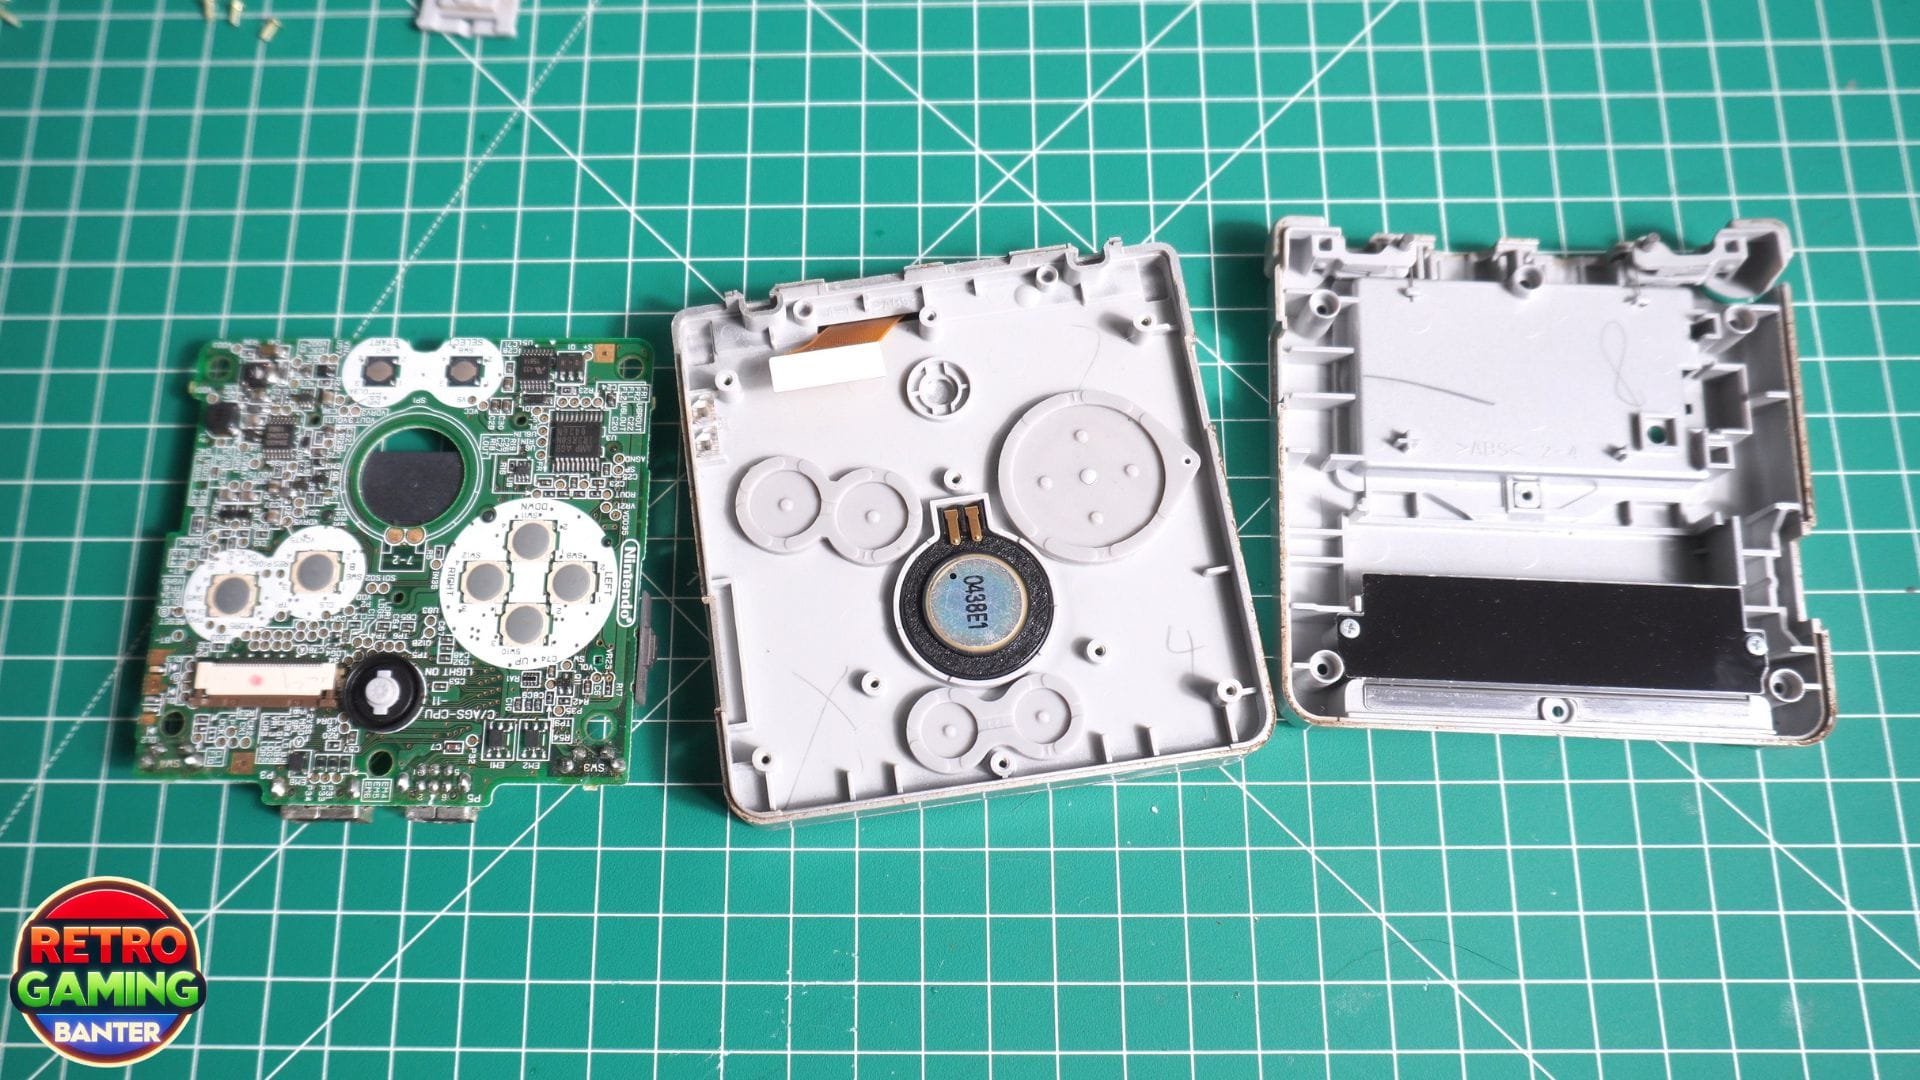
There are three screws holding the board to the shell which need to be removed The board can now be slowly lifted up as there’s a ribbon cable joining to the display. It comes out quite easily. Next I am removing all the control membranes and the speaker which I will replace later.
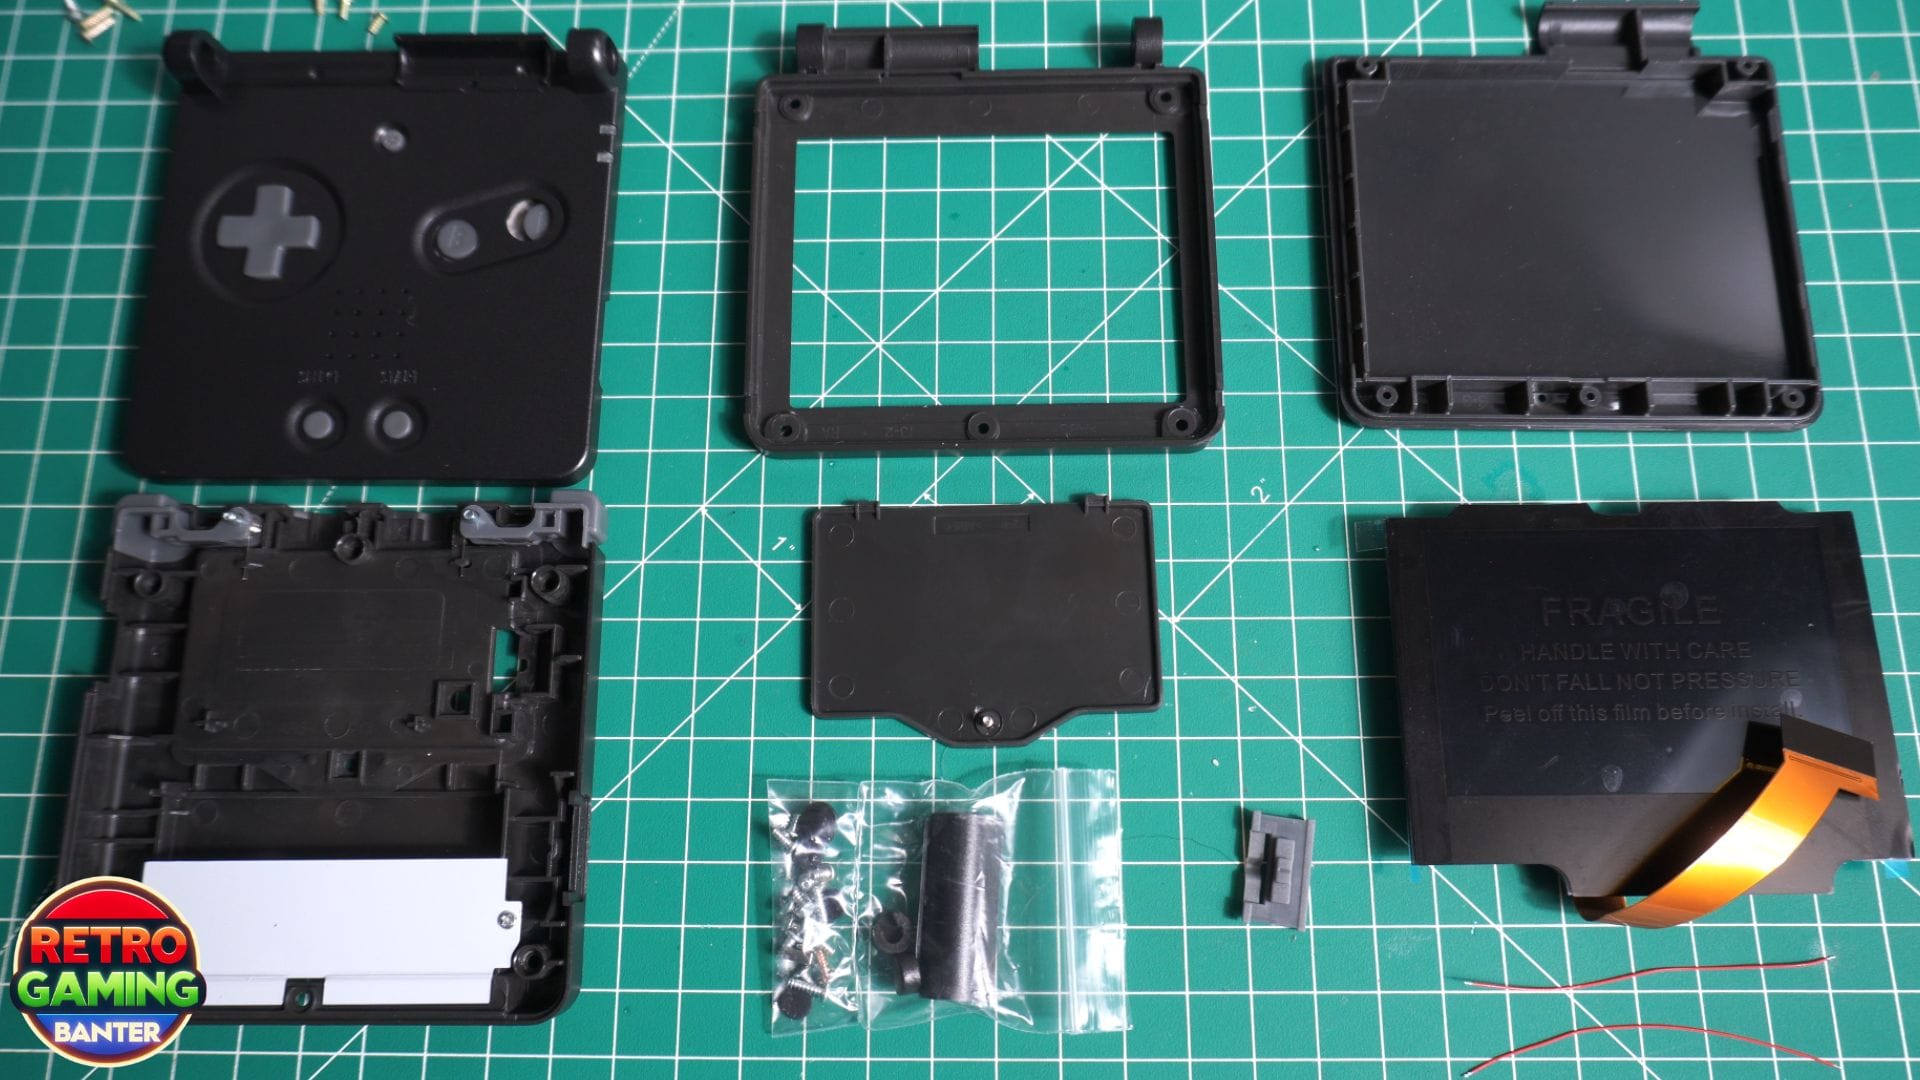
Here’s what comes with the HIGHSPEEDIDO Laminated V5 IPS kit, as well as the screwdrivers and replacement back sticker. The display is pre-laminated which makes it much easier to install as well as getting no dust etc on the display and protector. You will also notice two pads which are touch controls for the display which I will show later. From memory, the only original parts you really need are the hinge mechanism, everything including new screws, buttons, membranes, covers and stickers are included.
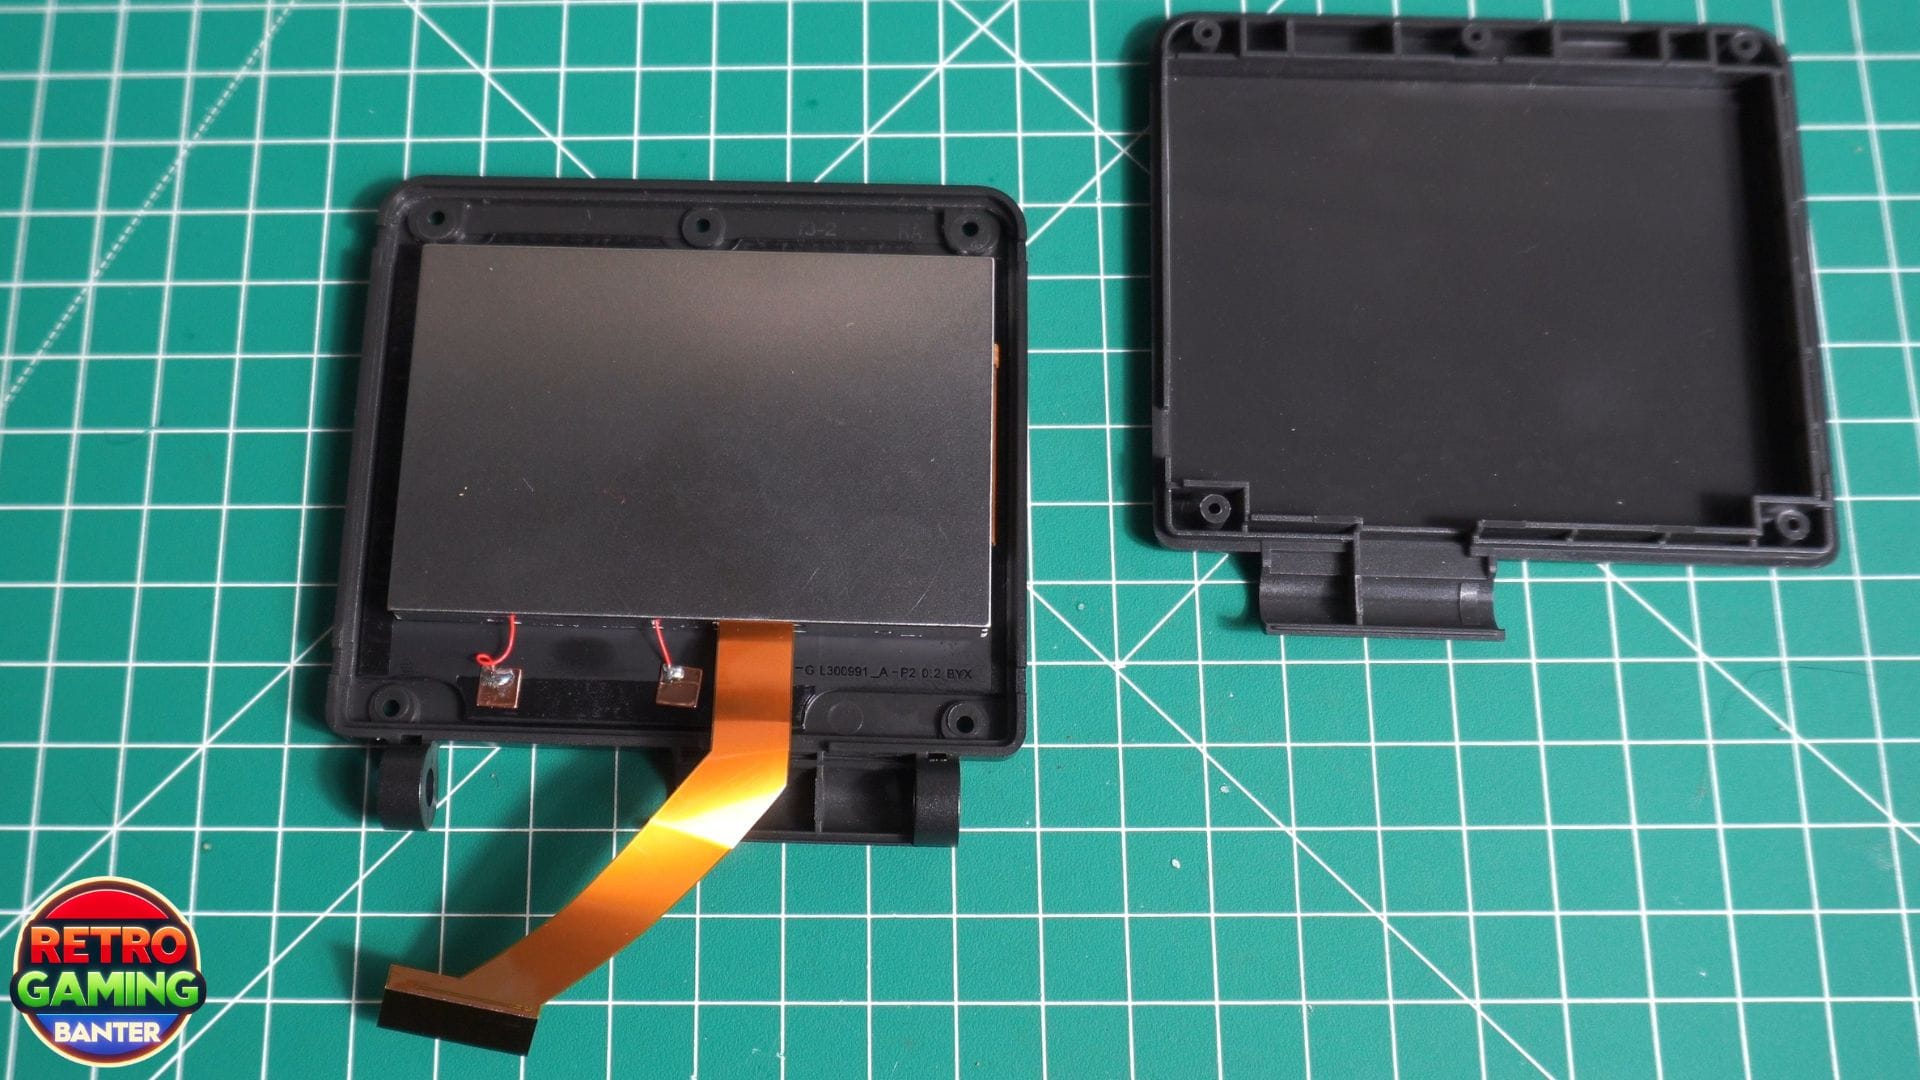
We need to disassemble the case further to remove the hinge mechanisms. So starting with the display I remove the screw covers which have kind of melted over the years. And after I remove the screws holding the display section together. The display ribbon cable can now be fed back through the hinge compartment and be freed
The right hinge can now be pushed out a little when the shell is closed, and then fully pushed out when the shell is open. The left hinge is a bit easier to remove by gently separating the top and bottom of the shell. Both hinges will have coloured caps on them which need to be removed and replaced with the new ones.
Now onto putting everything together starting with the display. I removed the shipping protector and some sticker film and placed it into the front of the new shell. I put the shipping protector back on in case of getting scratched.
You need to curl the ribbon around the hinge compartment so that it sticks out of the empty compartment. I then fitted only two of the screws just to hold the shell together in case there were any issues.
The bottom half contains the buttons and membranes with cardboard which conveniently keeps everything in place while working on the assembly. The two halves of the shell then fit together and the ribbon cable can be fed back through to the lower half. The new coloured caps can now be fitted on the hinges. I did not notice at first but I had not fully fitted them, so with a small readjustment they fitted fine.
The hinges can only be put in one way, again while the case is closed, and will not fully insert. Once partly inserted, you open the case and they will fully go in.
The hinge cover can now be fitted, make sure it doesn’t catch the ribbon. And the cover screw can now be fitted.
Now for the trickiest part, fitting the display ribbon cable back to the main board. It was hard to get on camera, but this is probably the easiest angle to fit the cable.
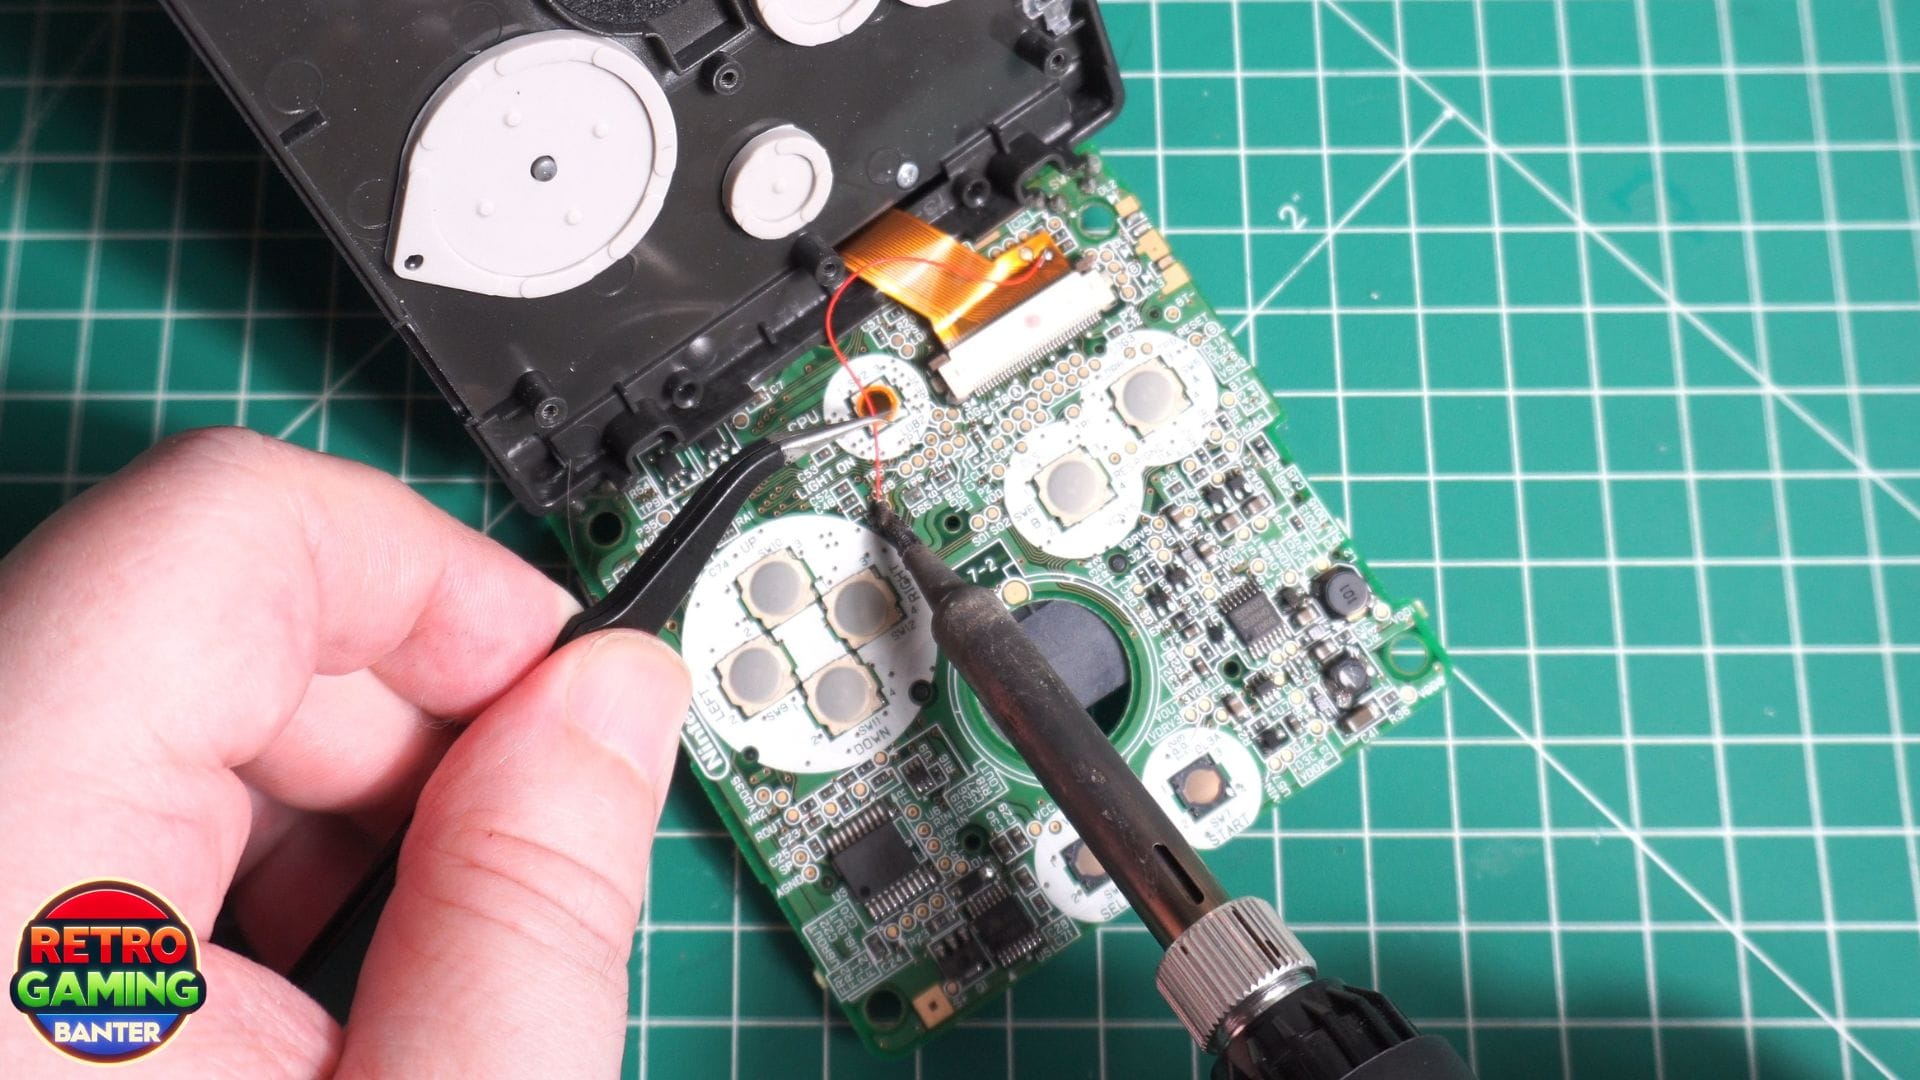
This part is optional if you want the brightness button to control the display brightness and on-screen menu, instead of only using the touch pads. It requires just a single wire to be soldered on the main board, to a solder point on the display ribbon. I presoldered the pads then soldered the wire into place.
I did a quick check to ensure everything was fitting properly. I then added the speaker filter and the new speaker to replace the faulty one. It’s also a bit louder apparently.
The board screws can now be refitted. There’s a small screw nut that does come with the new shell, but I took it off the original shell. It is for the battery compartment screw. Next the volume slider needs to be fitted to the board. It only goes in one way so it’s easy to fit. Then the back half of the case can be fitted. And all the screws can go back in, then the battery and the screw to keep the lid closed.
I did a quick check off camera to see if everything was working. It was, so I finished closing everything back up on the display and put the rubber caps in the screw holes.
Next we are jumping a day after filming this as I wanted to get the original back sticker off the case and onto the new one. The kit does come with a replica sticker but the original is better. We have a heat gun at work, so one of our staff Chris kindly helped get the sticker off and placed it on to the new shell. He did a great job as you can see. You won’t see it on the following part of the video as I filmed that the day before. There is also a replacement Nintendo logo sticker. The original was quite scratched up so I decided to use the new one for this. It looks practically identical
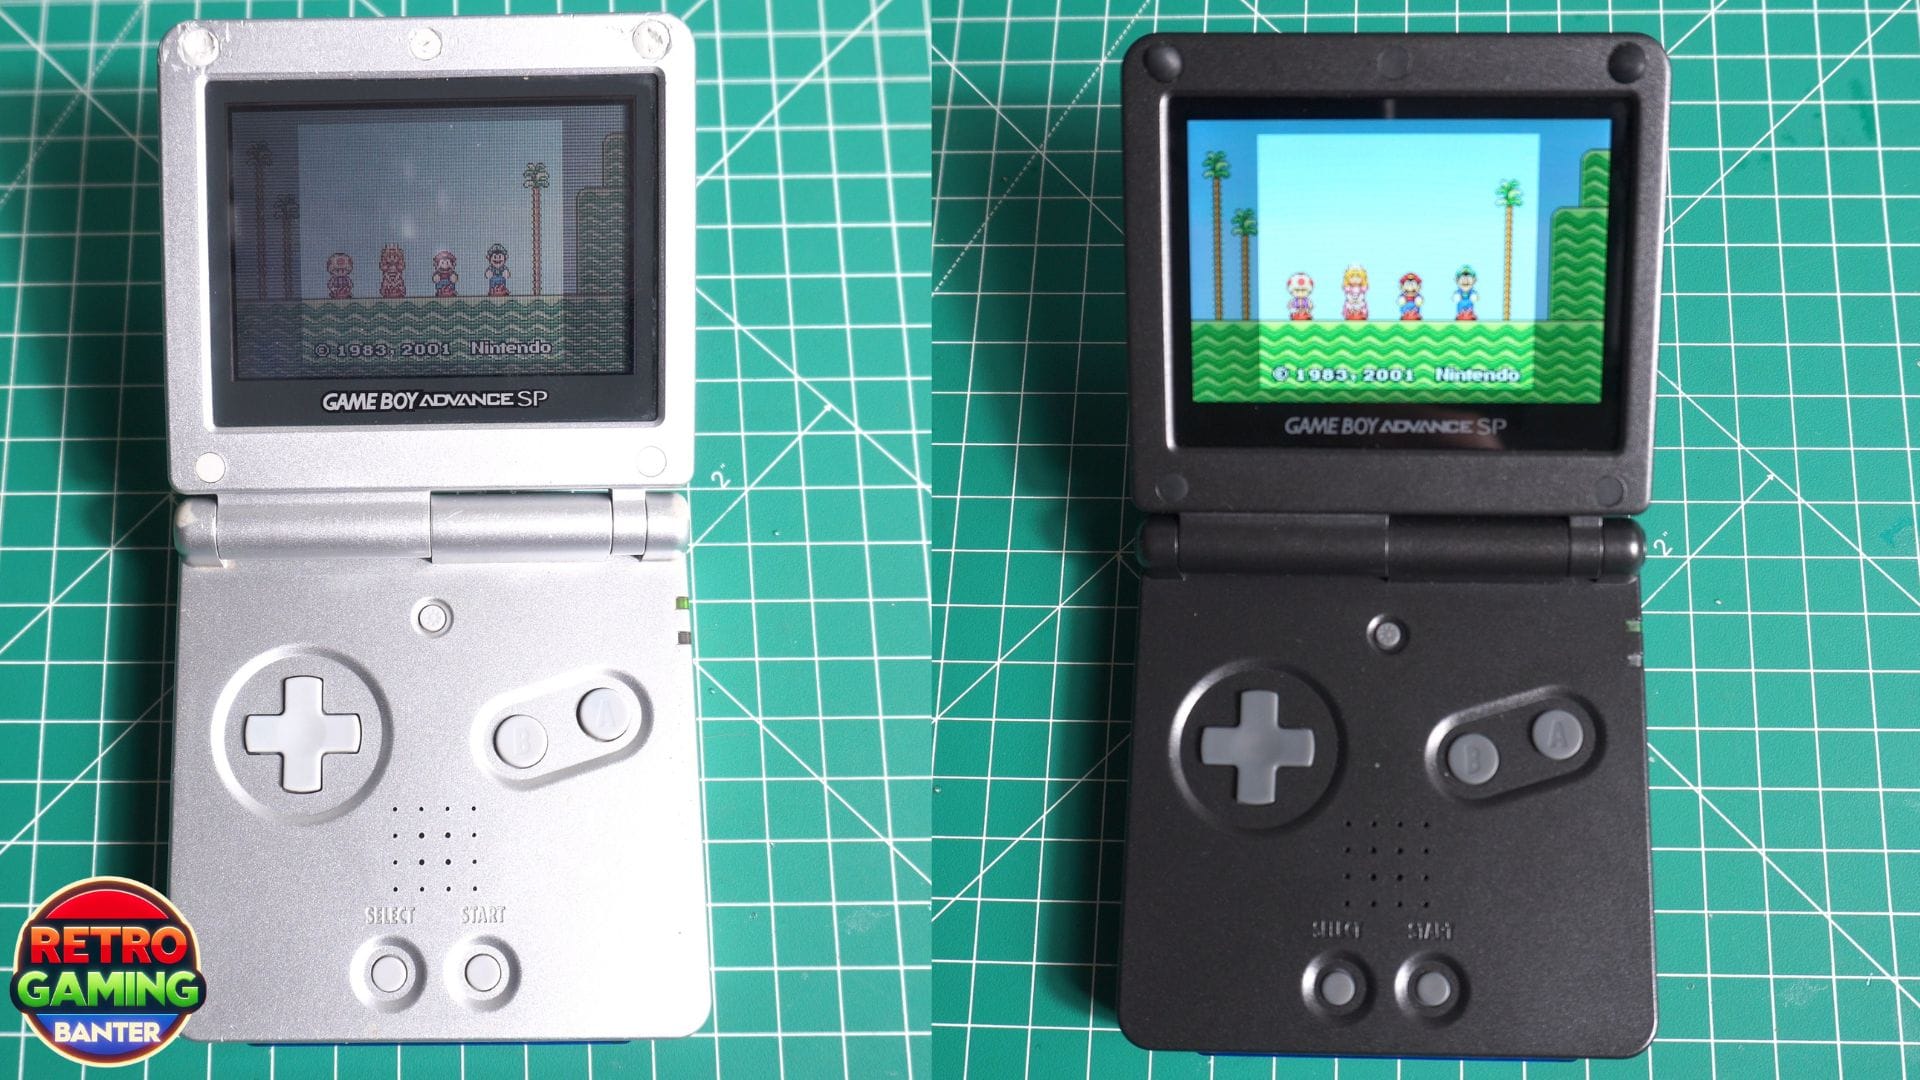
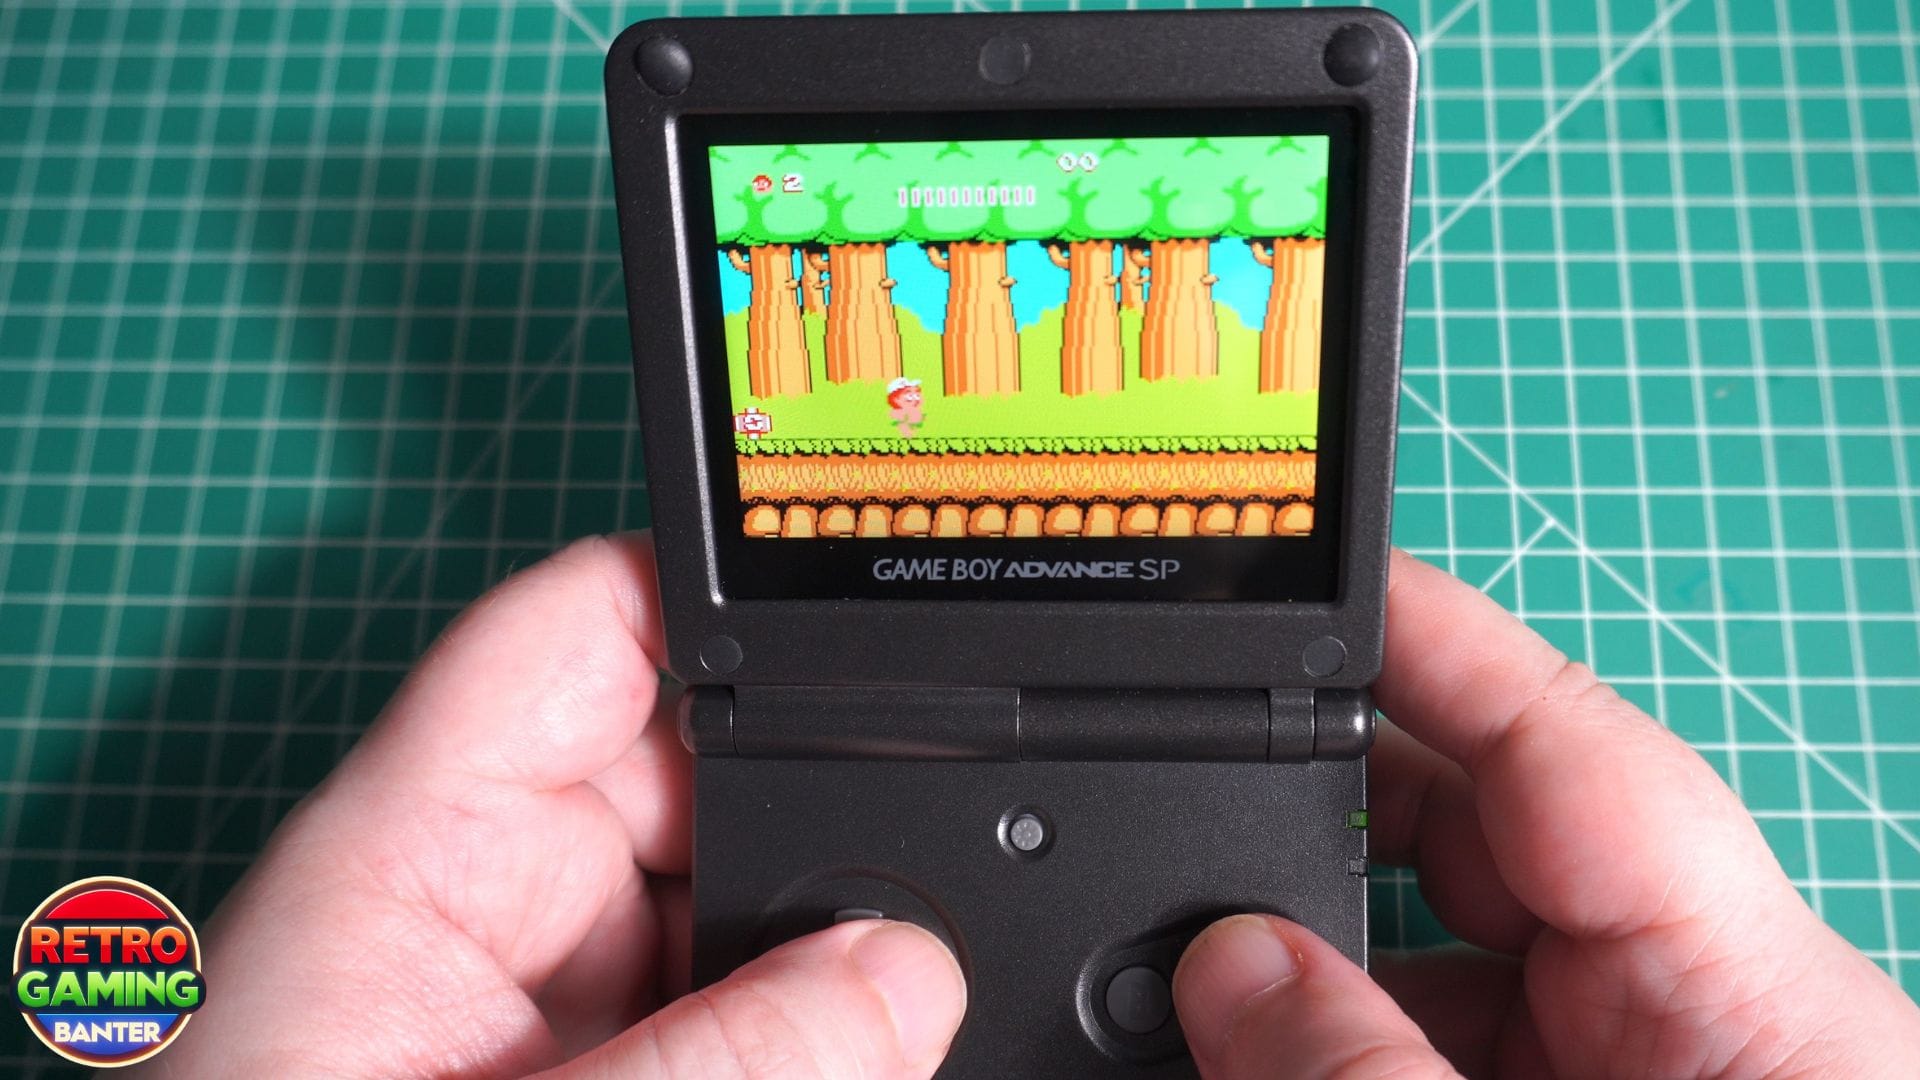
Time for a before upgrade view, and a quick transition to after. The new display instantly looks brighter and everything is definitely easier to see on screen. The new shell looks great and the speaker volume is definitely louder and working properly.
Let’s take a look at some of the features of the display. You can touch the areas at the bottom of the display, one is to cycle through the colour palettes which I found a bit pointless. The display brightness touchpad is handy if you don’t want to solder. There’s 15 brightness levels to cycle through.
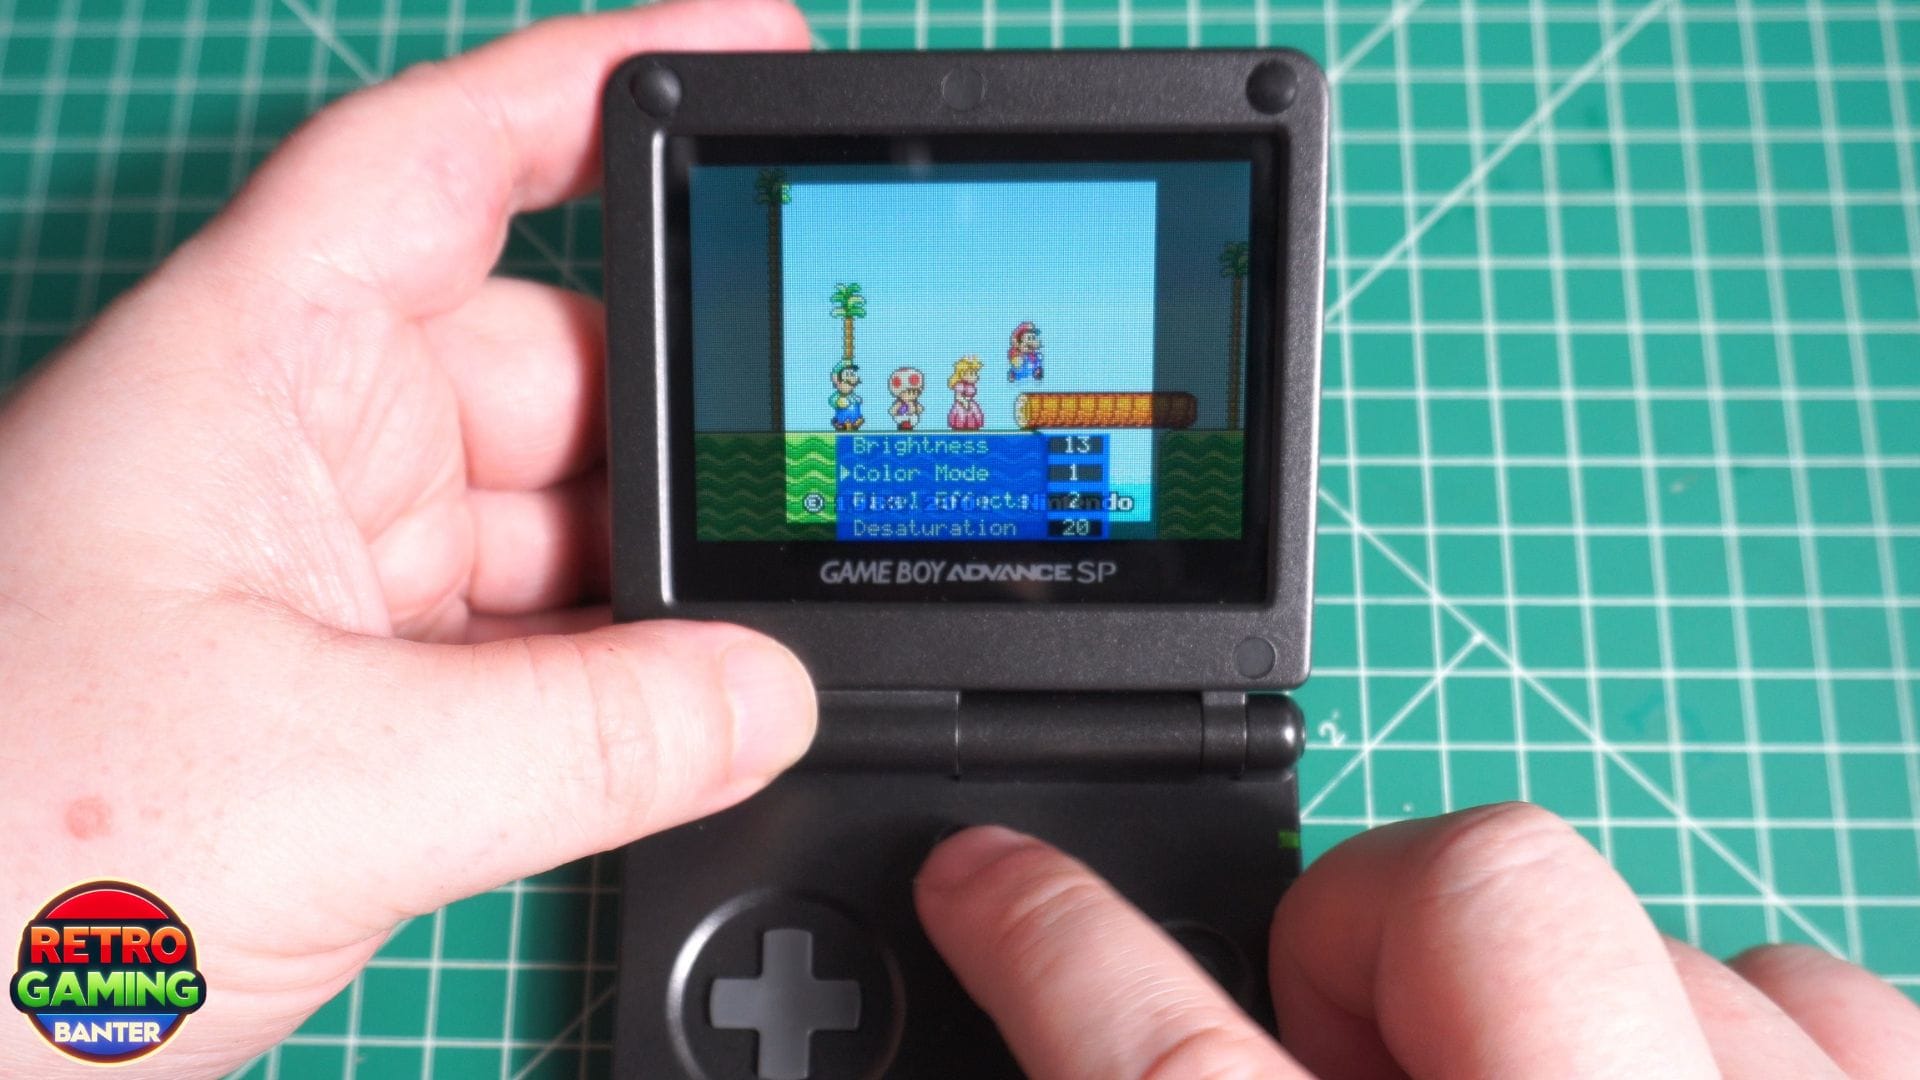
When the brightness button is soldered you can tap it to cycle through the brightness levels. You can also hold it down for a few seconds to bring up the menu. Here you can change the brightness, colour mode, pixel effects, desaturation, FRM enable or disable which a couple of games may require enabled, and to enable or disable the touchpads.
One little addition to keep the shell clean was a clear plastic case that fits very well. It won’t help much if dropped, but should be great for scratches while in your bag. I also added a screen protector and actually didn’t manage to mess it up too much!


Overall the HIGHSPEEDIDO Laminated V5 IPS display and everything that came with it is a fantastic upgrade for your GBA SP. I definitely recommend one if you have a GBA SP laying around, and probably in a similar condition to mine.