Like many retro handhelds, the Atari Lynx did not have an amazing display. While it is playable, it’s barely viewable and despite some great games, it really put me off playing on my Lynx II and would rather play on an emulator.
So inspired by my recent NeoGeo Pocket and Gameboy Advance SP display upgrades, I decided on upgrading my Atari Lynx II with a new display. After some looking around the best options were the Benvenn or RetroSix displays.
I decided on the Retrosix Atari Lynx II CleanScreen Kit as I always try to buy British when I can. Inside the box we have the IPS display, which has the black borders instead of the metallic silver ones seen in earlier reviews by others.


Inside the next bag is a ribbon cable which connects the motherboard to the display board. There are four small screws for attaching the board to the frame. There are two display frames depending on which model of Atari Lynx II you have. A ribbon cable which also connects between the main and display boards. And the final bag contains the Atari Lynx CleanScreen board.
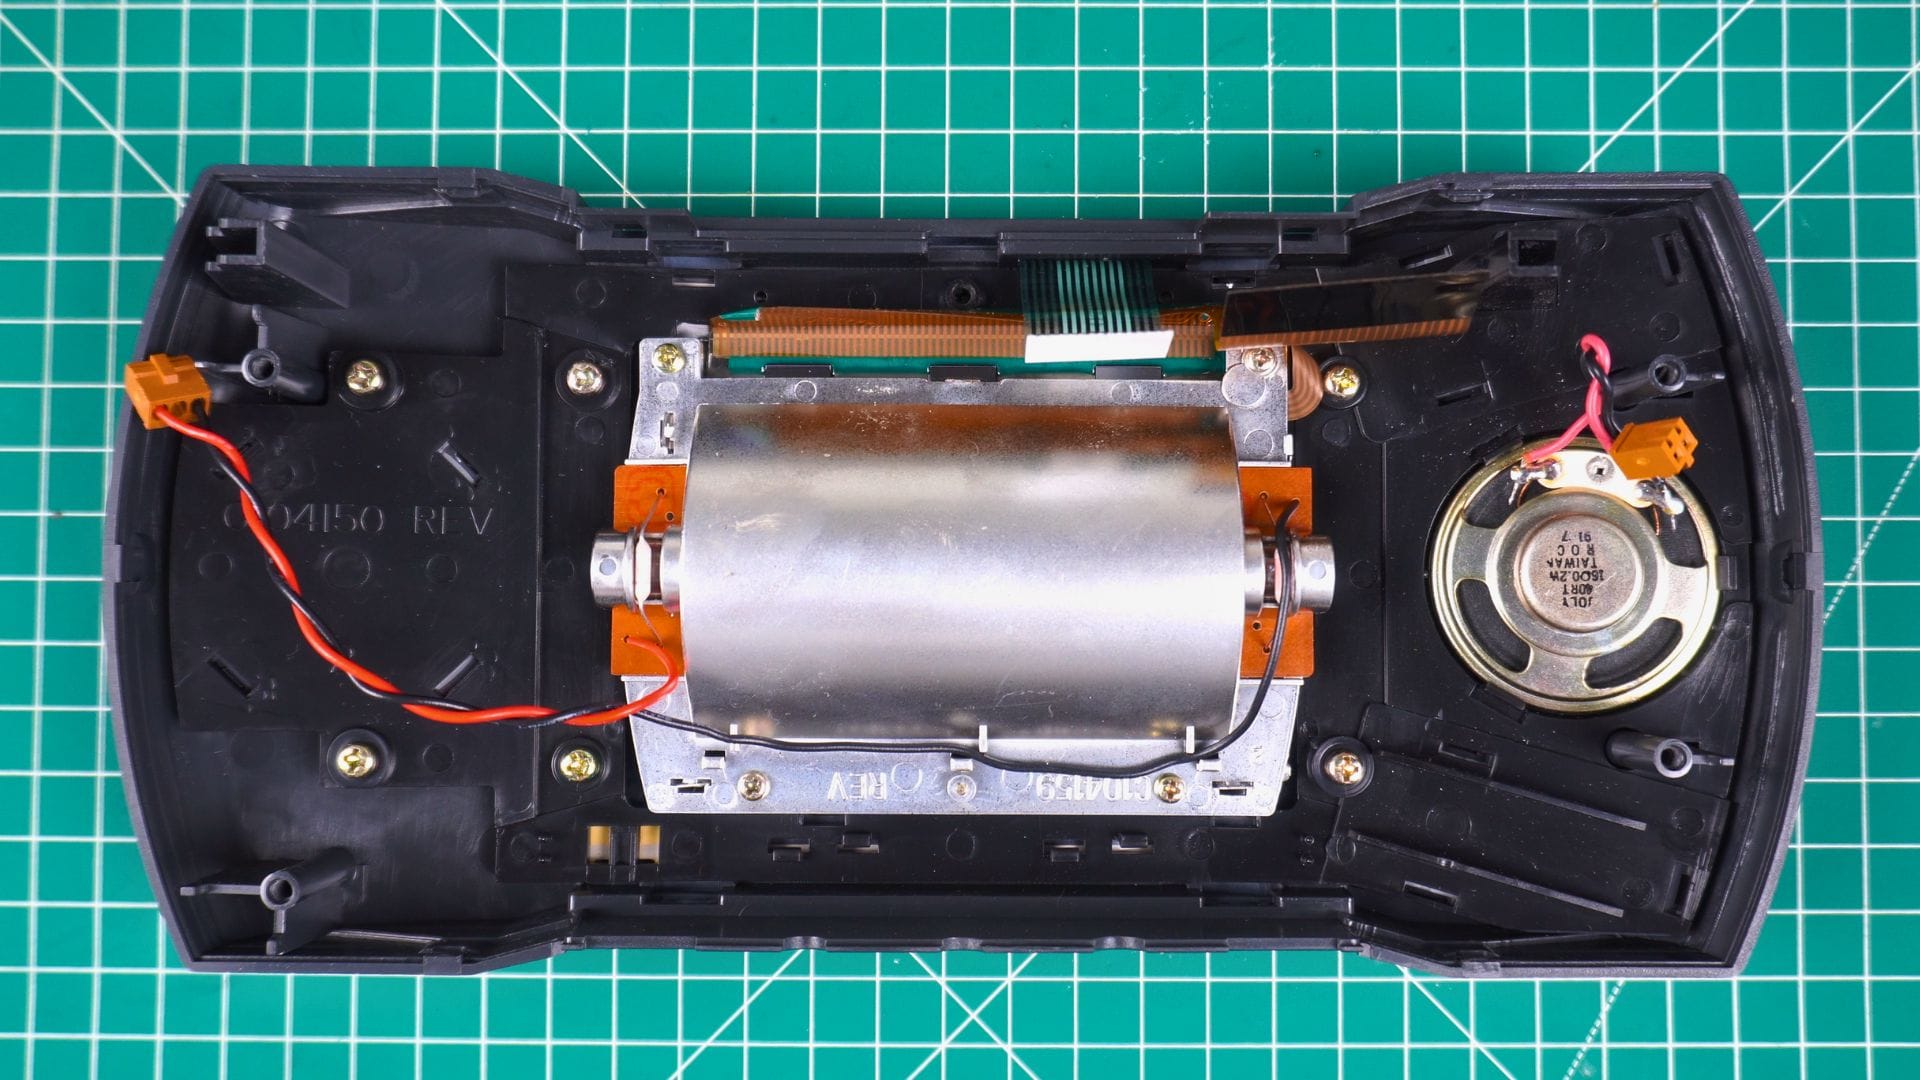
The two rubber grips first need to be removed to gain access to the four screws underneath. The back can then be removed, thankfully no joining wires to worry about. I then removed the battery compartment to make it easier to work on the board.

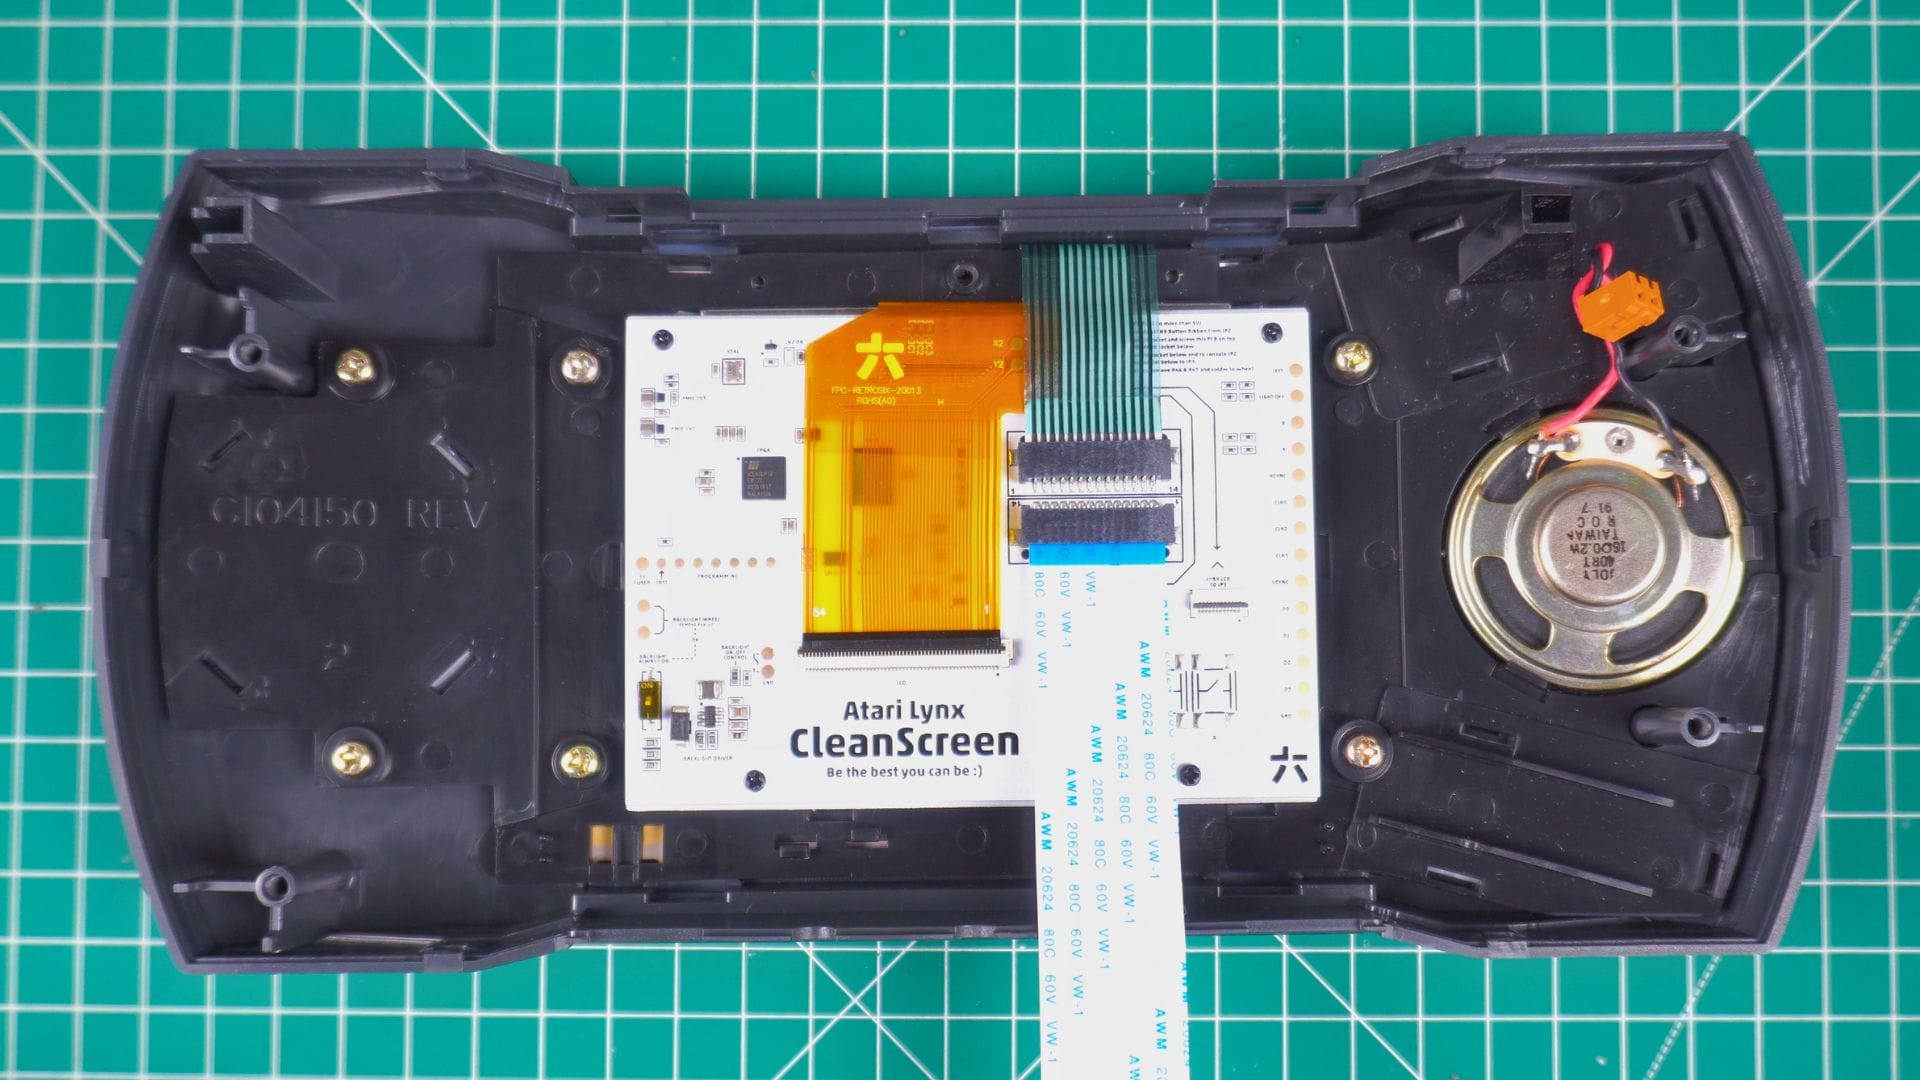
The main board can now be slowly lifted out as there’s some joining wires. I then disconnected the display power cable and the speaker cables. The two ribbon cables can now be easily disconnected.
With the main board out of the way, I can get on with removing the old display. There’s only four screws holding it in and then it can be removed.
And now we are ready for the installation part. The IPS display needs to be fitted to one of the two frames depending on the model of Lynx II that you have. I did a quick fit test to check everything was OK and then peeled off the screen protector and fitted the display.
The CleanScreen board can now be fitted. It aligns with the screw holes on the frame. I used the four screws that come with the kit as I guess there is a reason for using them instead of the originals.
With the board secure it’s now time to connect these annoying ribbons. Thankfully these are not a major pain in the arse to get in. I always think I am going to break them with too much force!
The following two soldering parts are optional, but the first is highly recommended for removing the power inductor for the original backlight display. And the second will allow you to control the brightness with the brightness wheel.
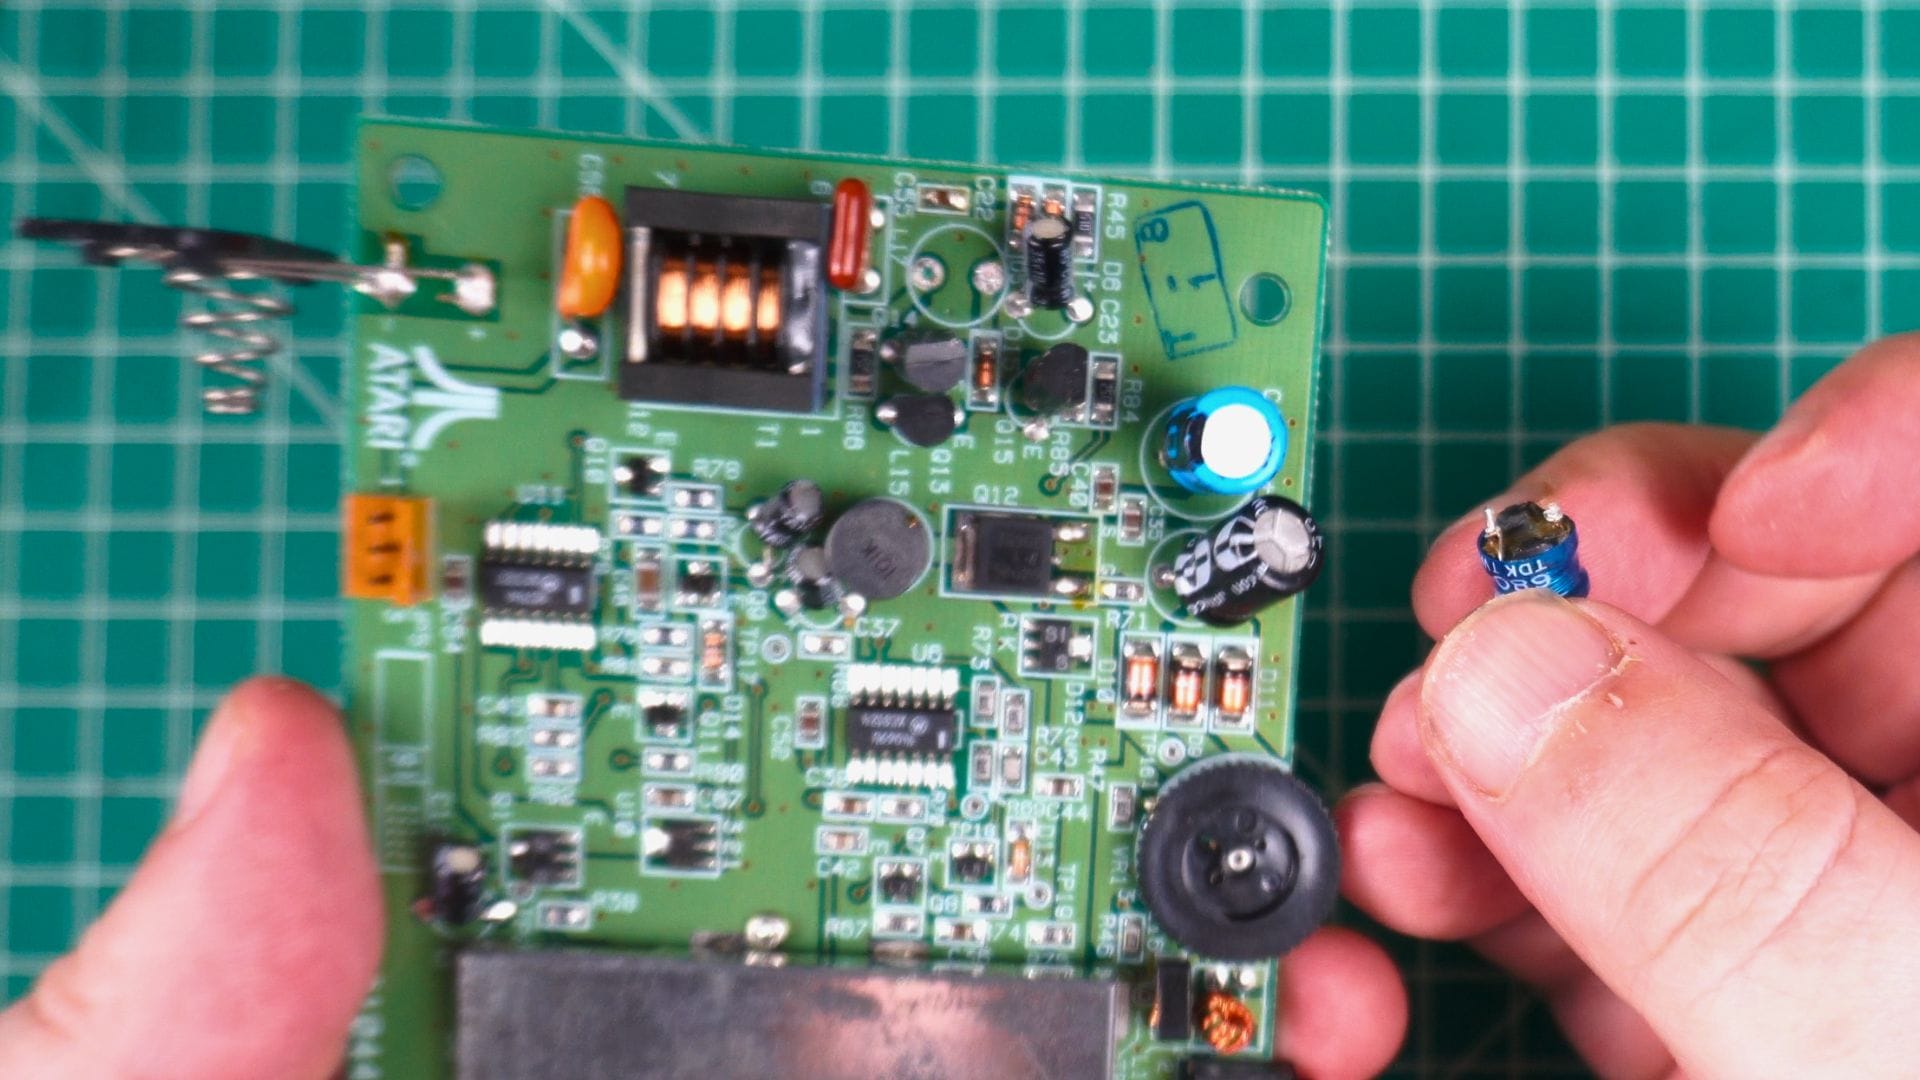
The power inductor is soldered in and it’s a fairly quick task with a soldering iron and some wick to remove the solder. Then I warmed up the area to gently pull the legs out with a few wiggles. You could probably break the legs but run the risk of damaging the board and cause issues.
For the brightness wheel controls, two very small resistors need to be removed. They come off quite easily with a soldering iron. It’s probably best to hold the resistor with a tweezer so they are easy to locate once removed 🙂
You now have a choice of soldering two wires underneath the volume wheel or on the back solder points. I didn’t want to run the risk of melting the wheel so I went with the back option.
As a note, you do not get any wires with the kit and will need to use your own. I added some fresh solder and attached the two wires to the solder points.

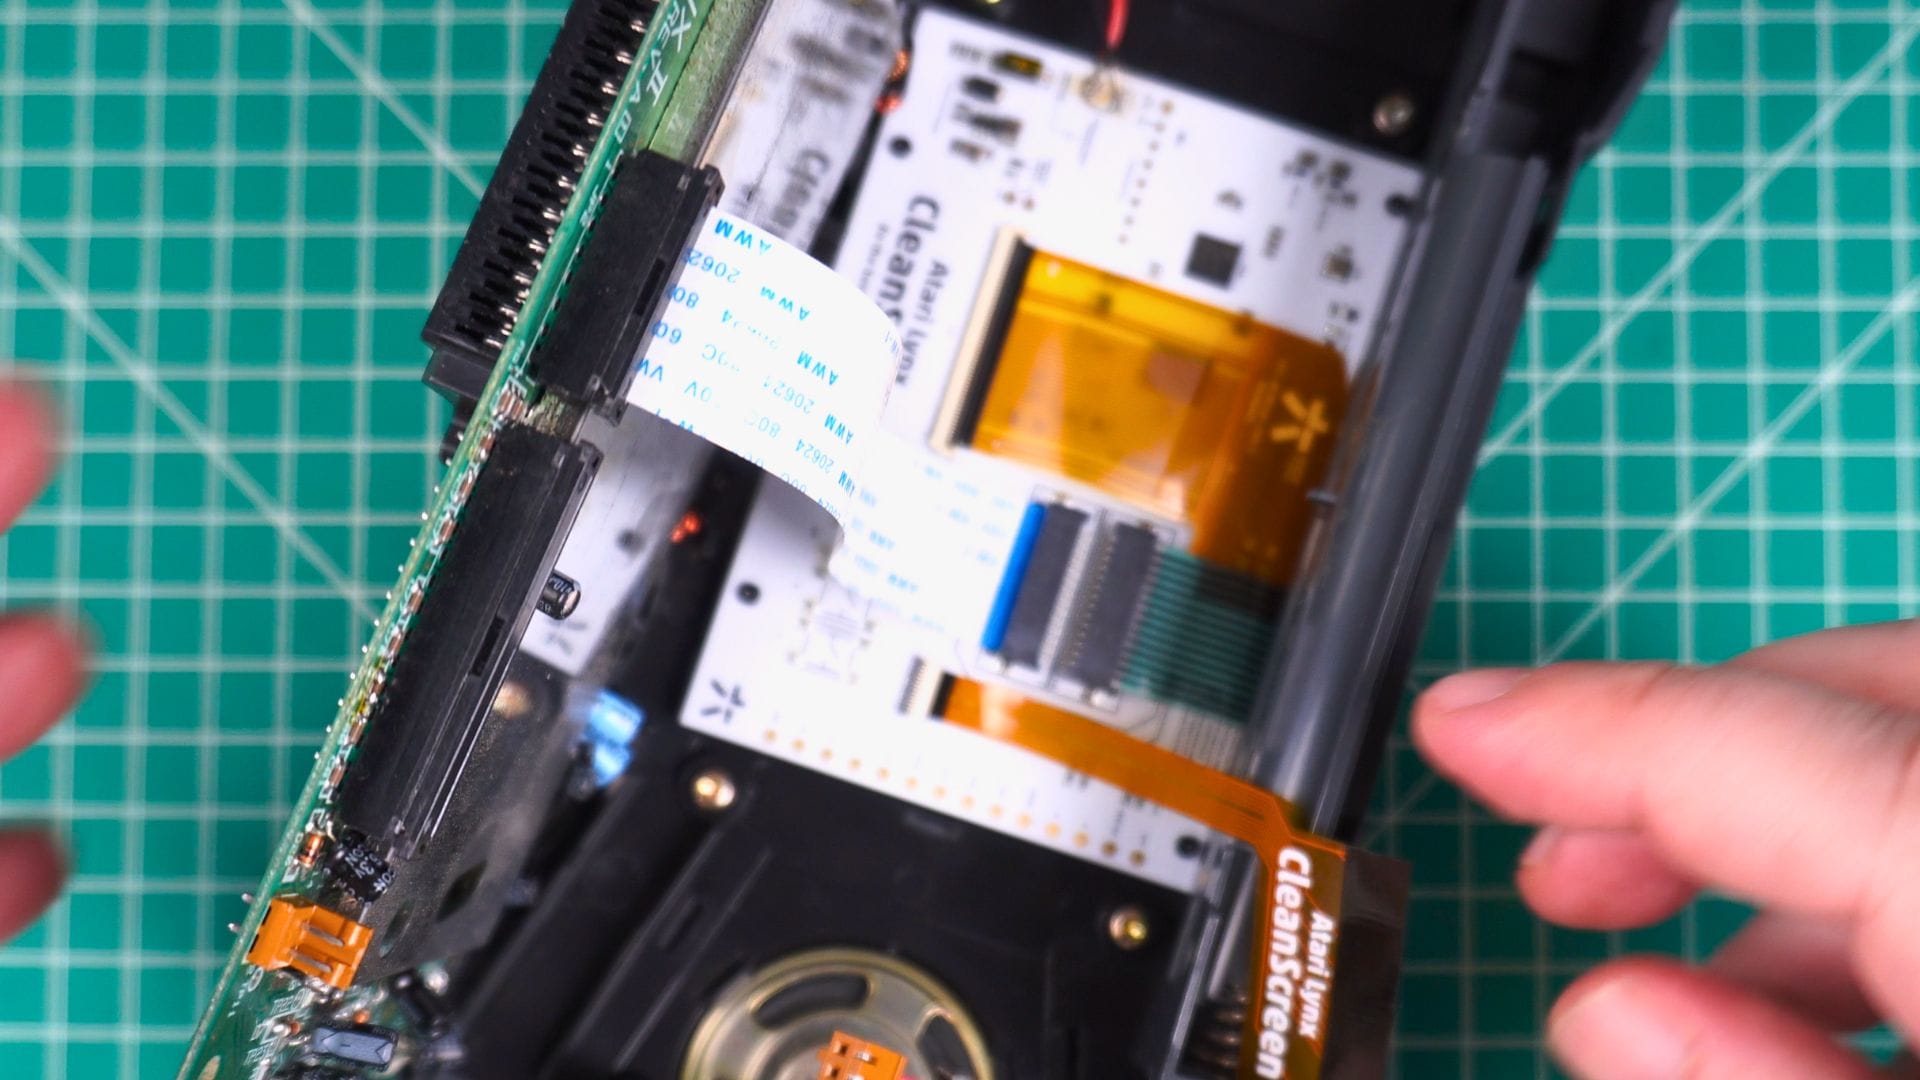
Then on the CleanScreen board, I added some solder to the two backlight control points. And then joined the two wires going from the wheel to the board.
It was when attaching the board I realised I should have made the wires a bit longer. It would have given me more space to work with when attaching the two ribbon cables and the speaker cable. So keep that in mind if soldering the wires from behind the wheel.
I made sure everything was fitting nicely inside and then put the back shell on, screwed it back in and added the rubber grips. I will reglue these later once everything is checked over.
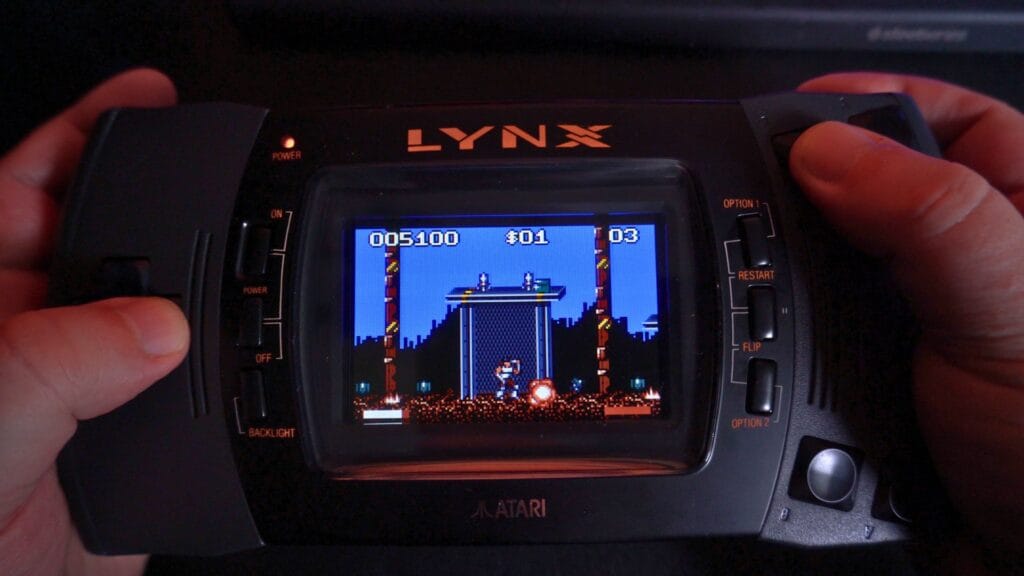
Just to remind ourselves of the original display, the first image is at full brightness. And the second is the new IPS display at around 60% brightness as any higher was overexposed with the camera lighting


Holding the A + B + Left D-Pad for a few seconds will bring up the display menu. From here you can change the Colour Mode between a few settings. True Motion enables or disables the transparency flicker which some games may require. VGA lets you output to your TV with another mod which does VGA to HDMI. And Pixel Grid has a few settings if you want a more retro pixelated look.
I wouldn’t have minded an option to set the brightness level in the menu so that you do not have to solder the wires. Not everyone is confident with soldering so it would be nice to support this like with the GBA displays for example.
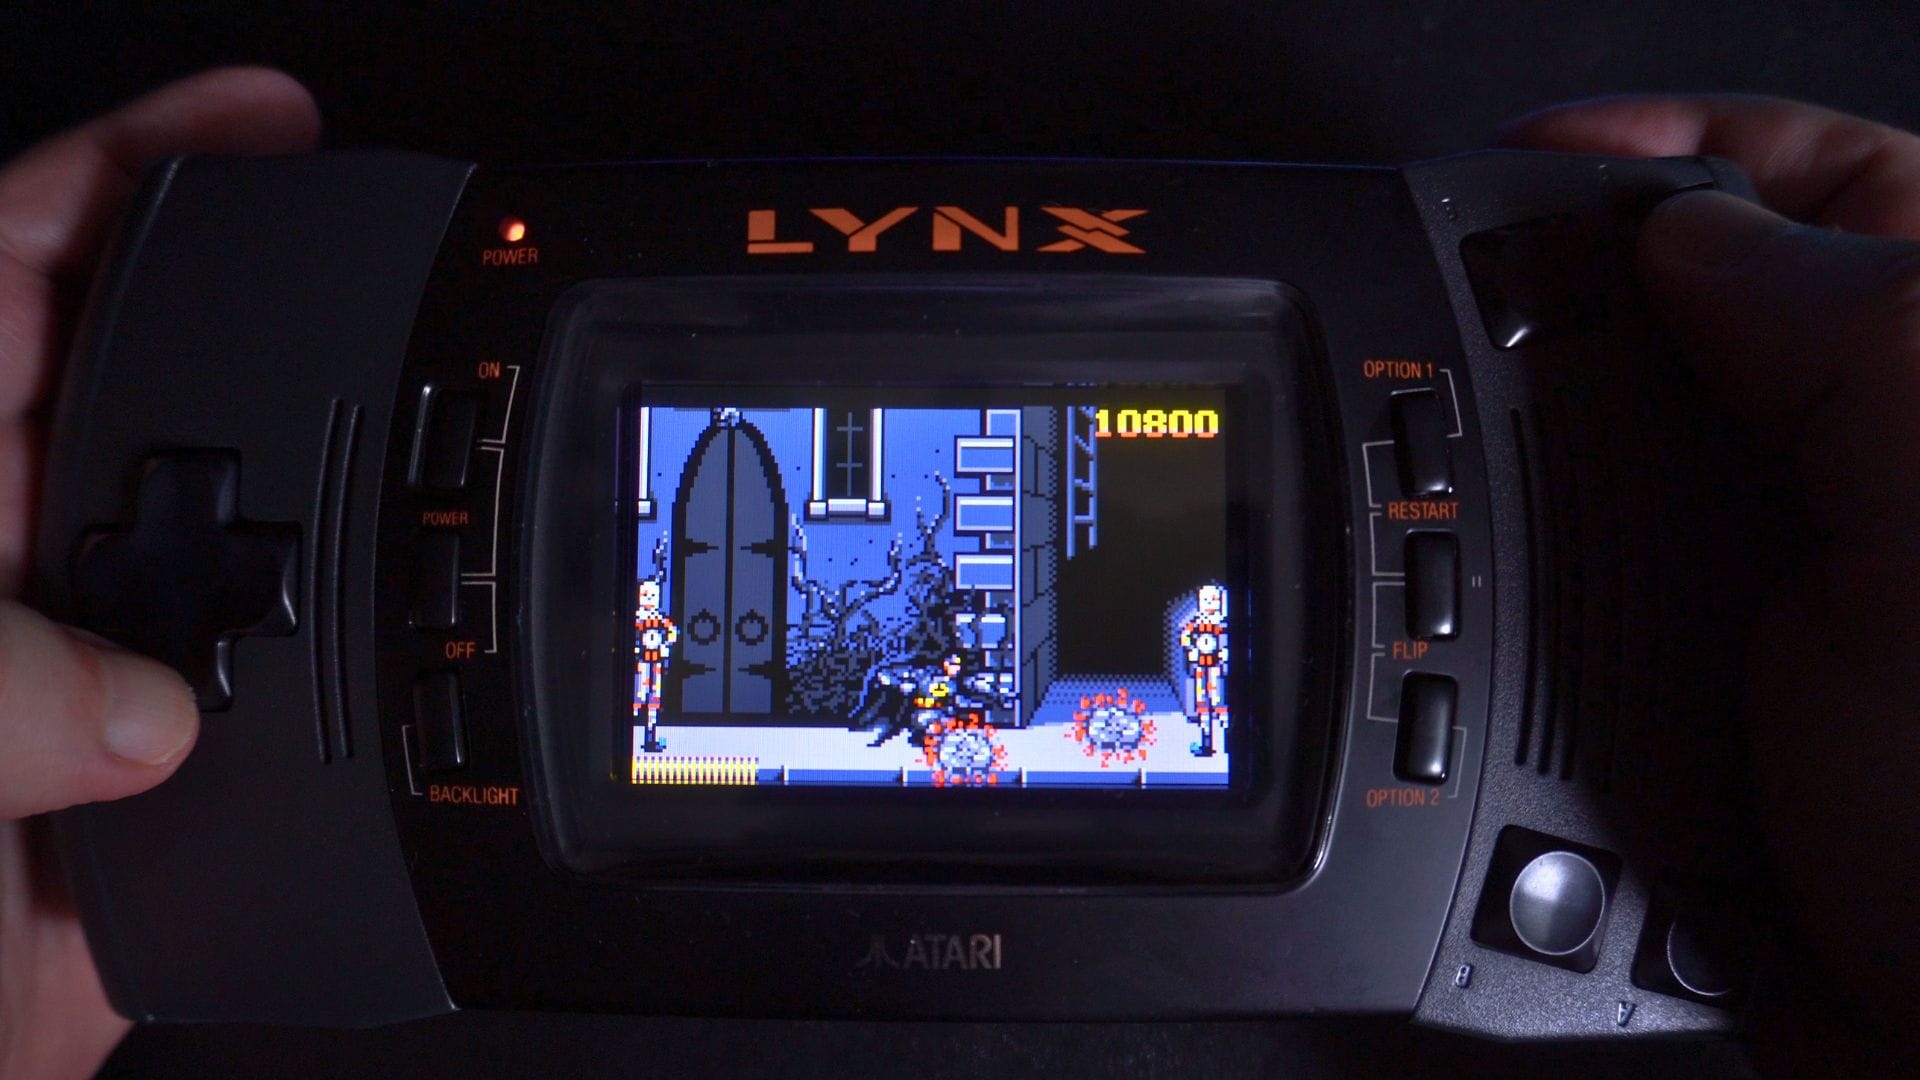
As mentioned at the beginning, the original display was pretty bad and put me off playing on the Lynx. With this display replacement it makes it far easier to see everything and in pixel perfect format. The difference in the display quality is amazing. It’s pretty much a night and day difference.
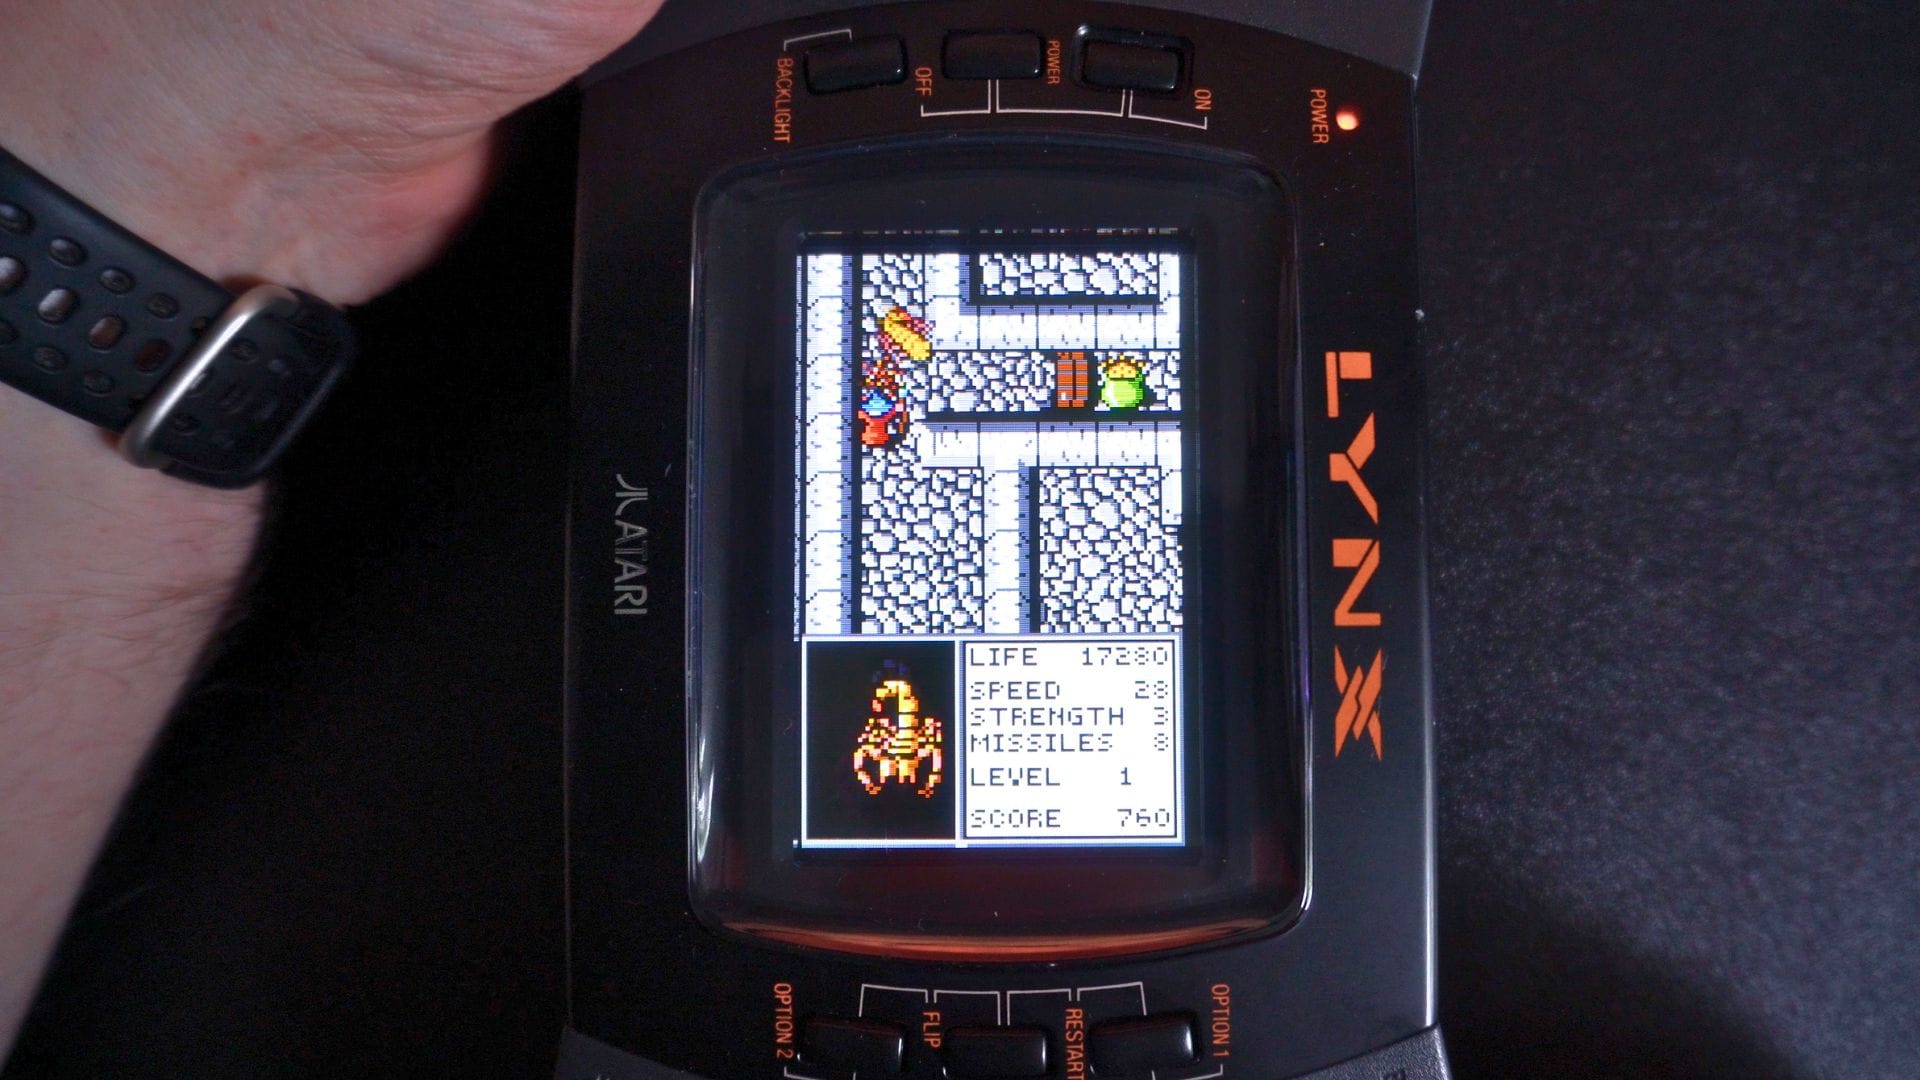
I tried a bunch of games and didn’t notice any issues. Even rotated games like Gauntlet were fine. I haven’t checked the battery life difference, but I would guess this would increase the life over the power hungry original display and backlight tube.


The Retrosix Atari Lynx II CleanScreen Kit gets a big thumbs up from me. It is very easy to install and takes around 30 minutes. Visit the Retrosix website at https://retrosix.co.uk/ for more details and to buy one.