Table of Contents
The BBC Micro is probably little known outside the UK. This amazing computer got many schools kids into computing and over time produced many of the great UK programmers we know today!
We are checking out a BBC Micro I picked up over year ago as I have been too busy to make videos! I will be giving it a once over with a disassembly and clean up. Then I will recap the infamous power supply which is prone to burst capacitors and fixing any other issues I find along the way.
BBC Micro Retro Restore Video
Gear used in this BBC Micro Retro Restore
(Contains affiliate links)
Contact Cleaner – https://amzn.to/3jIbWoK
Isopropyl Alcohol – https://amzn.to/376iBUB
ESD Brushes Kit – https://amzn.to/3aX3YEc
Compu Cleaner Air Duster – https://amzn.to/3qcu5xg
BBC Micro Retro Restore (Text)
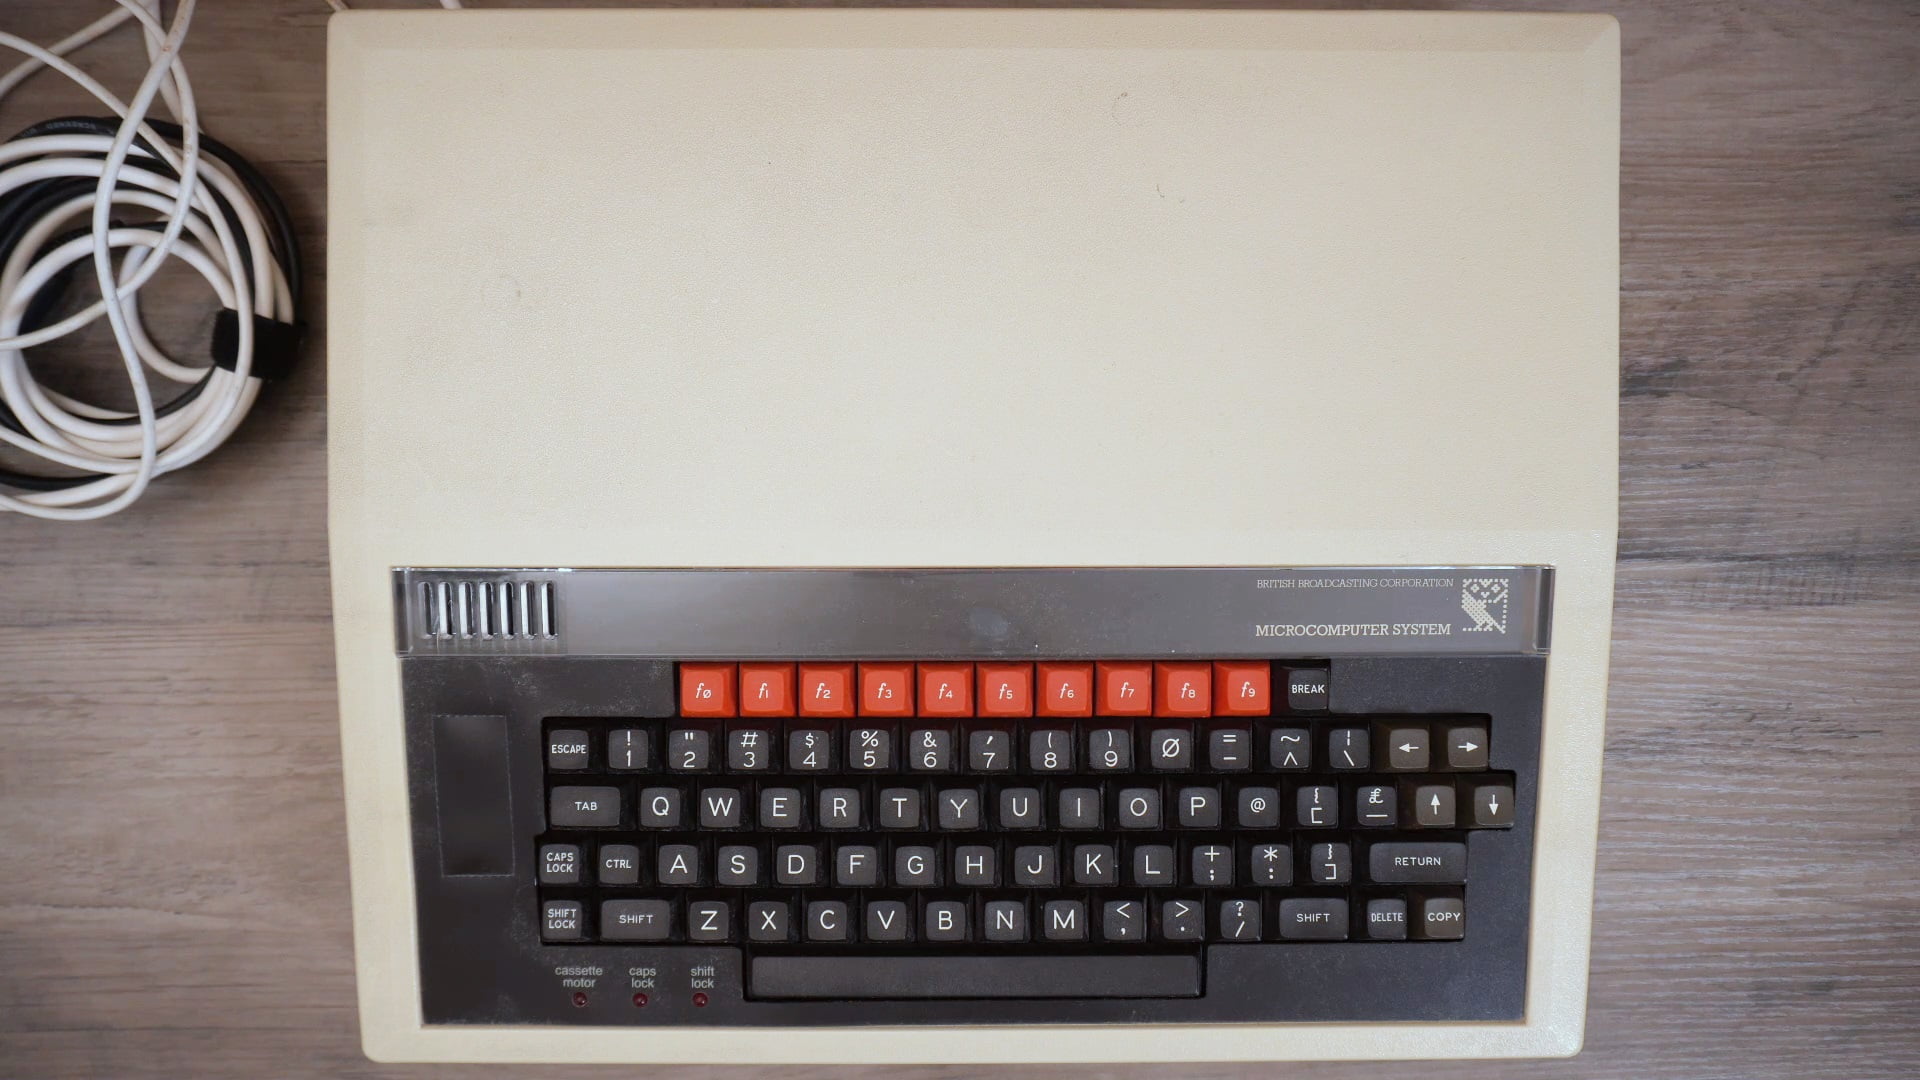
The BBC Micro is in very good condition. There looks to be some dirt but no scuff marks or damage. The case is slightly yellowed but I have decided I am not going to retrobright it as it’s not yellowed enough to be a distraction.
The BBC and me
I thought I would give a brief history of my own with the BBC. Like many in the mid 40’s age range, the BBC Micro would have likely been their first experience of a computer. It was in most schools in the UK at the time in a joint venture with the BBC and Acorn. I am fairly sure the BBC Micro was my first computer experience, as I remember using one in school, aged around 6 or 7. Then not long after my parents bought an Amstrad CPC.
Anyway, all the kids in my class were allotted time to use the BBC and we would play Granny’s Garden, the LOGO plotter and another game I can’t remember. In my early secondary school years they had a computer room full of BBC’s and we would learn some programming and word processing. I vaguely remember a game that was based on the London Underground. I tried looking it up but couldn’t find it.
Learning BASIC programming got me into programming and I would spend my time mainly on the Amstrad learning more. And over the years I progressed onto other languages such as Pascal and C. While I never took it up professionally, I did write many homebrew games for various handheld platforms, if you know me from my Emuholic website days. So the BBC Micro definitely inspired me, as well as many other kids, to get into computing.
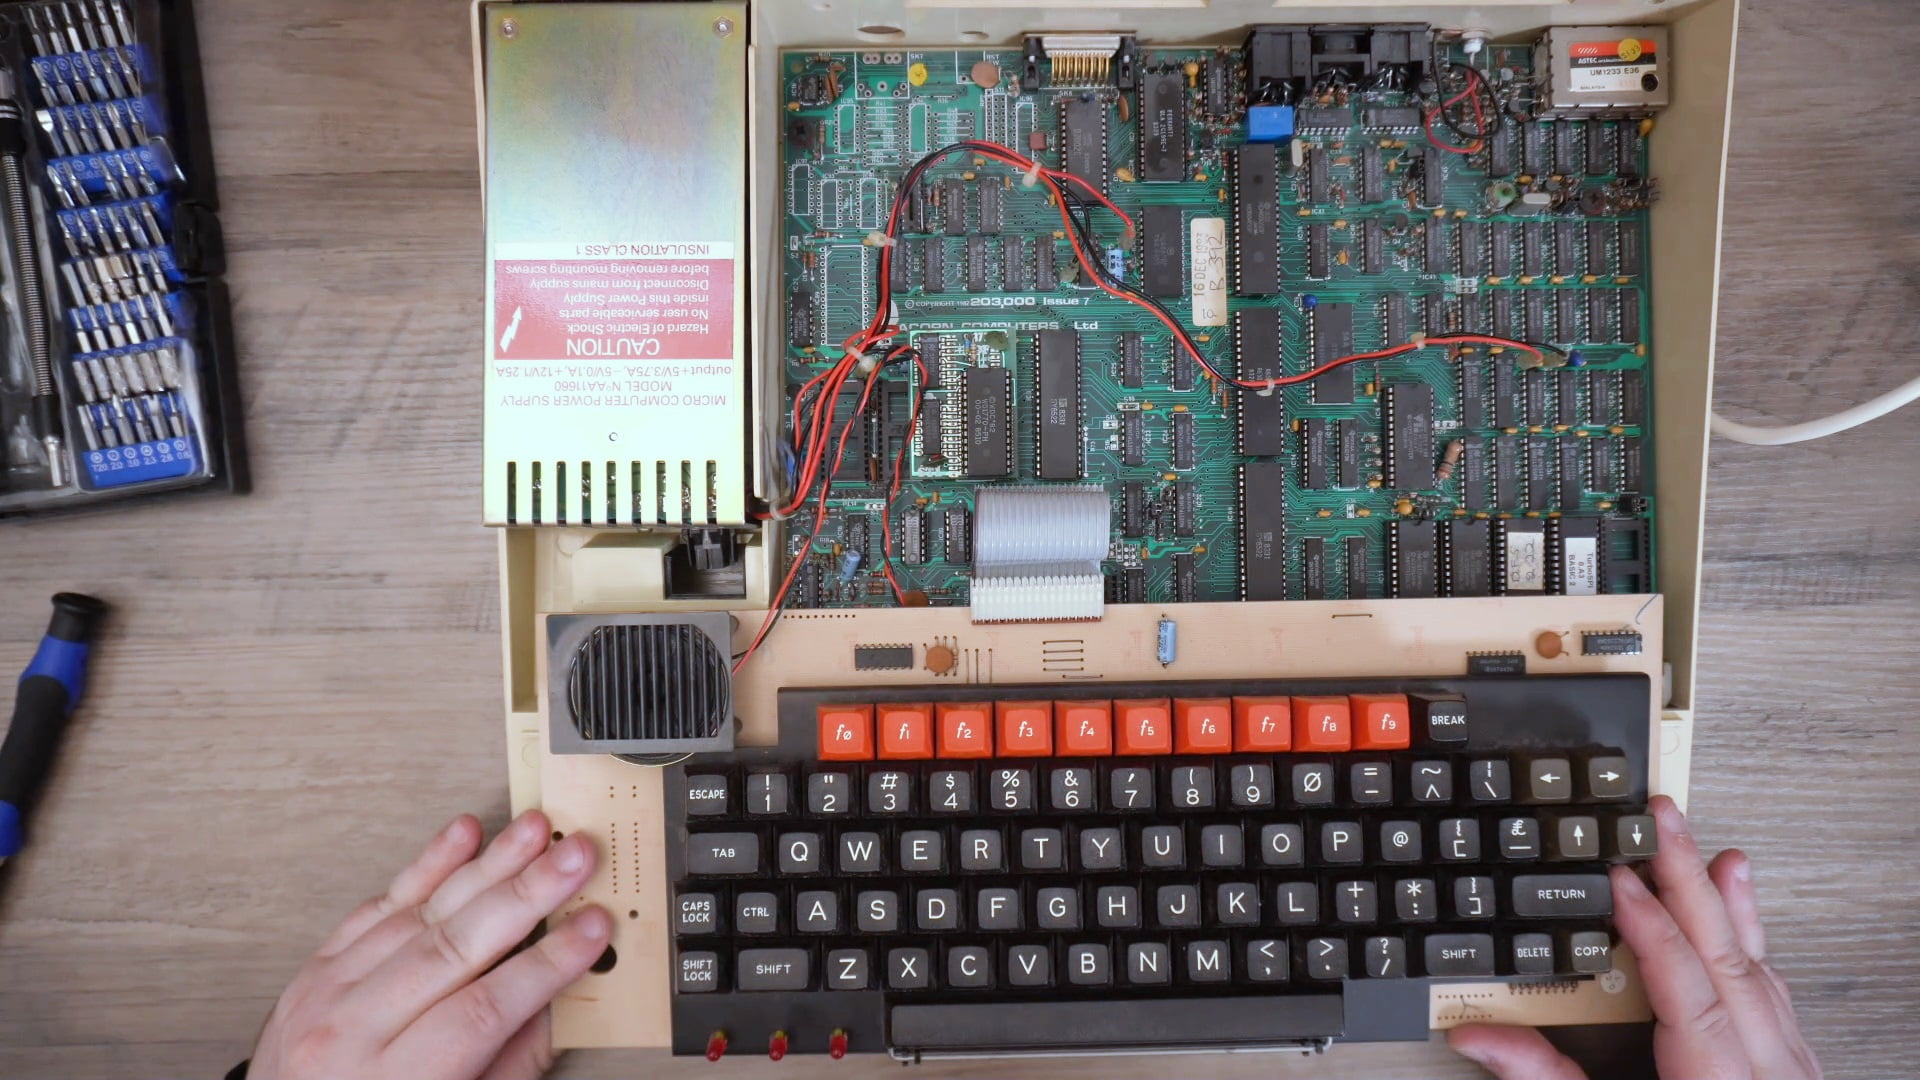
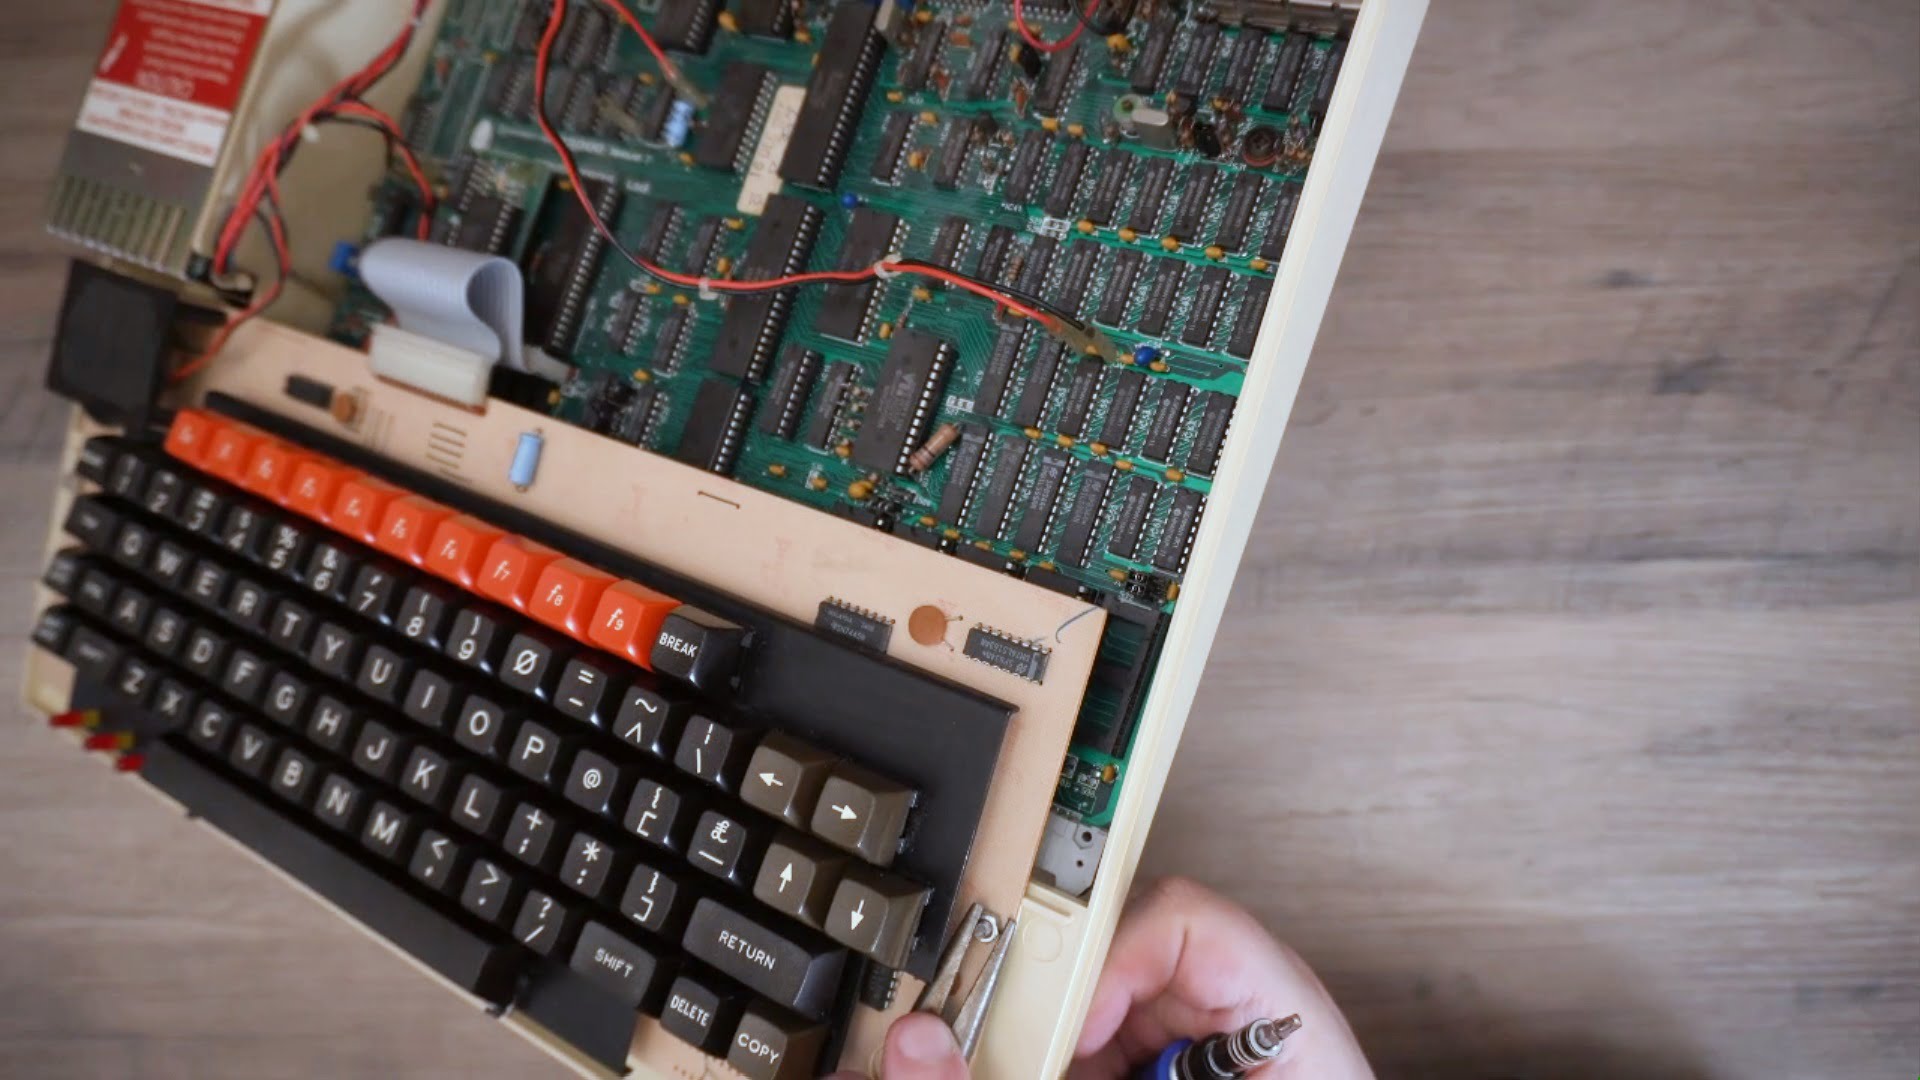
The case is open, the main board is not too dusty which is good, and everything looks to be visibly OK.
Removing the keyboard
Let’s first remove the keyboard to get a proper look inside. There’s two nuts and bolts on either side which hold the keyboard in place. There is also a ribbon cable which connects the keyboard to the main board which needs to be removed.
And finally the speaker cable which needs to be detached from the main board. And that’s the keyboard now free from the BBC Micro!
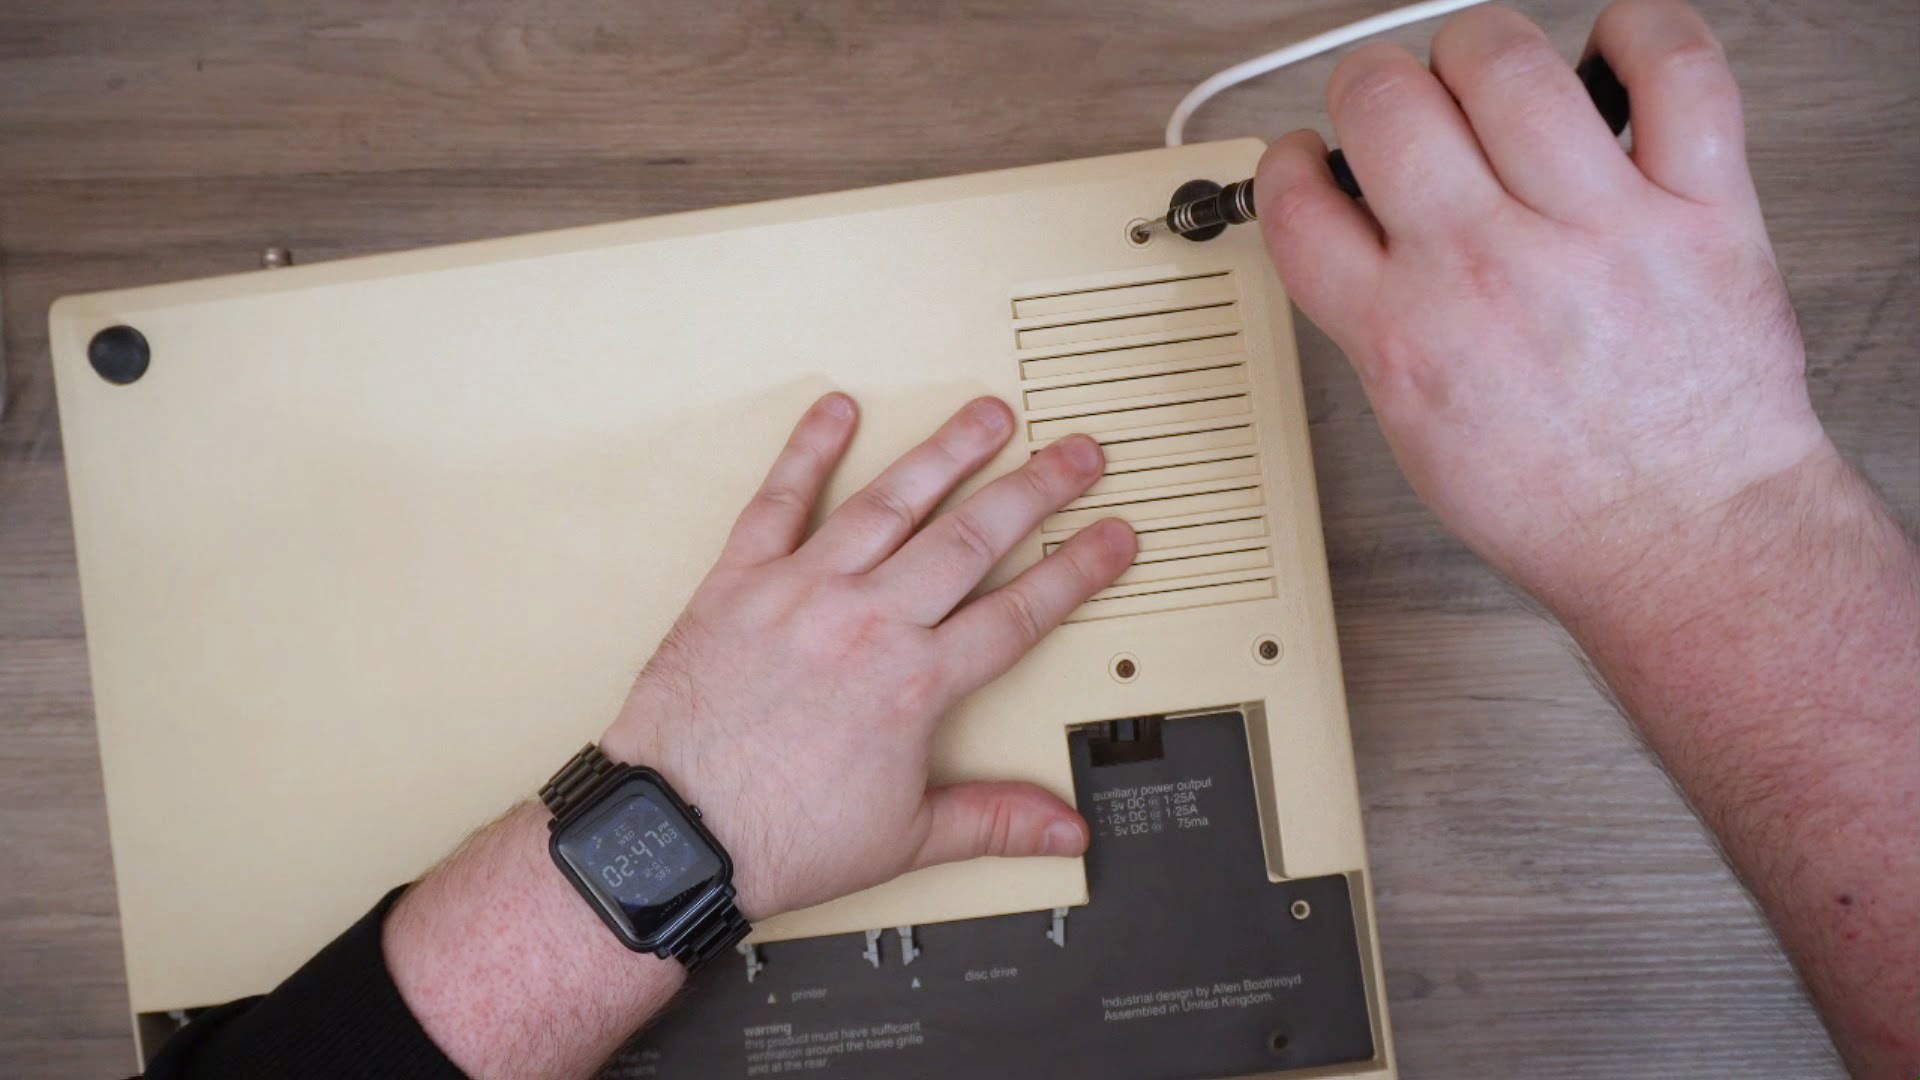
Removing the power supply
Next I want to remove the power supply. There’s three screws on the base of the case holding it in place. There are three pairs of black and red wires as well as a blue wire for powering the board. They pull out fairly easily, just be careful not to break the pins on the board. The power supply can now be removed and the lead and plug fed through the case.
Disconnecting video out
The main board is held in place with four screws and washers. Once removed the board can be lifted up but not removed as there are wires for the video output soldered to the connector. Unfortunately you can’t simply remove the connector and you will need to at least cut the red wire to remove it. I am not planning to use the RF output as I have a scart lead, so you can leave it disconnected or simply solder it back on afterwards.
Removing the main board
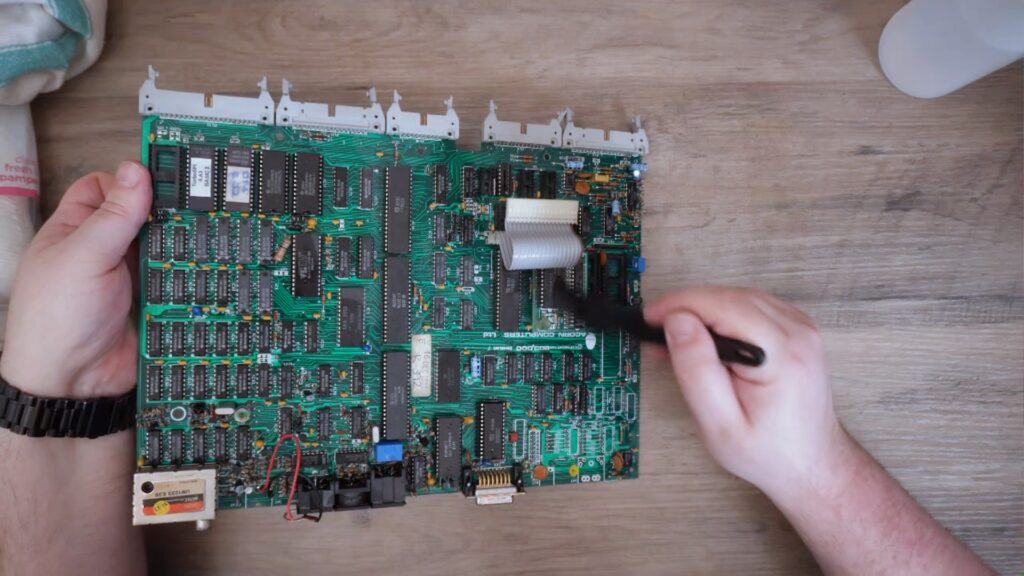
The main board can now be removed by pulling it towards you a little then lifting up. A quick check of the board shows everything to be in good condition.
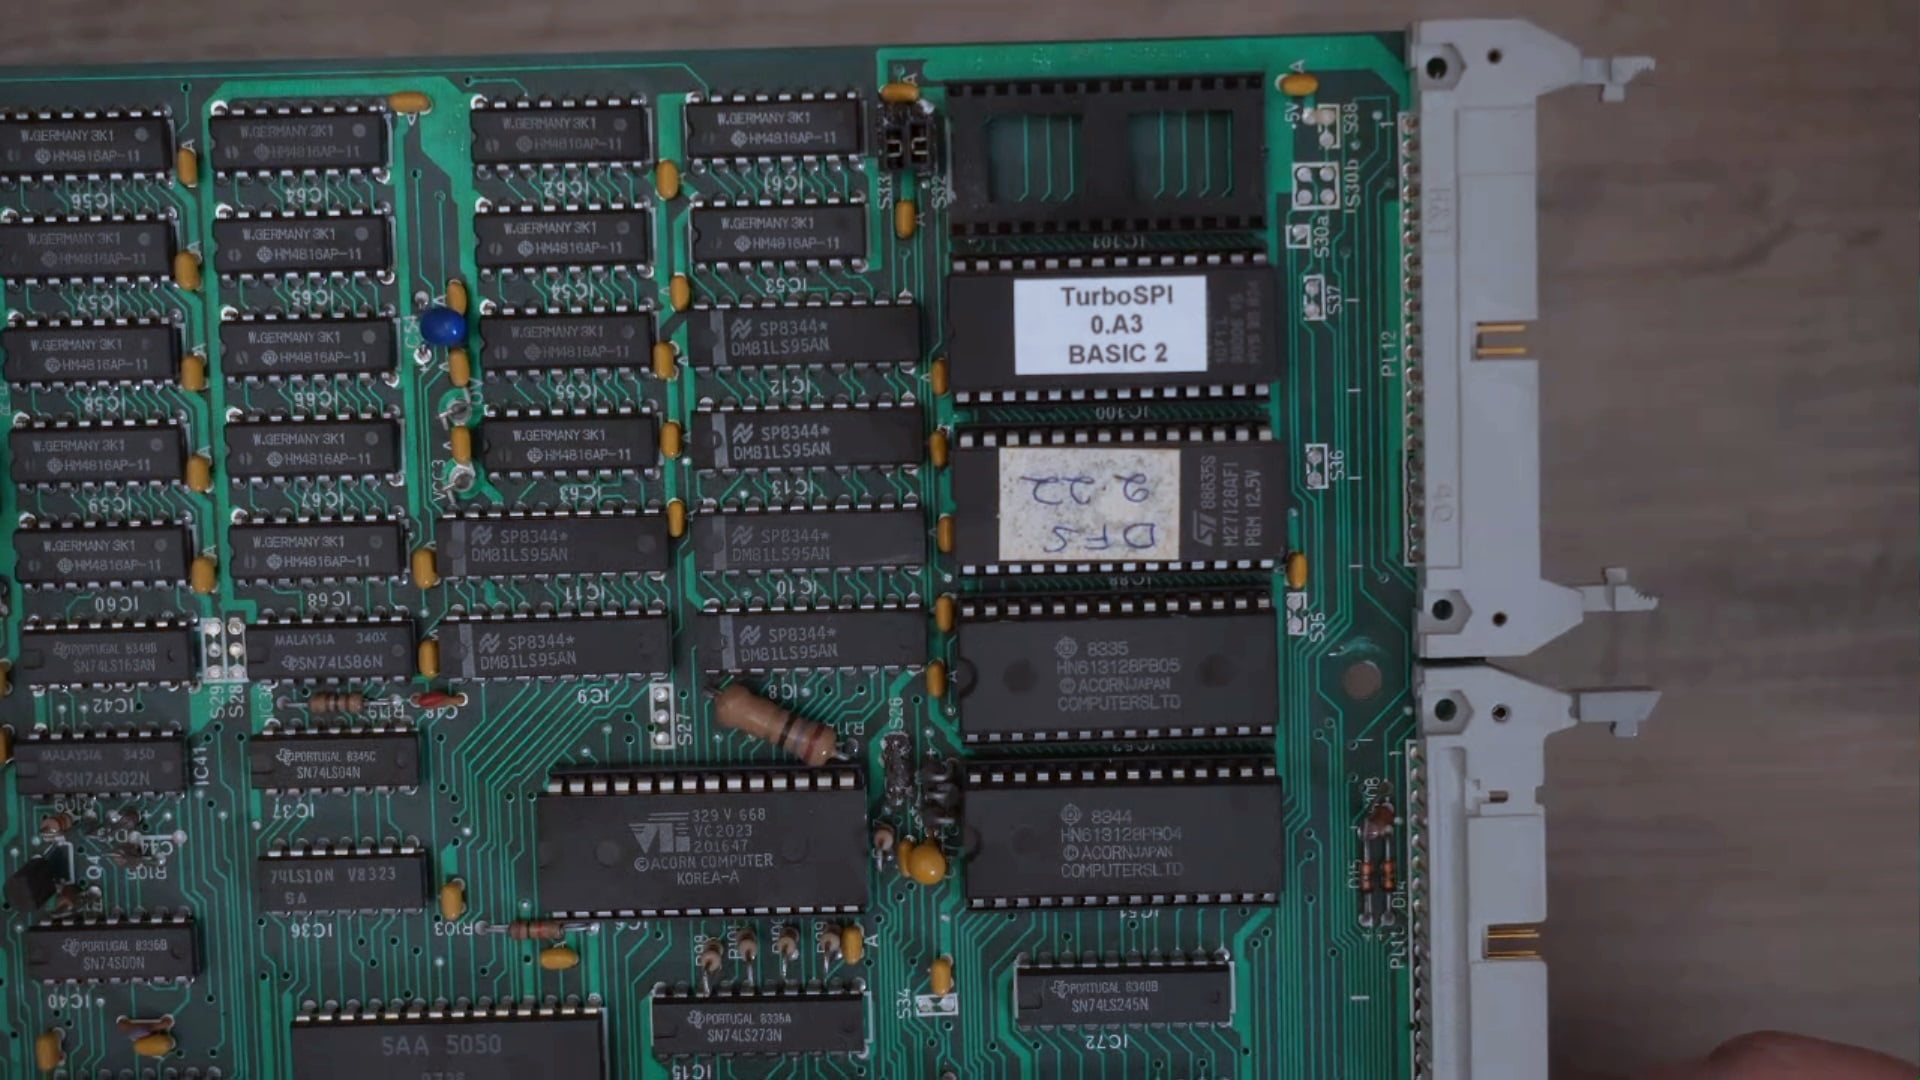
There are a couple of extra ROMS installed which are handy as it saves me buying them. The DFS and TurboSPI ROMS will allow me to use a disk drive and MicroSPI card which I will show later.
Cleaning the keyboard
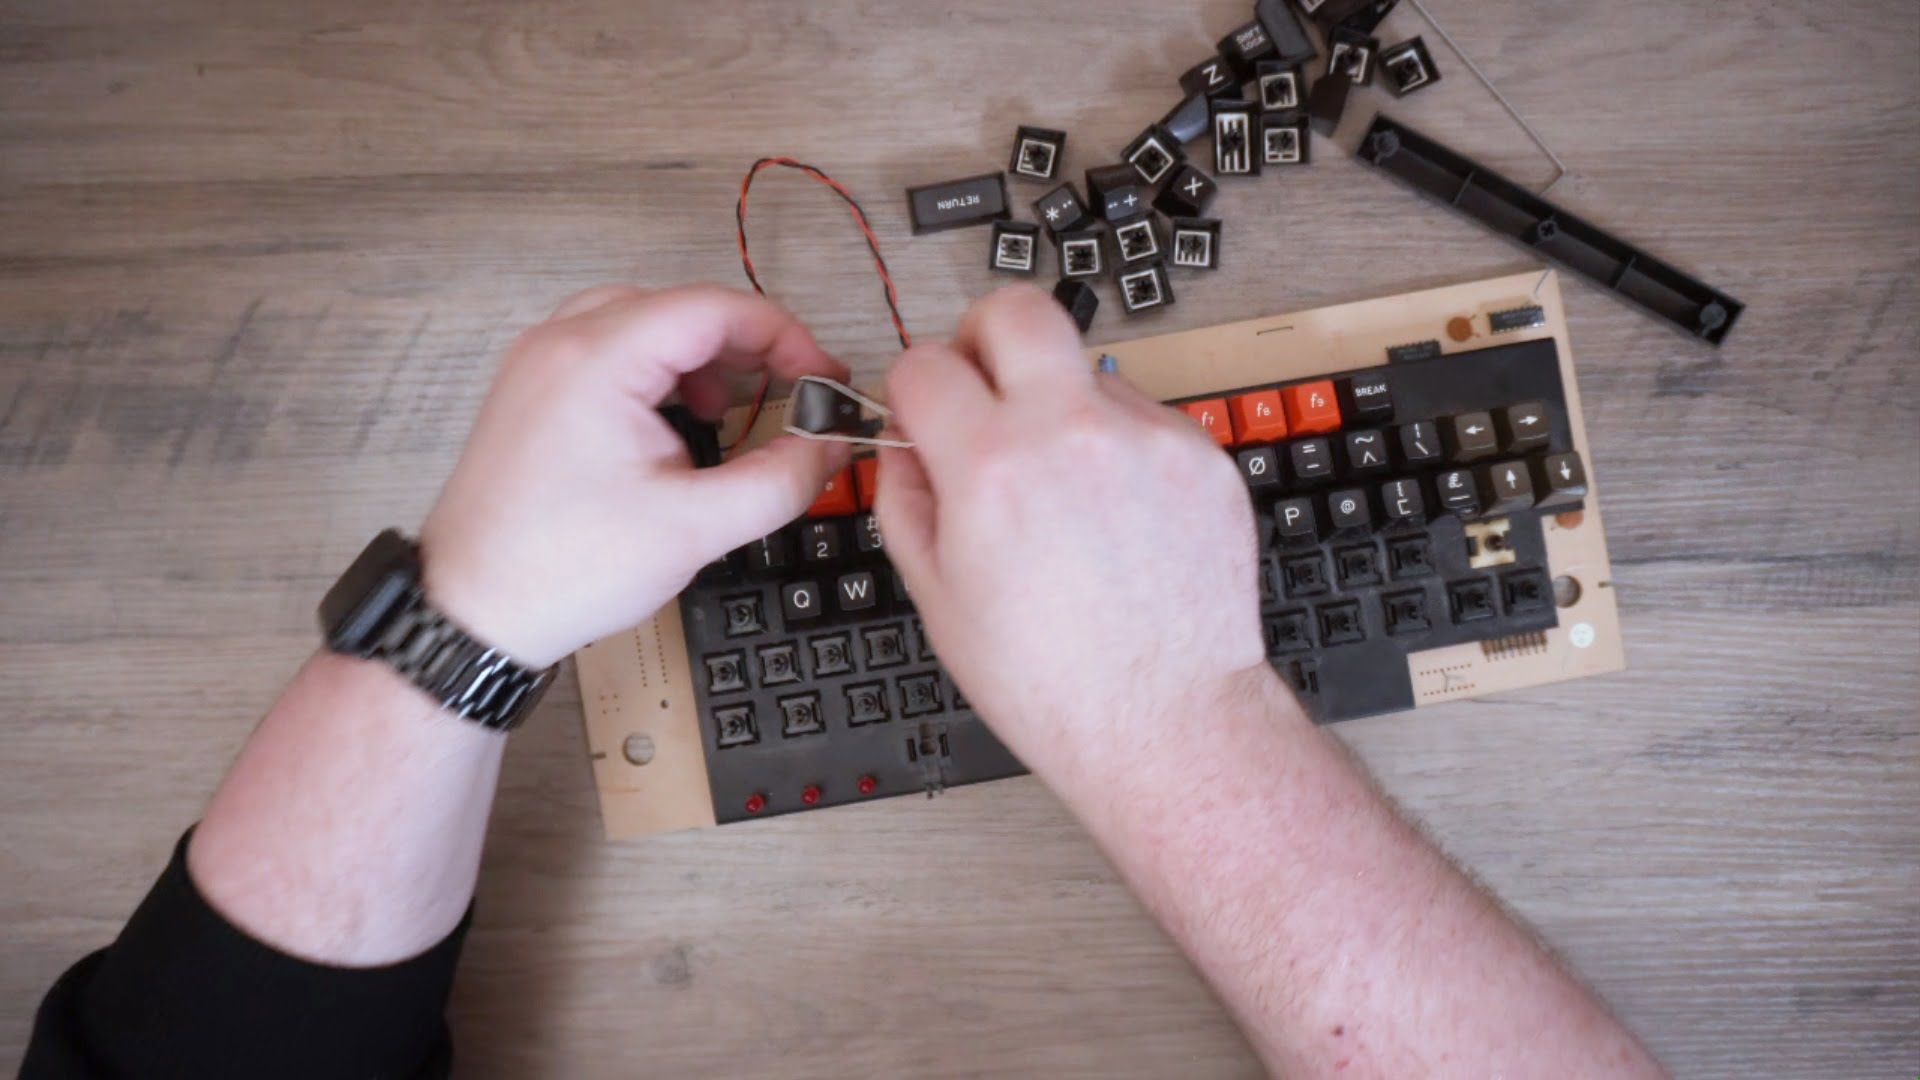
Time to get started on cleaning everything up. The keyboard does not look to be too dirty and not much debris underneath either which is good. Either it was previously cleaned or the owner looked after it very well. The keys are easily removed with a key puller. I hadn’t done this in a while so it took a bit of getting used to removing them again.
Once all the keys have been removed I let them soak for an hour in some warm water and a squirt of fairy liquid.
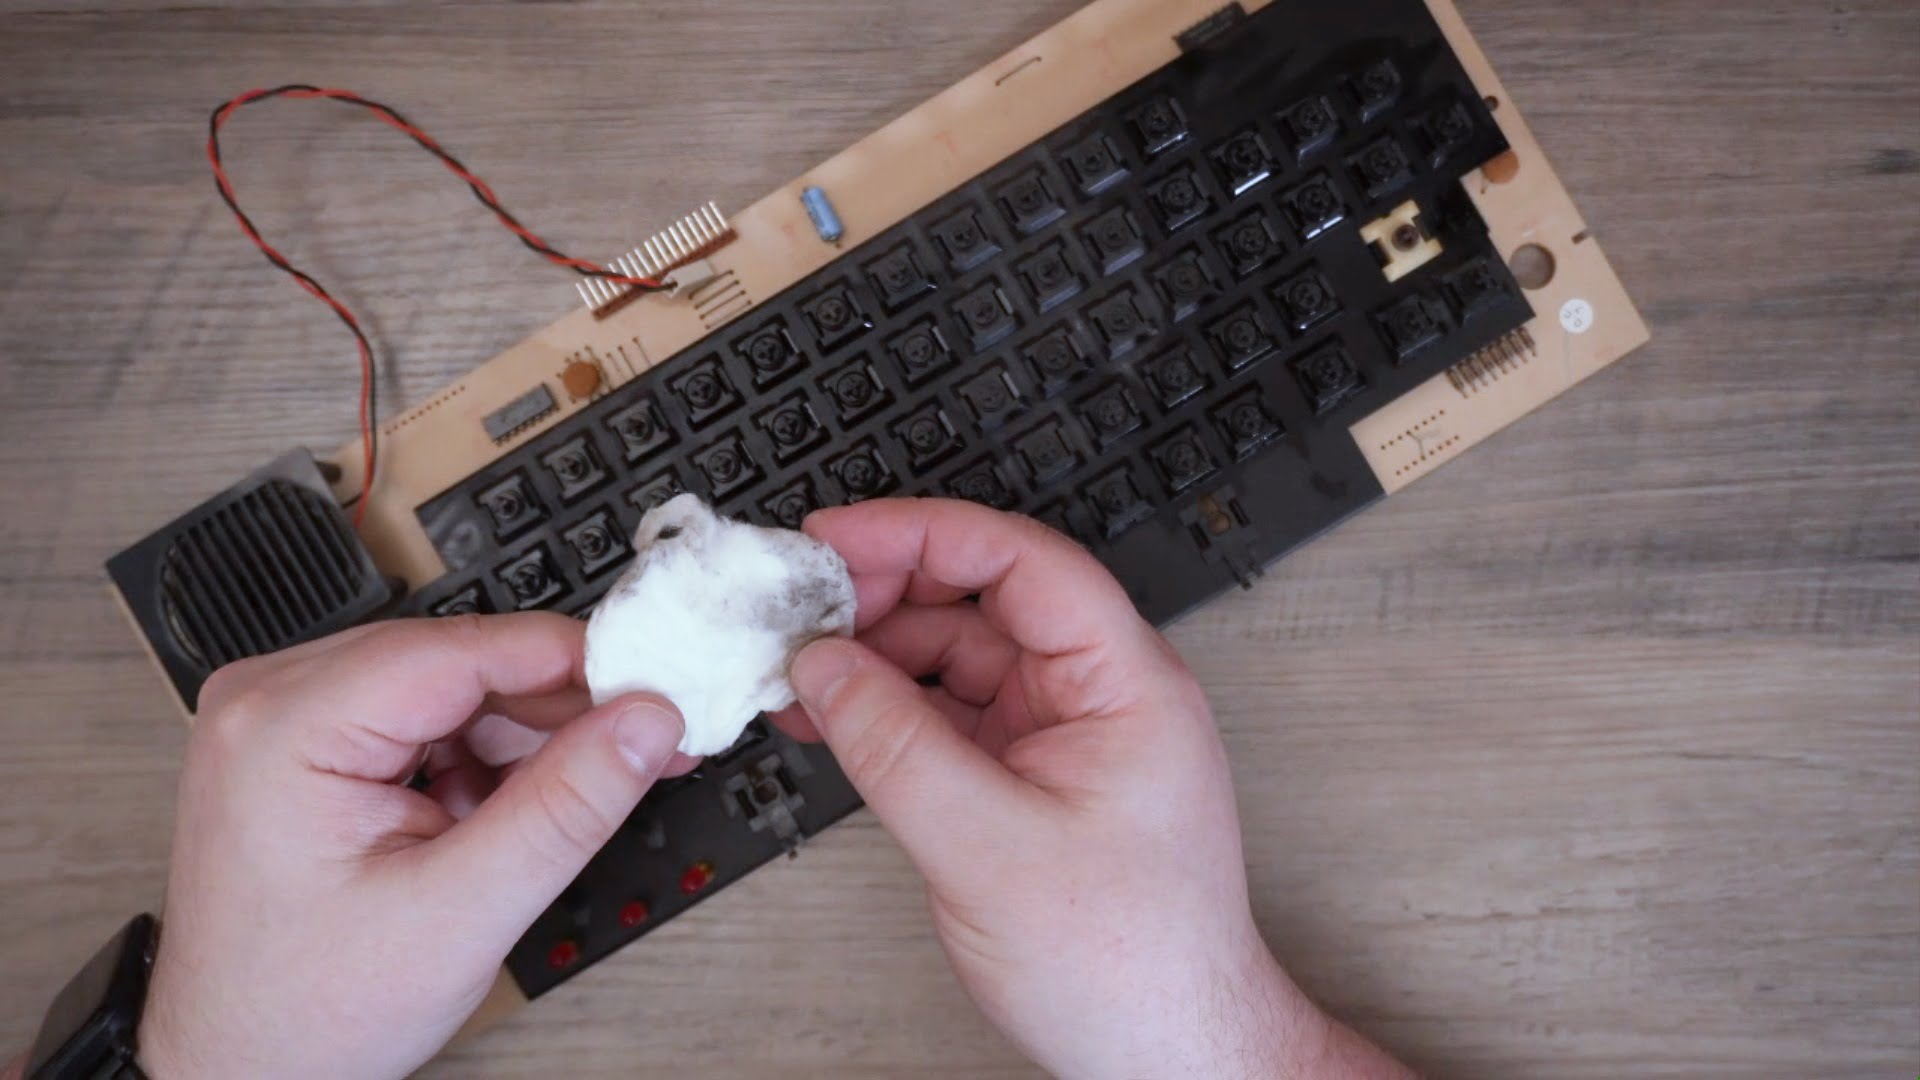
While the keys are soaking I continue with the keyboard. It is very clean compared to some keyboards I have opened up in the past. I gave it a quick blast of the compu-cleaner to remove any loose debris, there wasn’t much to be fair. Then I spray some IPA over the keyboard and wipe it over with some cotton pads. It picks up a lot of dirt which is a good result. I repeat the process again for any dirt I missed and we are done!
Cleaning the main board
Now onto the main board. It is fairly clean with a very thin layer of dust. I blow it over with the compu-cleaner to remove any loose dust. Then I spray some IPA and brush it with an anti-static brush. For the user ports I spray some contact cleaner and brush them to remove any grime.
Drying the keys… boring!
The keys have had a good soaking so it’s time to wipe and dry them all off. Thankfully they are black keys and the text is not too yellowed. They clean up quite nicely so I wont be retrobrighting them. I let them dry naturally a little longer to ensure there’s no water on the inside parts.
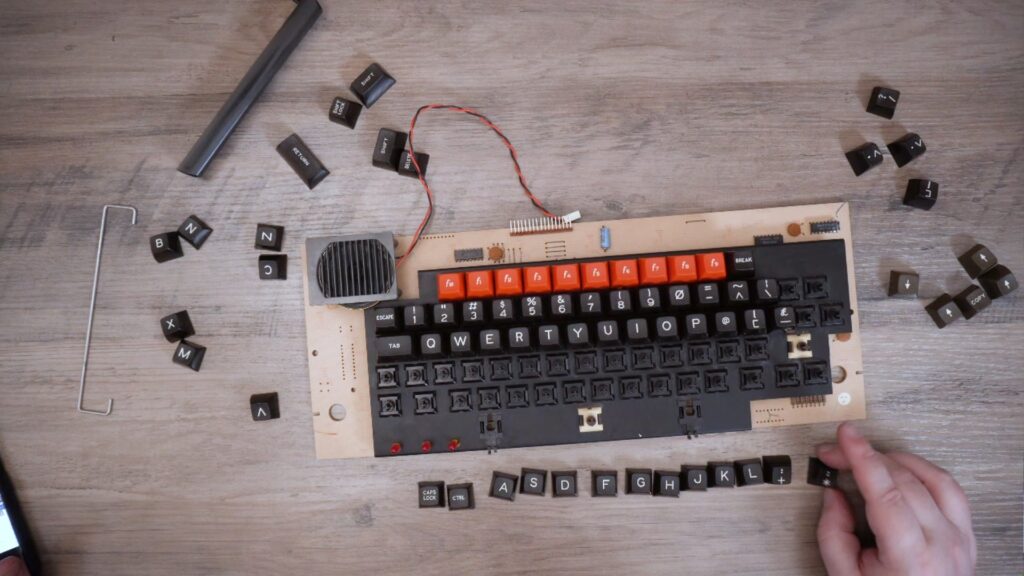
And now to put all the keys back on the keyboard. I only managed to fuck up once so that’s not too bad 🙂 The space bar as always on these old keyboards was a bit of a pain in the arse to put back in, but not as bad as other computers.
Now it’s time to tackle the power supply. There are three capacitors in particular that are very prone to breaking. If you watch any other restoration videos for BBC Micro’s you will see some nasty leaks and corroded boards. Thankfully the capacitors have not blown on this one, but I won’t take my chances, I will replace them now rather than tempting fate by doing it later.
Off camera, I washed the top and bottom half of the case in some warm water and fairy liquid, trying not to damage any of the original stickers. There were still some stubborn stains which came off with a bit of IPA and a cotton pad.
Rebuilding the BBC (I wish someone would!)
Now it’s time to put everything back together. This retro restore process is far faster when you are not waiting a couple of days to retrobright cases and keys!
I start with the main board which slots back into place. I also reattached the black wire for the video output and will solder the red wire back on later, I haven’t forgotten about it.
The newly capped power supply is next to be fitted. I put the power plug and cable back through the hole in the case and put back the three screws to hold the case in place. It was a bit tricky holding the power supply in line and screwing it by yourself, but I persevered and got it done 🙂
Next the power cables need to be refitted on the main board. I refer to some photos I took to ensure that I have plugged them in correctly.
And now the keyboard can be fitted. Before that I reconnect the speaker to the main board and reattach the keyboard data cable. Then the two nuts and bolts are put in to keep the keyboard secure.
And finally we can fit the top half of the case with the four screws
Usually I do a before and after comparison but to be honest the BBC Micro was already in pretty good condition. Apart from some dirt on the top half of the case, and the keyboard looking cleaner you would be hard pressed to see much difference.
Power Up!
So let’s get this powered up and see if it works. I am using a RGB Scart cable which is connected to my OSSC which outputs HDMI to my capture card and monitor.
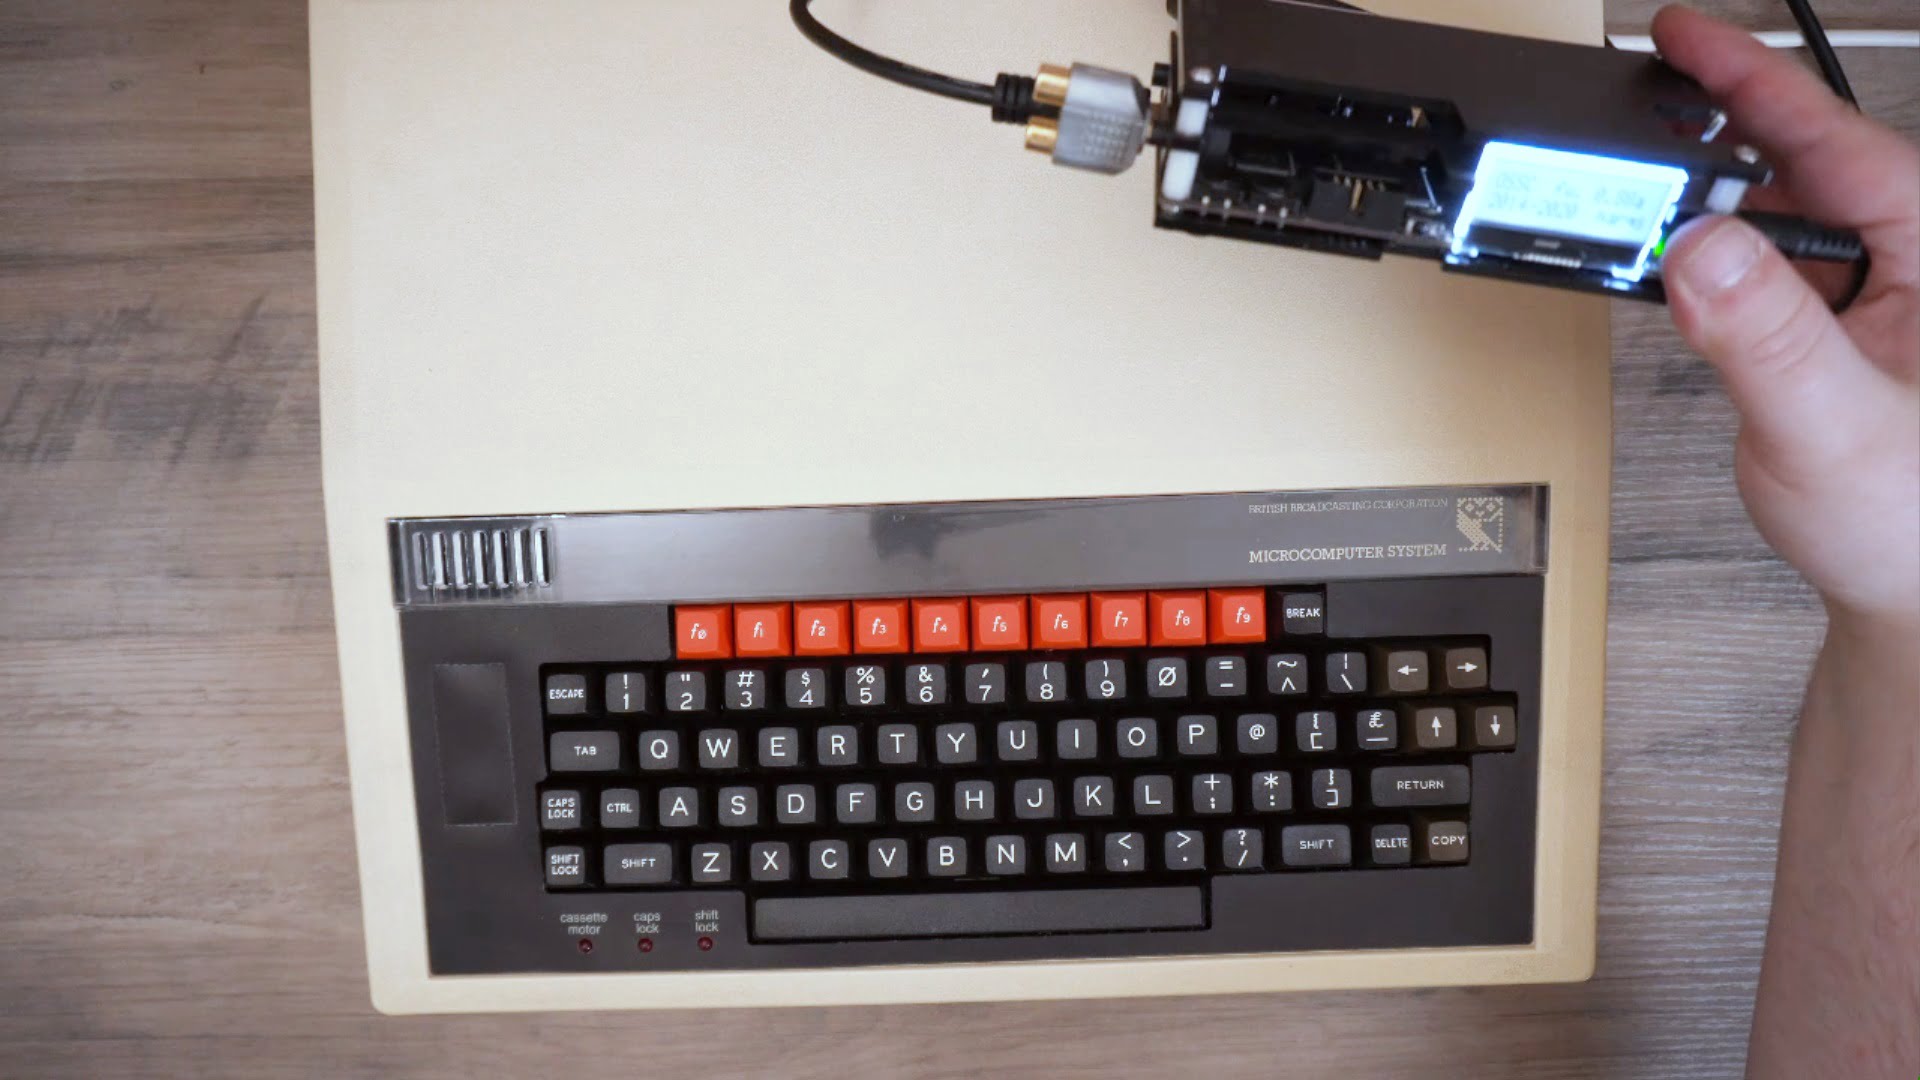
The BBC Micro beeps and I can see the LEDS lit up which is a good sign. And we have video although for some reason on my capture card it is slightly jumpy, I think OSSC needs a little tweaking.
I test the keyboard which seems to be working and also a quick check to see that the ROMS are present. Now for some fun stuff
The TurboSPI
We have a small gadget called a TurboSPI, I believe there are other names for them such as MicroSPI. It is essentially a storage upgrade for the BBC which allows you to store all your BBC Micro games on a SD Card.
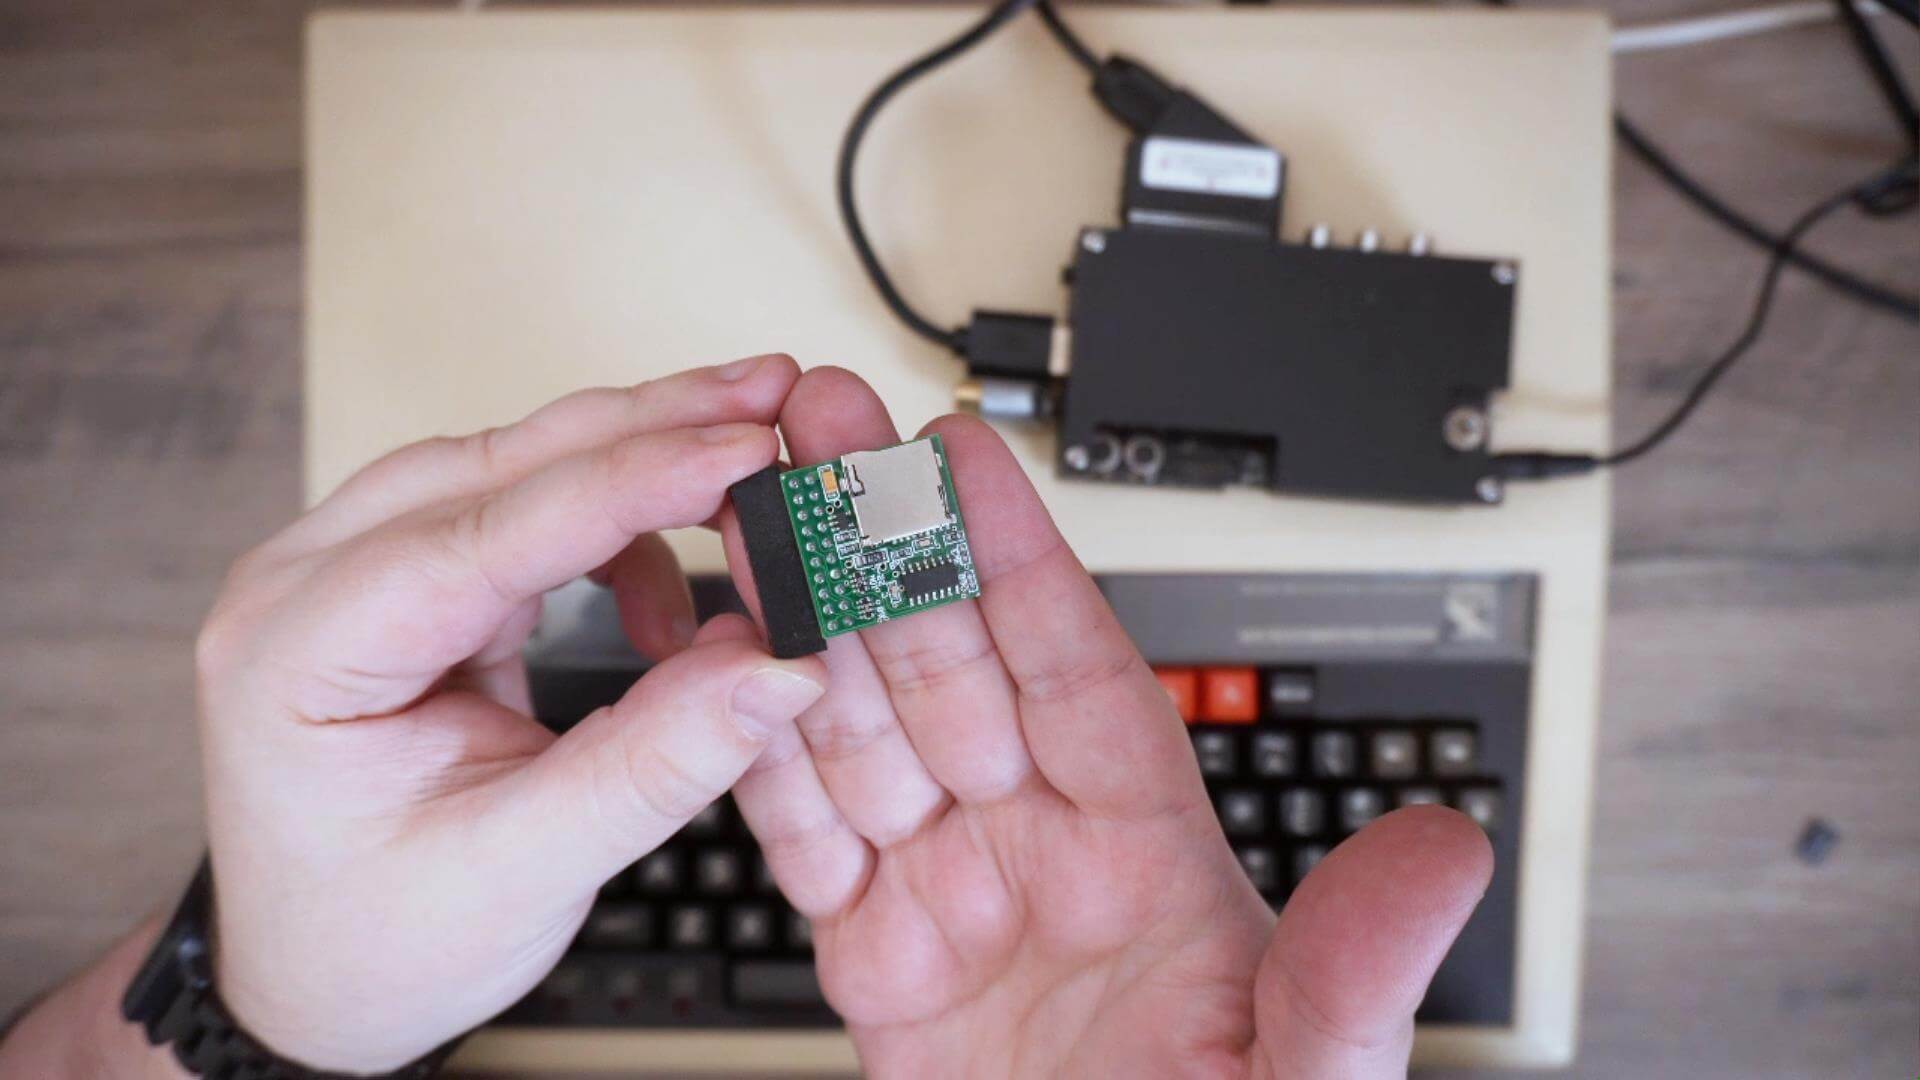
The TurboSPI plugs into the User Port on the bottom of the Micro. There is a notch on the connector to be sure you are plugging it the right way in.
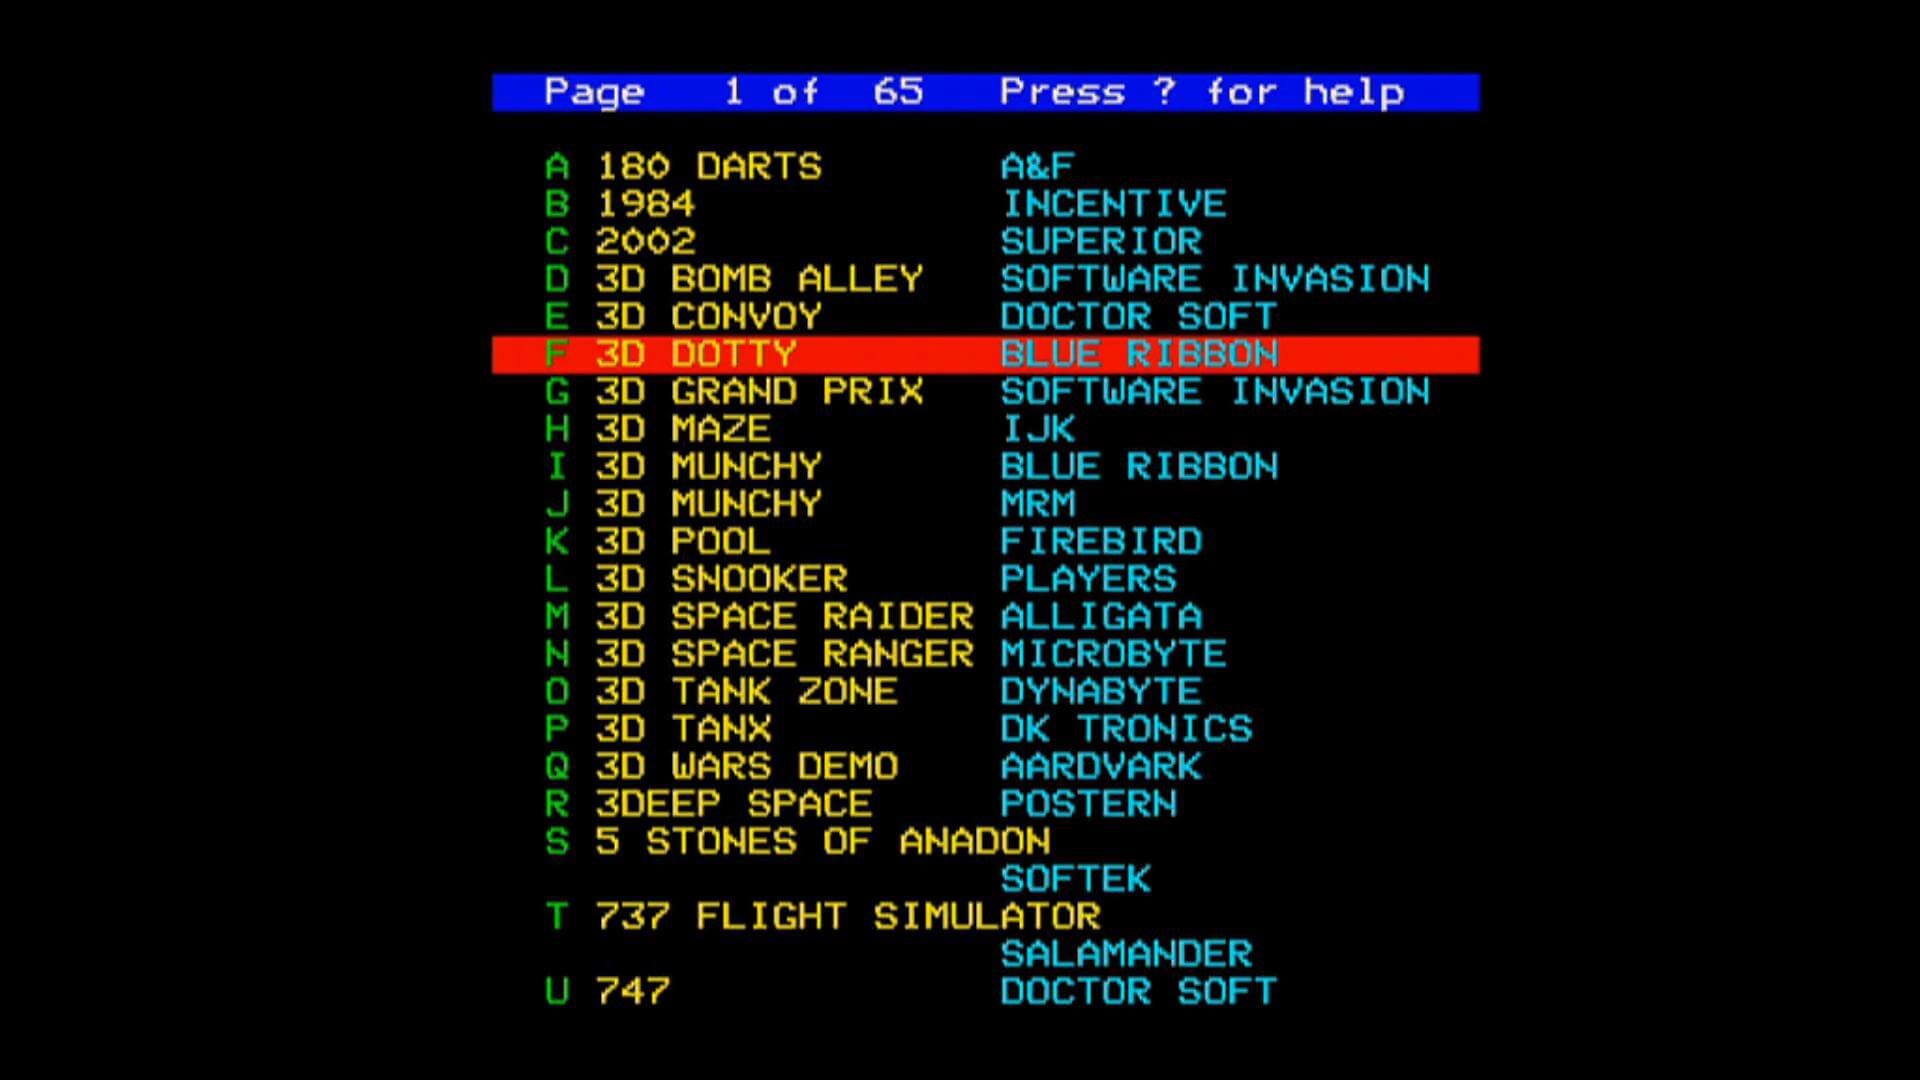
Switching the BBC back on we can now see the Turbo MMC is present. By holding SHIFT and pressing BREAK keys, it will load into the menu. From here you can navigate with the cursor keys and skip to a game with its respective letter of the alphabet.
Lets load up the classic Arkanoid. Unfortunately I do not have a joystick for the BBC so I will be controlling it with the keyboard.
Arkanoid loaded up near instantly and we are straight into the game with no issues. The game looks great and definitely not like the teletext graphics I remember back in my school days 🙂

Next is another classic game, Boulderdash. Again it loads instantly and is very playable.
And another classic, Jet Set Willy. The graphics are decent, it reminds me of the speccy version without the colour clash 🙂
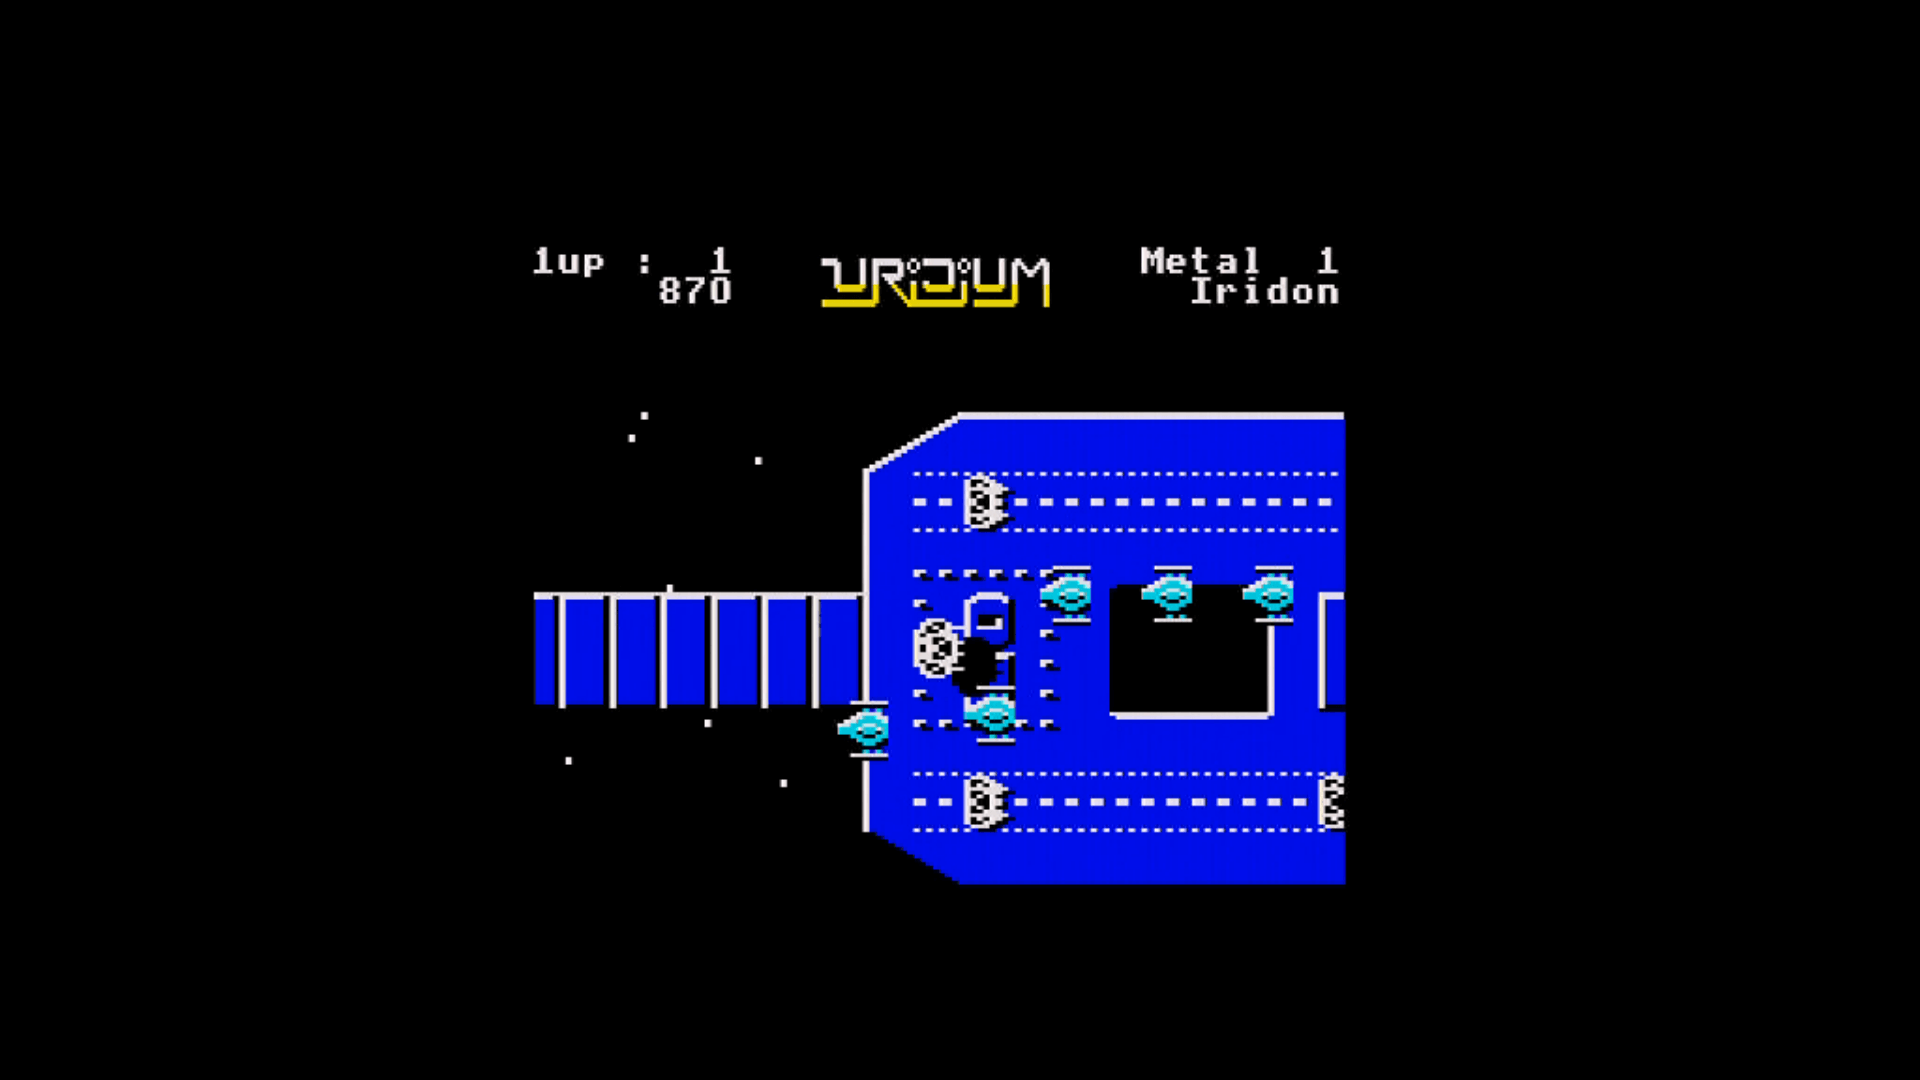
And to finish up, a brief go on Uridium which also looks and plays very well, though I wish I had a joystick as its hard to play on keyboard!
Final Thoughts
This was a fairly easy retro restore, mainly because the BBC Micro was already in pretty good condition. All it needed was a full clean, and no time consuming retrobrighting. Everything works great and with the new capacitors in the power supply it should keep running for a long time now.
That wraps up this BBC Micro Retro Restore, we hope you have enjoyed it!