Table of Contents
You have your Miyoo Mini Plus and want to know what you can do with it? We have what will be a regularly updated guide on how to use and get the best from your Miyoo Mini+ retro gaming handheld.
[16th May 2023] DroiX now have stock of Miyoo Mini Plus and more coming this week!
[19th April 2023] Added images to the guide
[16th April 2023] Added useful software section
[11th April 2023] Added stock firmware links and how to install/reinstall the stock firmware for Miyoo Mini Plus.
[8th April 2023] First version of this guide.
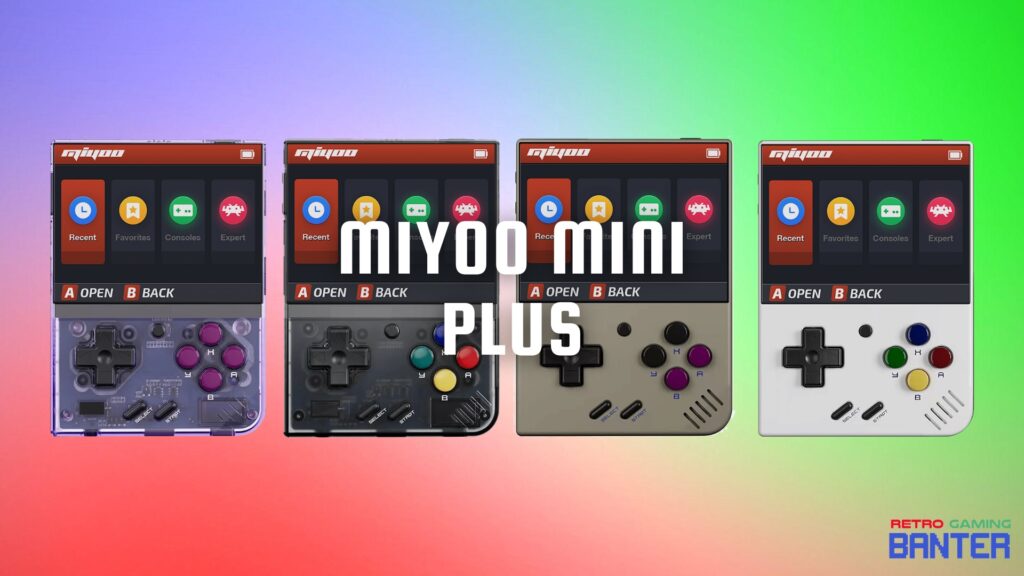
What is the Miyoo Mini Plus?
The Miyoo Mini Plus is a new handheld gaming console that was released in March 2023. It is the big brother of the original Miyoo Mini which was released towards the tail end of 2021.
The device has a powerful ARM Cortex A7 dual-core processor @ 1.2GHz, a crystal clear 3.5” IPS display @ 640×480 resolution, 128MB RAM & 64GB storage – Up to 128GB Micro SD card, and a 3000 mAh rechargeable battery that lasts for 4-5 hours based on usage.
It is available in grey, white, black transparent, purple transparent. It also supports RetroArch which supports over a dozen retro games consoles.
Where to buy the Miyoo Mini Plus?
We highly recommend buying the Miyoo Mini Plus from DroiX. They are currently in stock and shipping worldwide!
There are other sellers but we have heard many reports of units with screens detaching from the device and other issues. These sellers provide no warranty should anything go wrong.
DroiX only sell high quality Miyoo Mini Plus devices and offer a full one year warranty with excellent customer service.
Where to find ROMS and BIOS for Miyoo Mini Plus?
We can not link to websites that host commercial game ROMS for the Miyoo Mini Plus. You can however find them on google very easily and then download them providing you own the original game. We can however link to homebrew games which are freely available.
- PDROMS – https://pdroms.de/ – The largest source of homebrew games for many consoles and computers.
- GameBrew – https://www.gamebrew.org/
Adding ROMS to your Miyoo Mini+ micro SD Card
Remove the Micro SD card from your powered down Miyoo Mini+ Plus.
Next insert the card into your PC and you will see a new drive appear with some folders:
- App – Contains some game software
- Emu – Contains the emulator software
- Imgs – Contains images such as box art
- Miyoo – Contains the miyoo mini+ plus OS
- RApp – Contains some software for gaming
- Retroarch – Contains some emulators and related files.
- Roms – ROM files are stored here, the folders resemble their console/computer names
Navigate to the ROMS folder and you will see a number of folders similar to below. These are the console/computer system name folders, for example
- amstrad
- atari2600
- cps1
- cps3
- neocd
- pce
You can now copy the files from your PC to the micro SD card simply by dragging and dropping, or copy and pasting, to their respective folders. For example Atari 7800 games would be put into the atari7800 folder, PlayStation 1 games in the ps1 folder and DOS games in the dos folder.
Once you have copied your files to the micro SD card, you eject it, then insert it into your Miyoo Mini+ Plus. You can now switch it on, it may take a little longer to boot this first time if you copied many games to the card. Just give it a minute or two and do not switch it off.
One the device has booted, you can now navigate the menus and find your newly added game files.
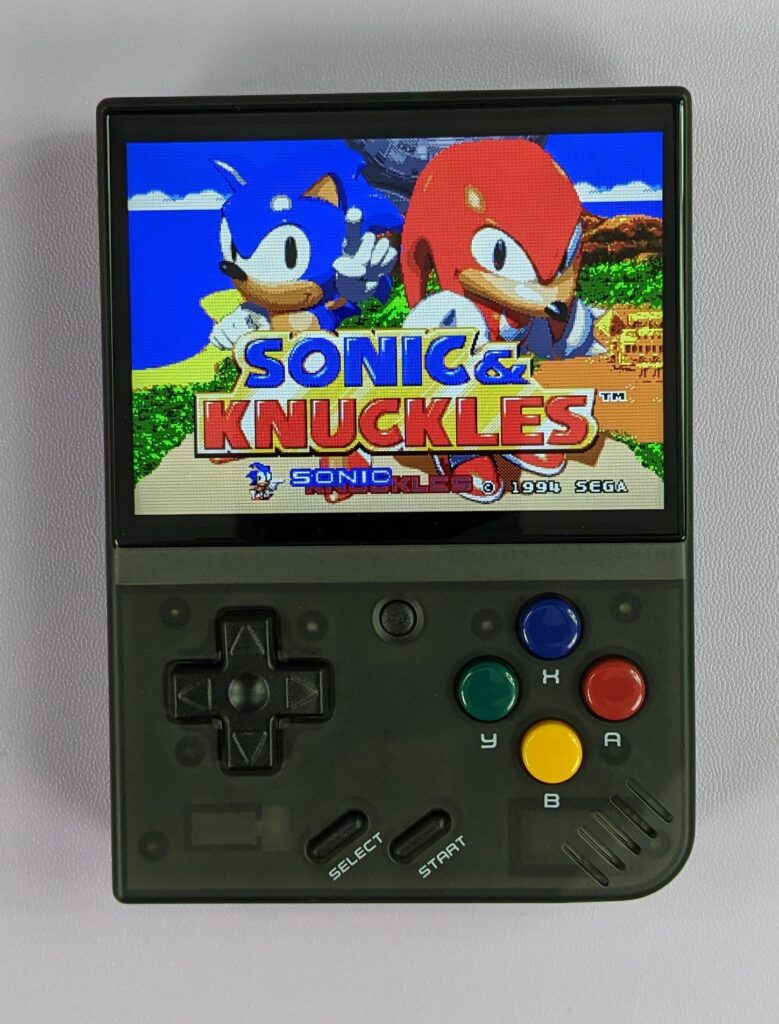
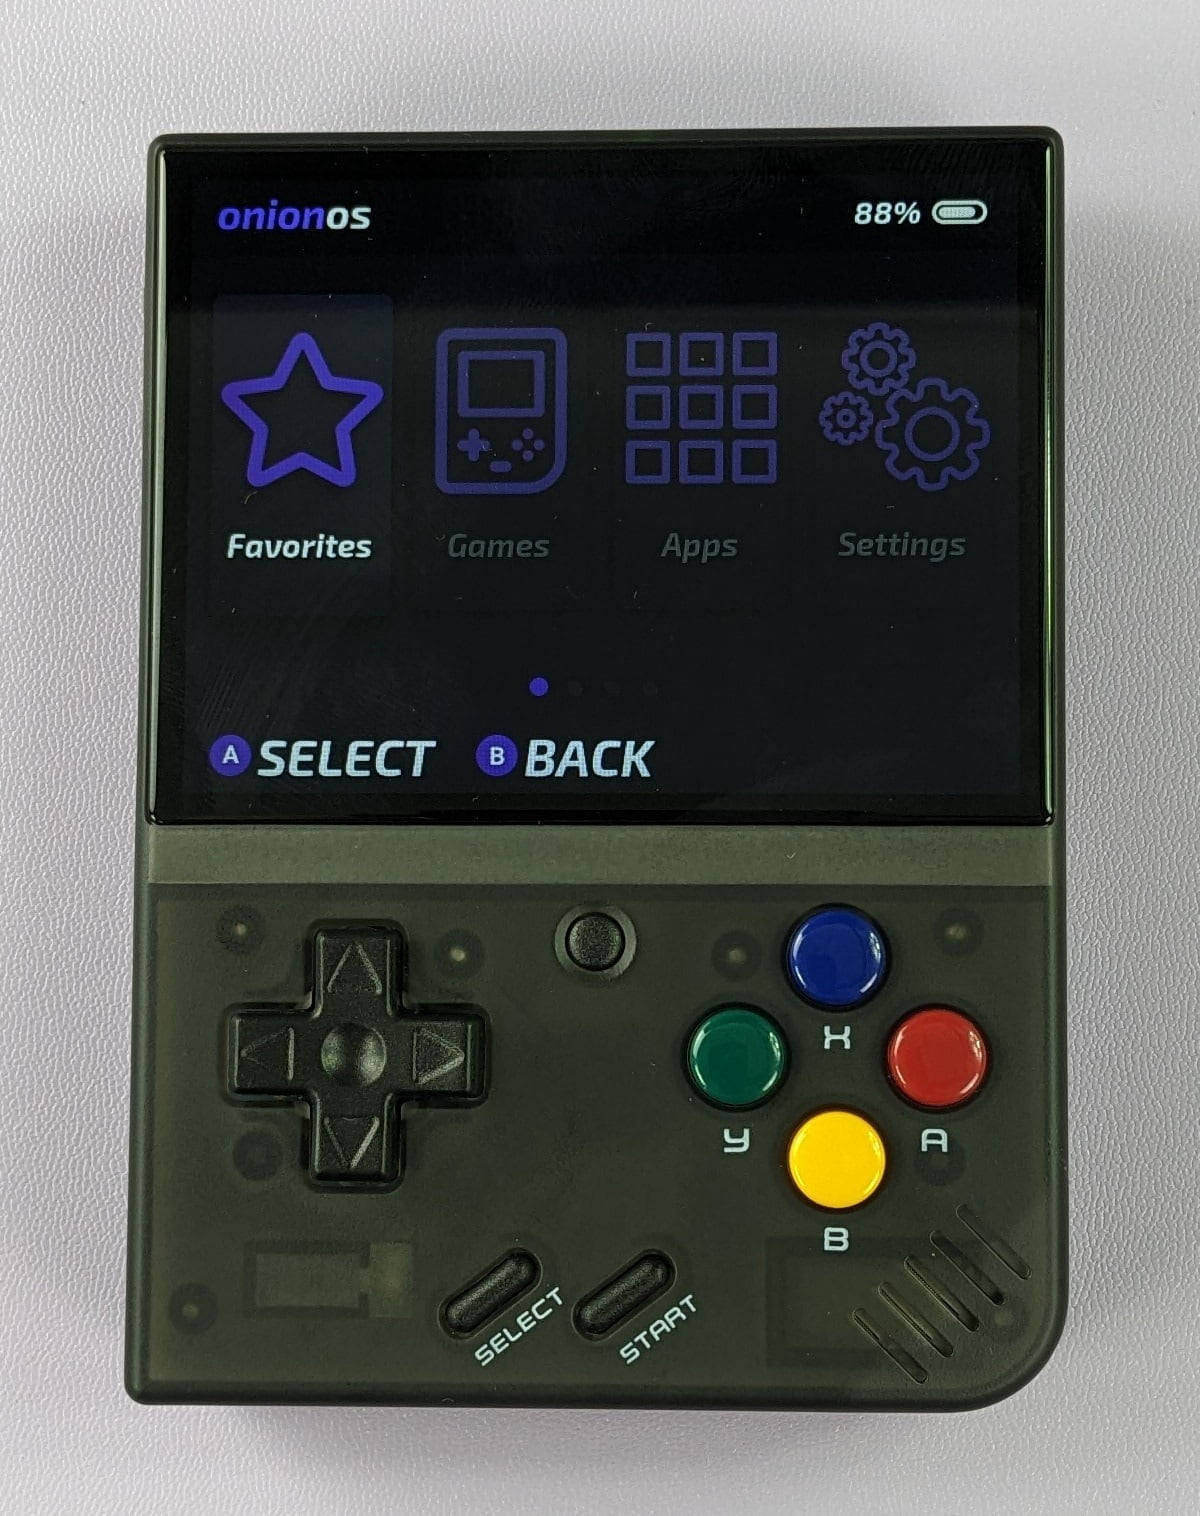
Using the Miyoo Mini Plus+
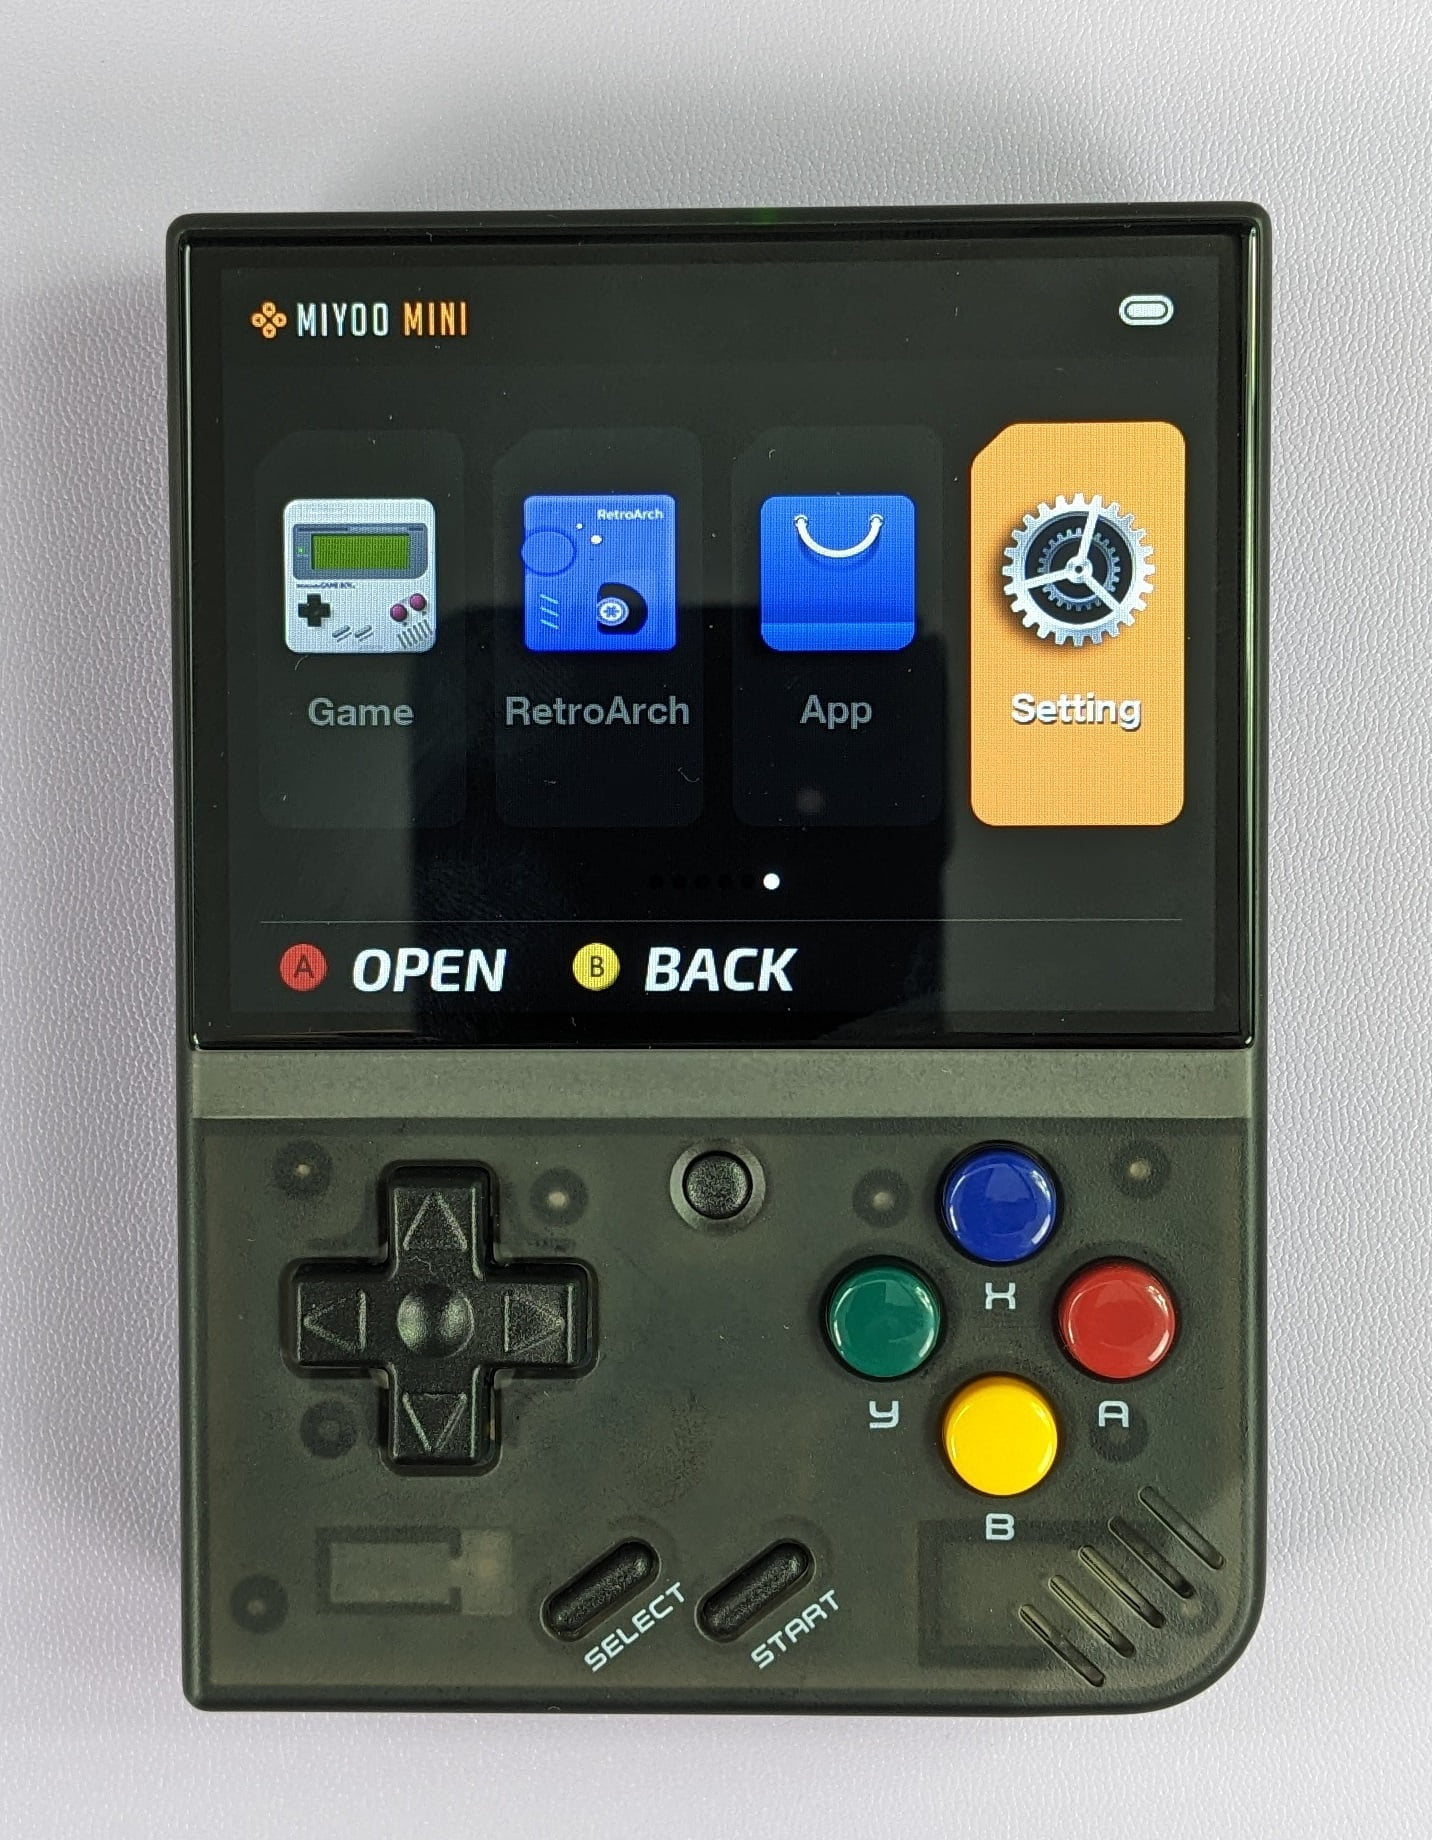
When you first boot you have the main menu, you can use the Left & Right D-Pad to change between the selected menu options. From Left to Right we have
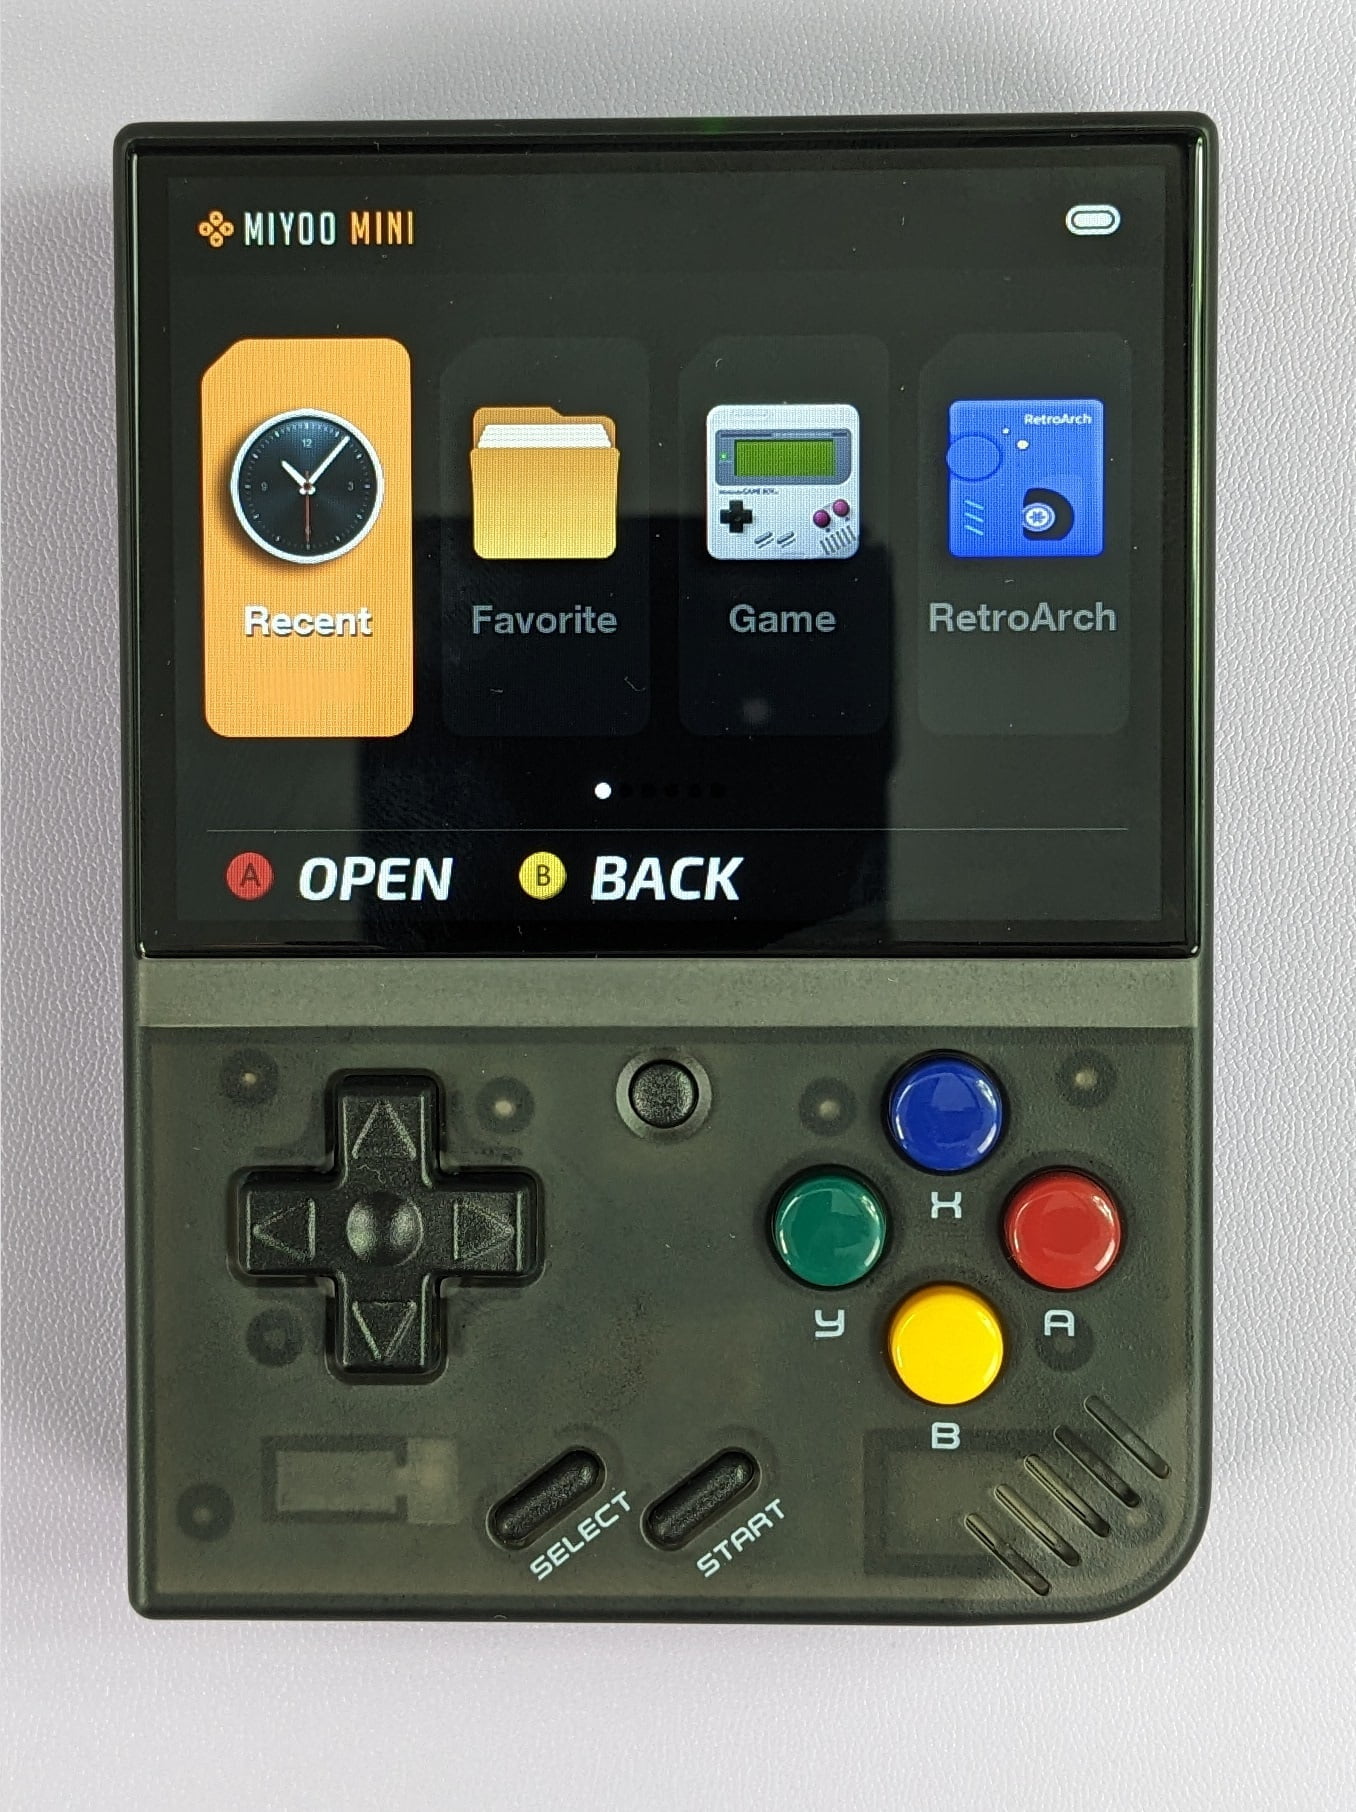
- Recent – Shows your recently played games
- Favourite – Shows your games that you have favourited
- Game – This shows a second menu with a number of individual emulators
- RetroArch – This shows a second menu with a number of emulators using RetroArch cores
- App – Shows apps installed on the Miyoo Mini+
- Setting – Access to a number of settings
Game Menu
The Game Menu has individual emulator applications and covers systems including Arcade, Mega Drive/Genesis, Master System, Neo Geo, PC Engine and PlayStation.
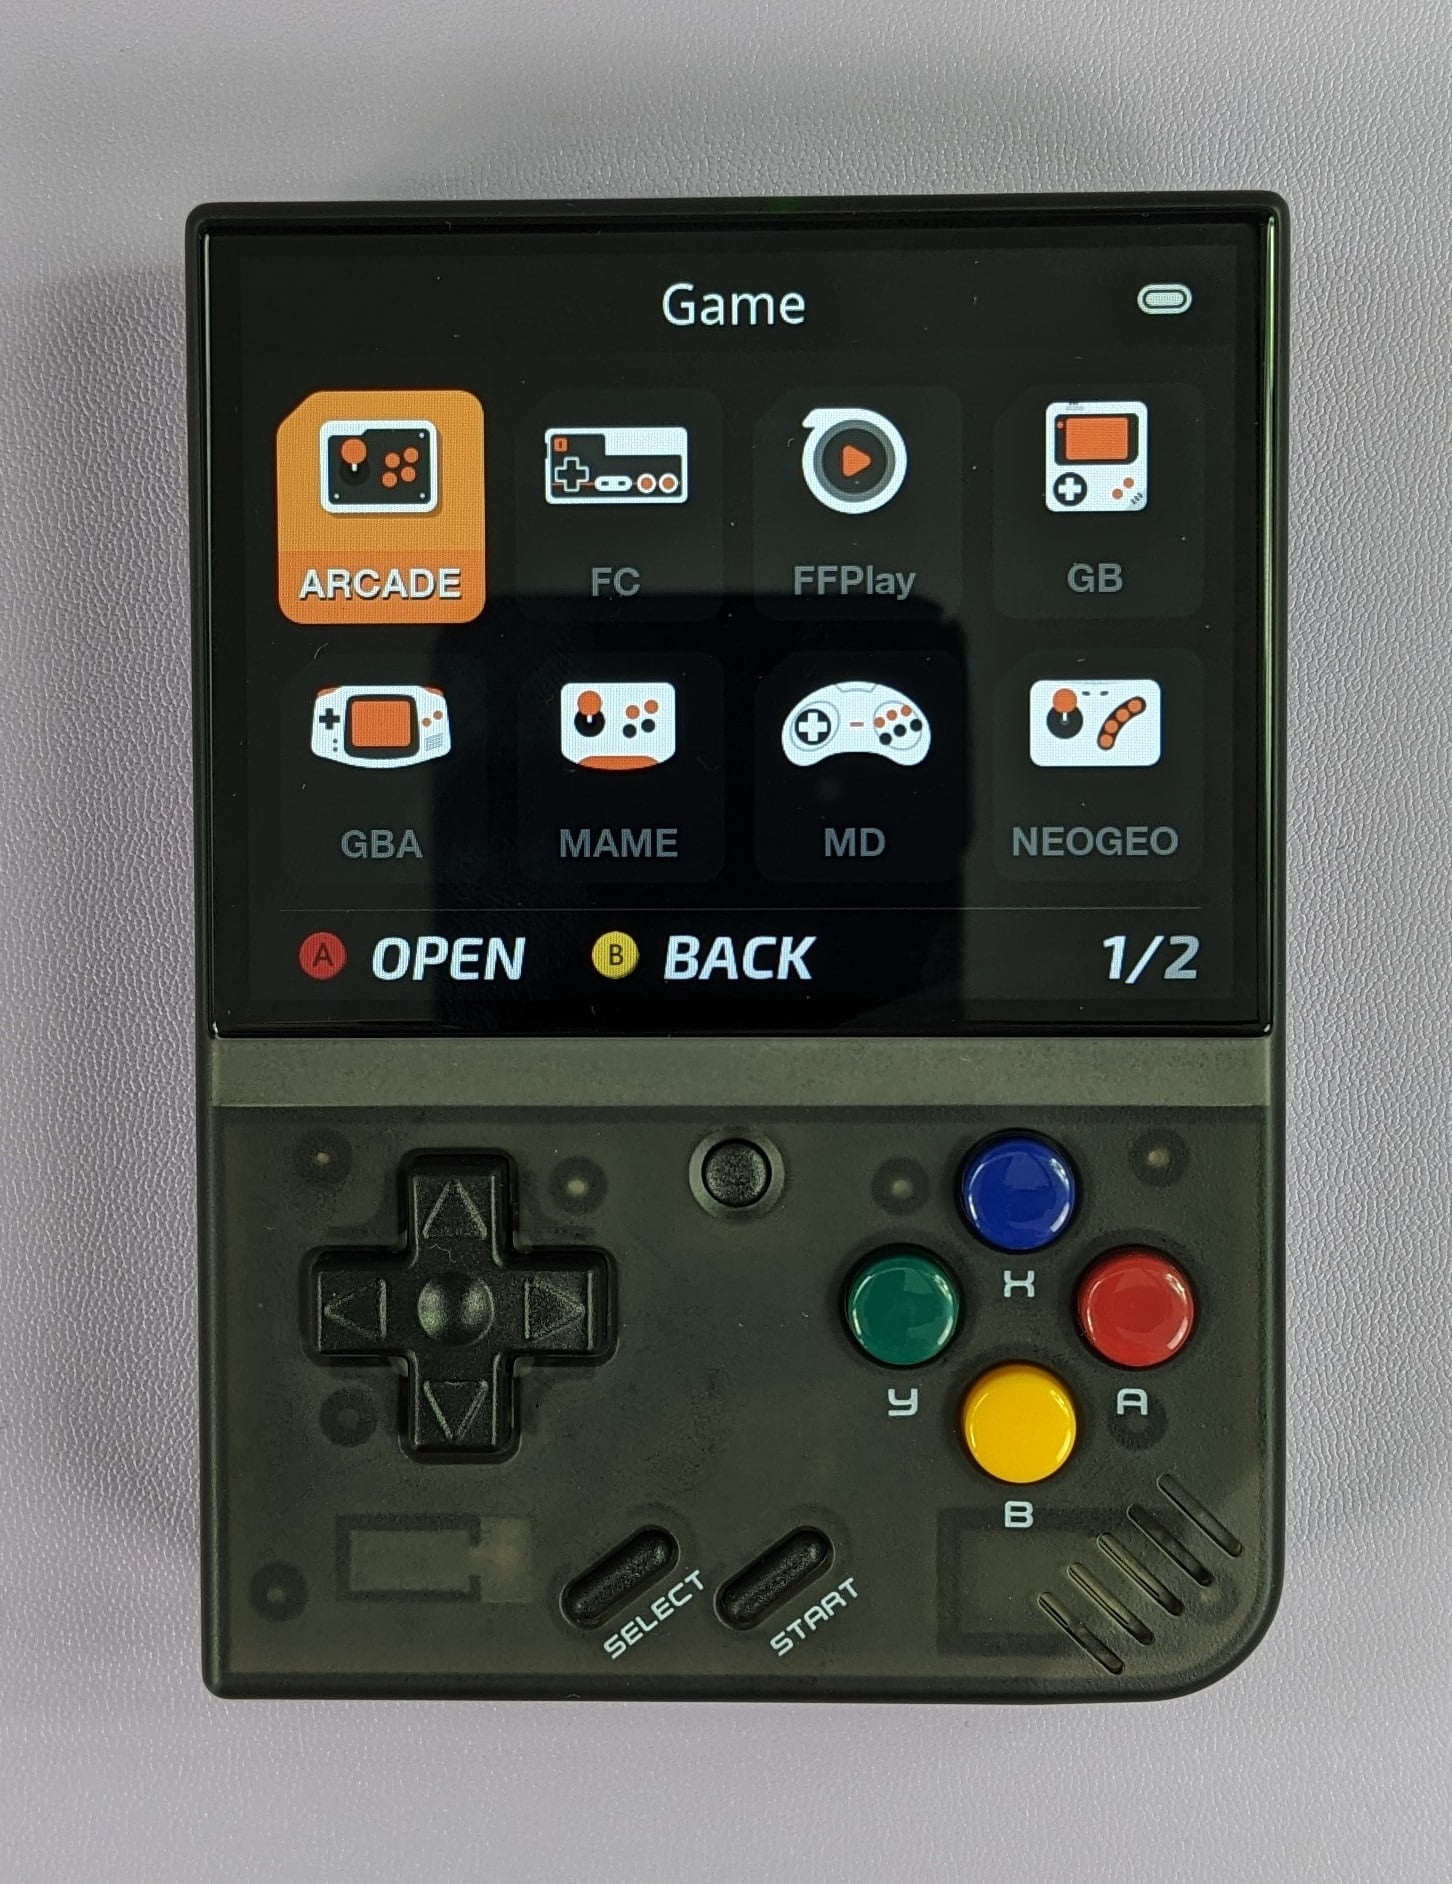

You may find that some emulators perform or have better quality than the RetroArch based cores (essentially emulator apps). You can navigate the systems with the D-Pad and select one to show a list of games for that system.
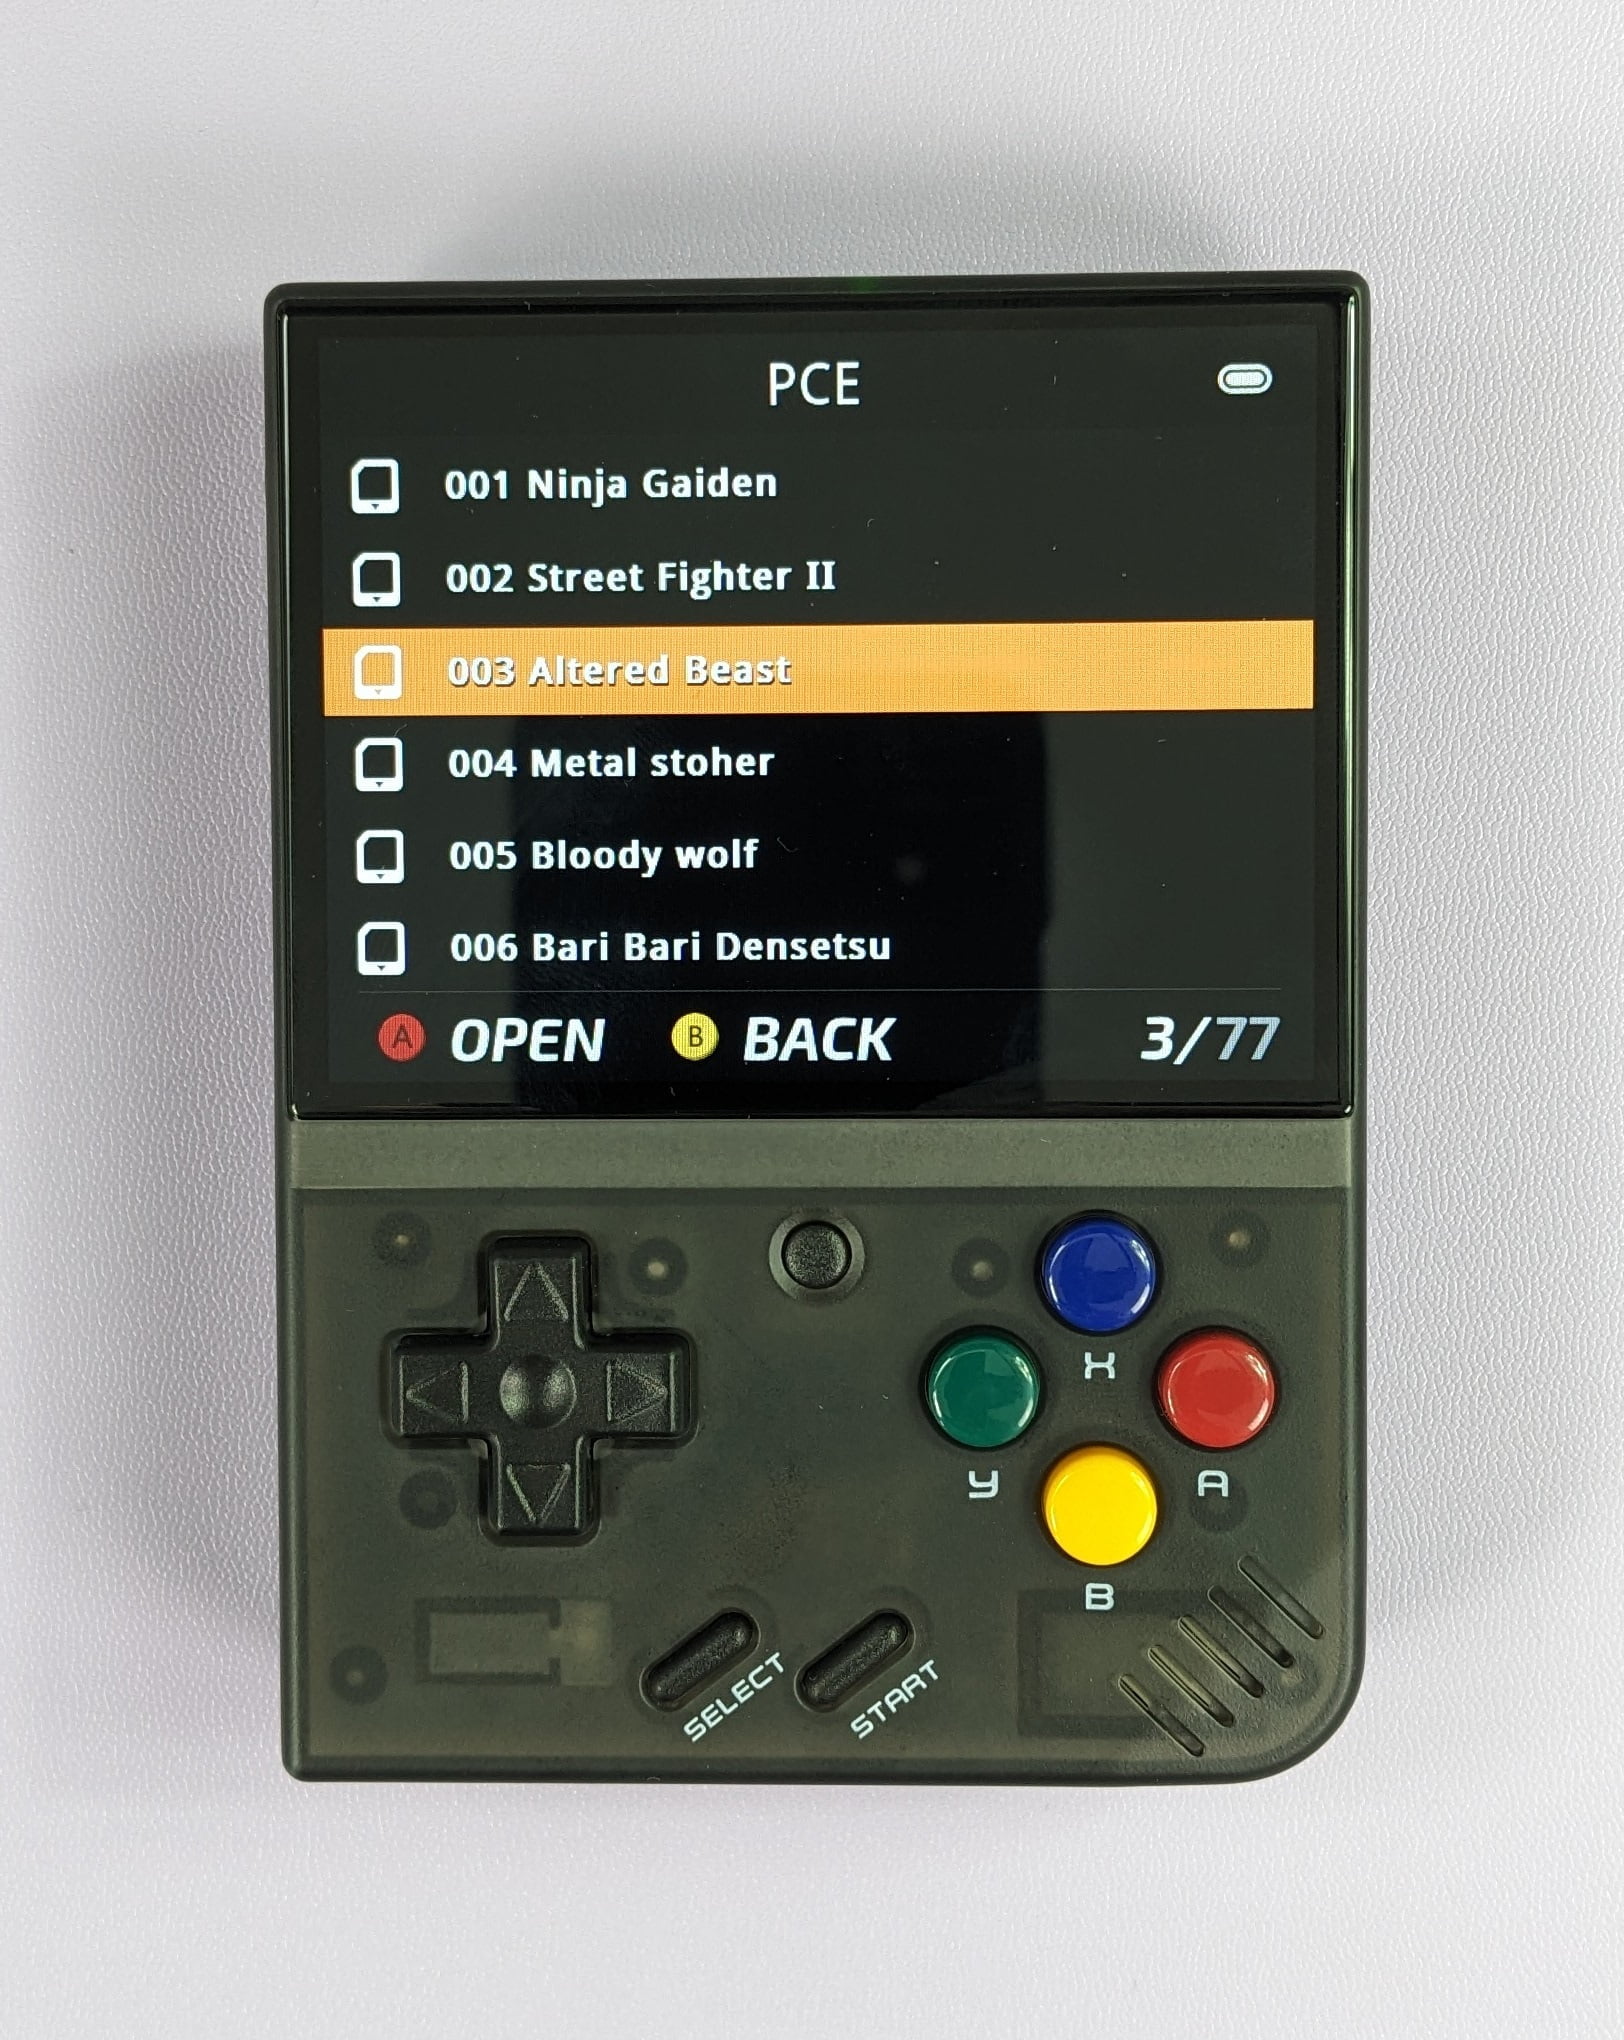
You can use Up & Down on the D-Pad to scroll through the list one by one, or the Shoulder buttons to skip forward or backward a page at a time for faster browsing. If you press Right then it may load the box art or in game screenshot preview. When you find a game to play, press A to choose it and it will take a few moments to load it into the appropriate emulator.
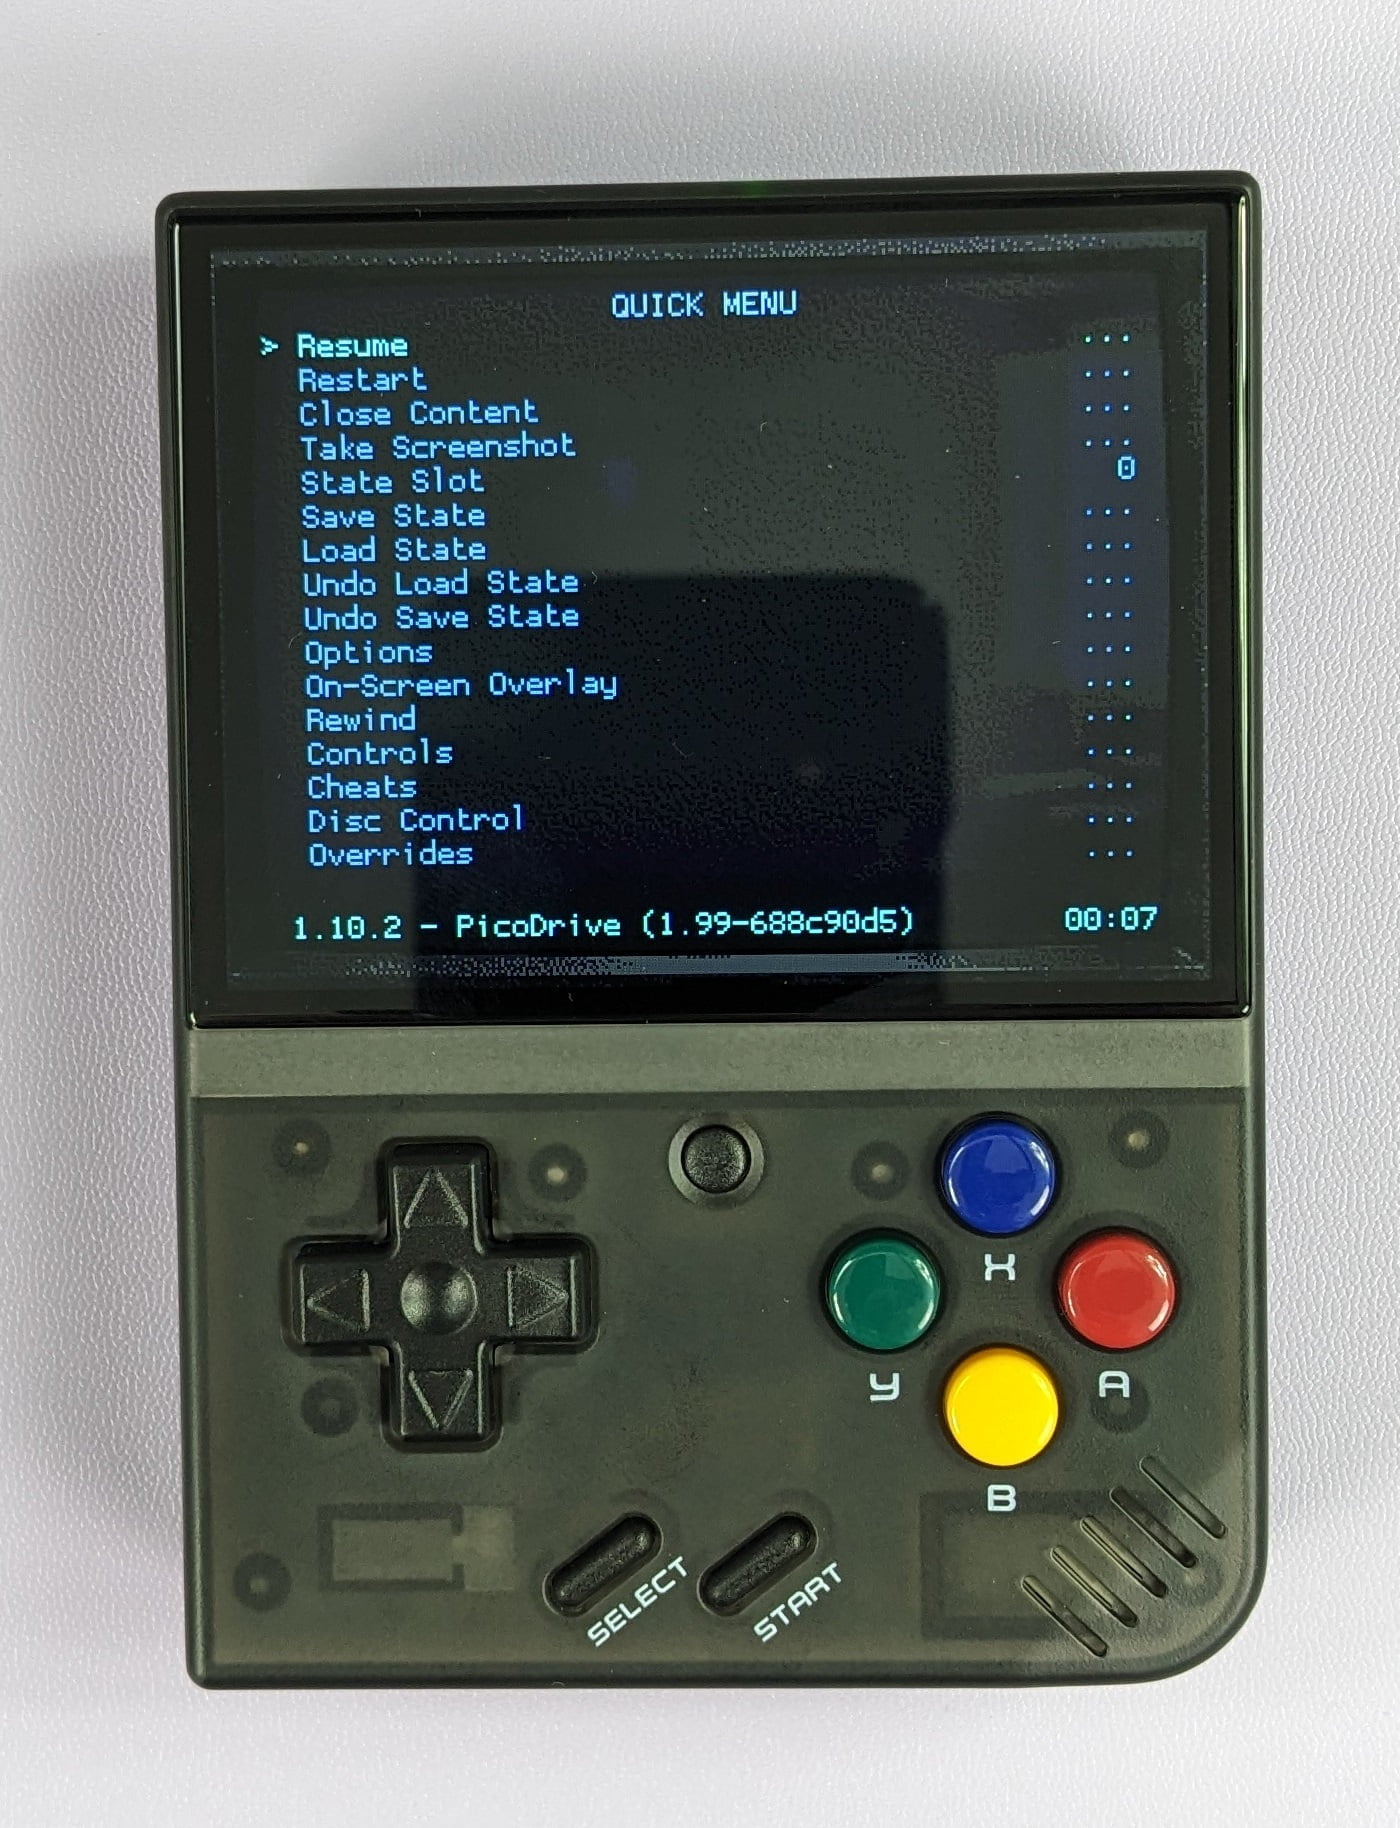
The Menu button can be pressed at any time to bring up the in-emulator menu.
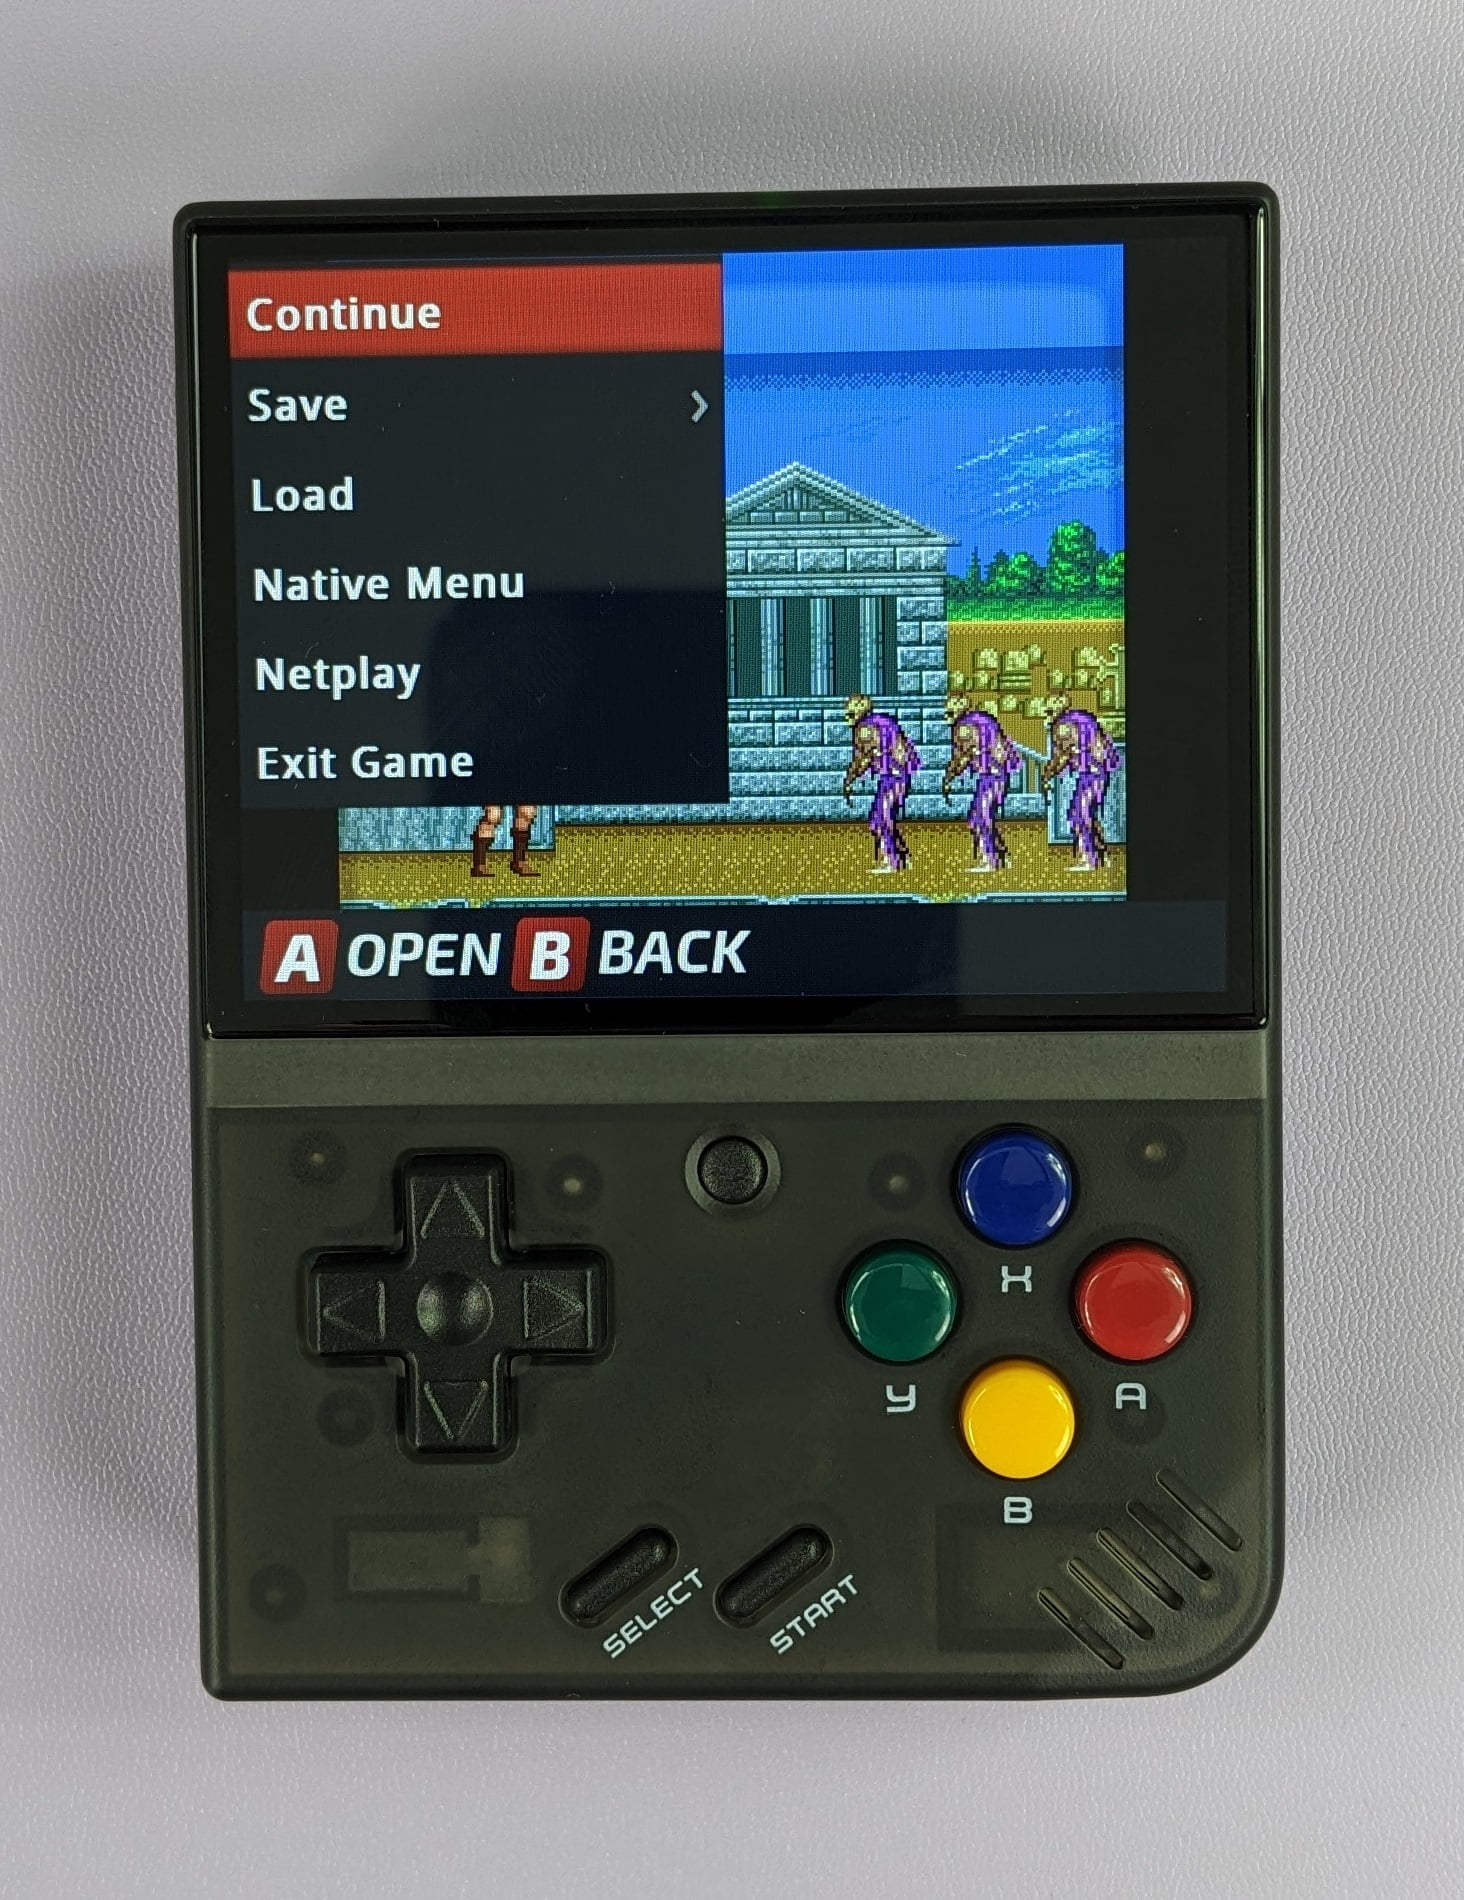
You can return to the game with Continue. Save & Load will create and restore Save States which save the exact moment you pressed the Menu button. You can load the Save State at any time and it will resume exactly where you left off. You have 10 Slots per game and they can be browsed with Left & Right on the D-Pad. Press A to save or load the selected slot.
The Native Menu option will load the original emulators menu. This will be different per emulator and there are some additional menu options including emulator settings and cheats. As a note, there are also Save States here which are separate to the ones found on the other menu.
Choosing Exit Game will quit the emulator and return you back to the main menu.
RetroArch
RetroArch is a multiplatform frontend which runs ‘cores’ that are essentially emulators. There are a number of compatible cores for the Miyoo Mini+, some do however run faster/slower or have better/worse compatibility than the previously mentioned dedicated emulators found on the Game menu.
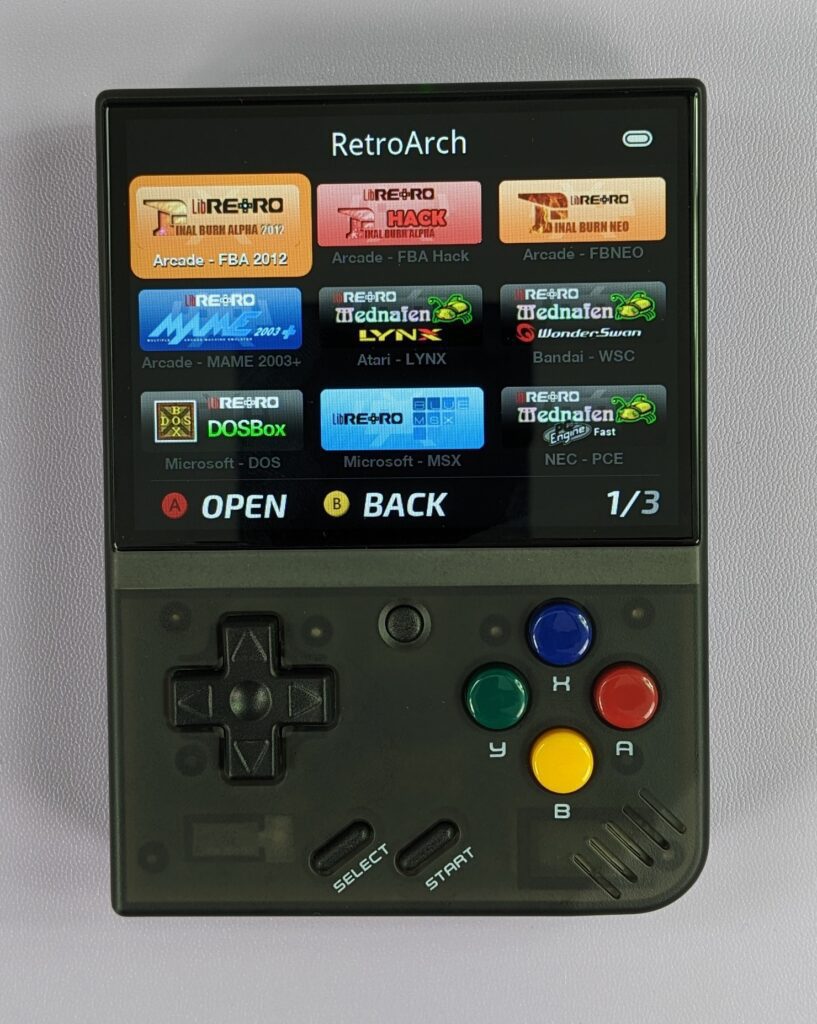
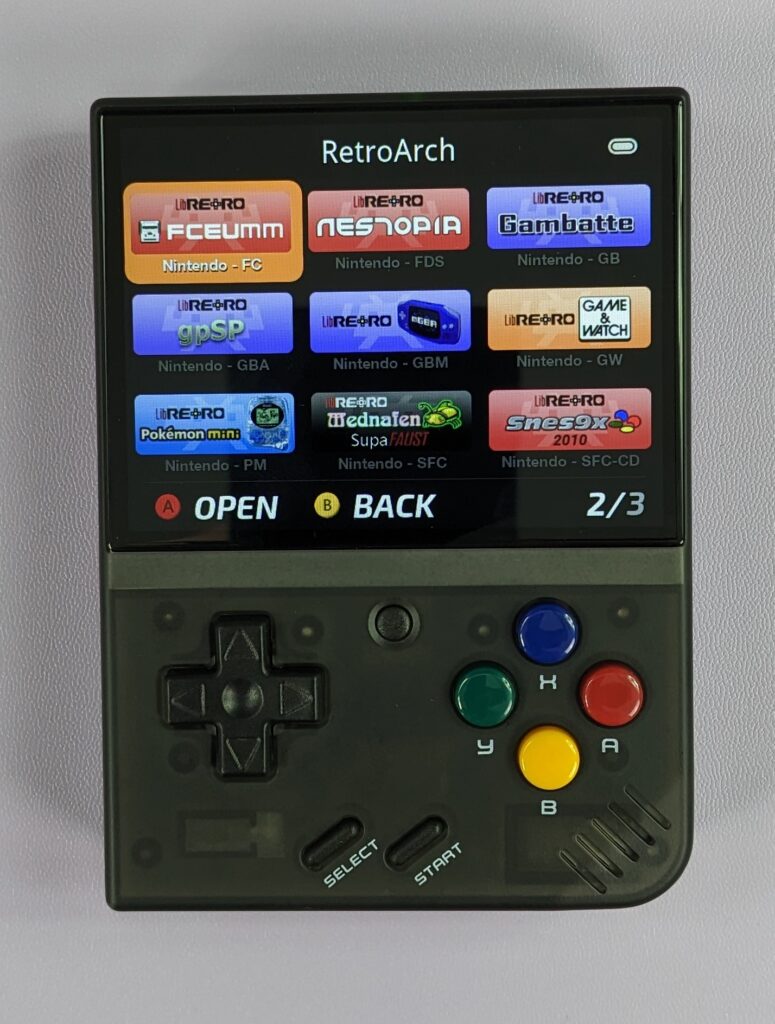

You can navigate the RetroArch cores with the D-Pad and choose one with the A button which will bring up a list of games that run on that system.
Pressing Up & Down on the D-Pad will scroll through the list one at a time, and the Shoulder buttons will skip forward and backward one page. Pressing Right on the D-Pad will show box art or screenshot if one is found for it. You can press A to load the selected game or B to return to the previous screen.
The Menu button will bring up the RetroArch Quick menu. From here there are a number of shortcuts to common functions such as restarting the game from fresh, save/load states and editing the controls. The full scope of RetroArch menus is out of the scope for this guide, but we recommend reading the Wiki for more in depth information.
You can exit the game and emulator by pressing B once to get to the RetroArch Main Menu, then choose Quit RetroArch to return to the Miyoo Mini+ Menu.
Useful software for the Miyoo Mini Plus
We will update this section with more software as they are released.
Easy LogoTweak – You can update the boot image on your Miyoo with the included community made images, or your own.
Custom firmware for the Miyoo Mini Plus
Custom firmware for retro gaming handhelds usually improve the functionality of them. The standard operating systems supplied with the retro handhelds are usually functional but basic in usage. A custom firmware is properly created which provides an overall improved user experience. You can expect a great User Interface and more emulators added which is never a bad thing!
We will update here with any new custom firmware for the Miyoo Mini Plus as they are released.
Onion OS
For the moment there is the Onion OS custom firmware which you can learn how to install below. You can download the latest Onion release here but check that it is compatible for Miyoo Mini Plus as some are for the original model.
Miyoo Mini Plus stock firmware
If you have lost the contents for the stock firmware you can download it here.
Installing Stock Miyoo Mini Plus firmware
If you have lost the original stock firmware for the Miyoo Mini Plus you can download different setups here. I would recommend using the non .img file as you can write this to any size card and not have to worry about resizing etc afterwards.
For the mmp_vanilla_microsd.zip and mmp_vanilla_microsd_noroms.zip files you can simply extract the files and copy them to a micro SD card.
For the mmp_vanilla_microsd_20230316.img.zip file, this is a .img file. You can use software such as Balena Etcher to write the .img file to your micro SD card.
Installing Onion OS custom firmware
Installing Onion OS custom firmware for the Miyoo Mini Plus is very easy and does not take long to do.
Prepare your Micro SD Card
We recommend using a new Micro SD card from a reputable company such as SanDisk or Samsung. The micro SD cards that come with the Miyoo Mini+ are not of the highest quality and are prone to failure.
You will first need to format your Micro SD card to FAT32 format. If your Micro SD card is larger than 32GB it is not possible to format to FAT32 on Windows, so you will need to use a 3rd party tool such as rufus.
Copy the Onion install files
Download the latest Onion OS for Miyoo Mini Plus here. Note: some releases may be for the original model while the Plus version is in beta. Extract the contents to your PC. There will be 6 folders
- .tmp_update
- BIOS,
- miyoo
- Media
- RetroArch
- Themes
Copy all six folders to your micro SD card. Once it has completed, safely eject the micro SD card from your PC and put it in the Miyoo Mini+.
Onion OS installation
Switch on your Miyoo Mini Plus and the Onion OS will start and set everything up. It will first install Onion OS and then RetroArch. This may take around 5 minutes, so let it do its thing and do not switch off your device.
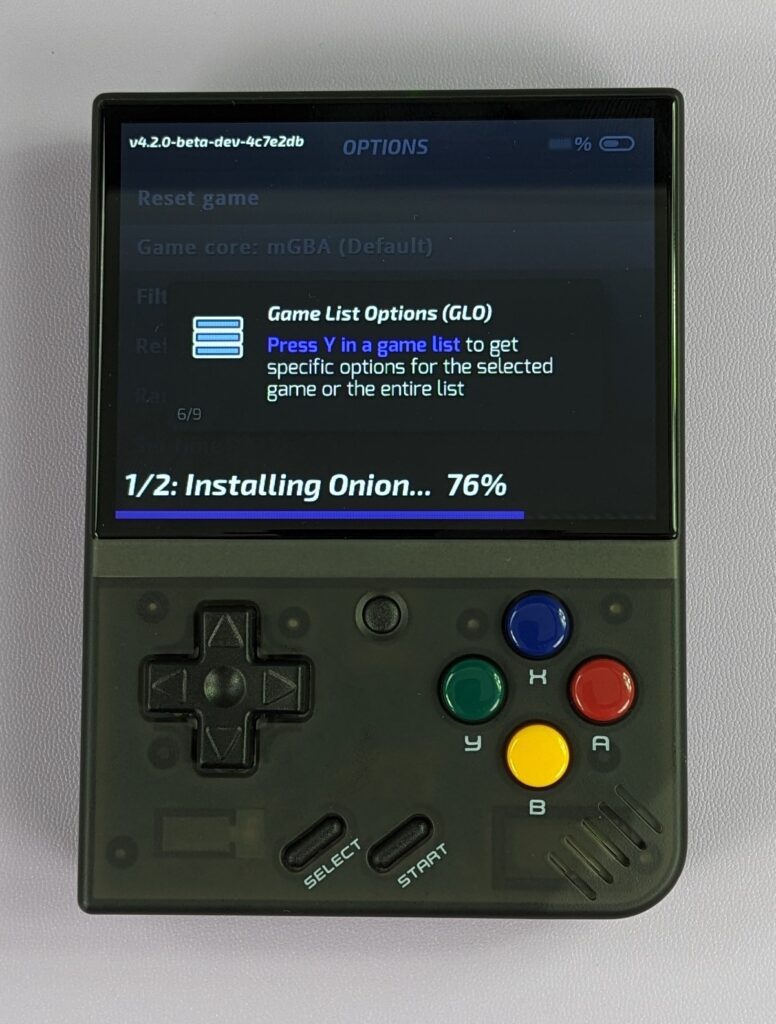
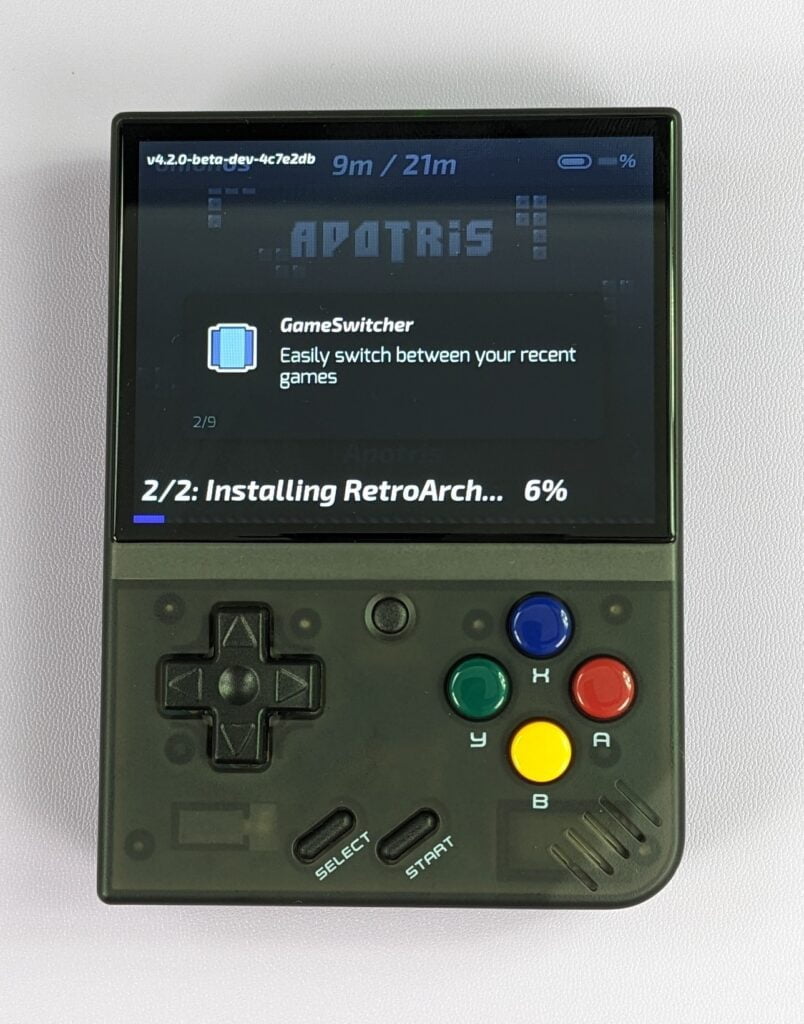
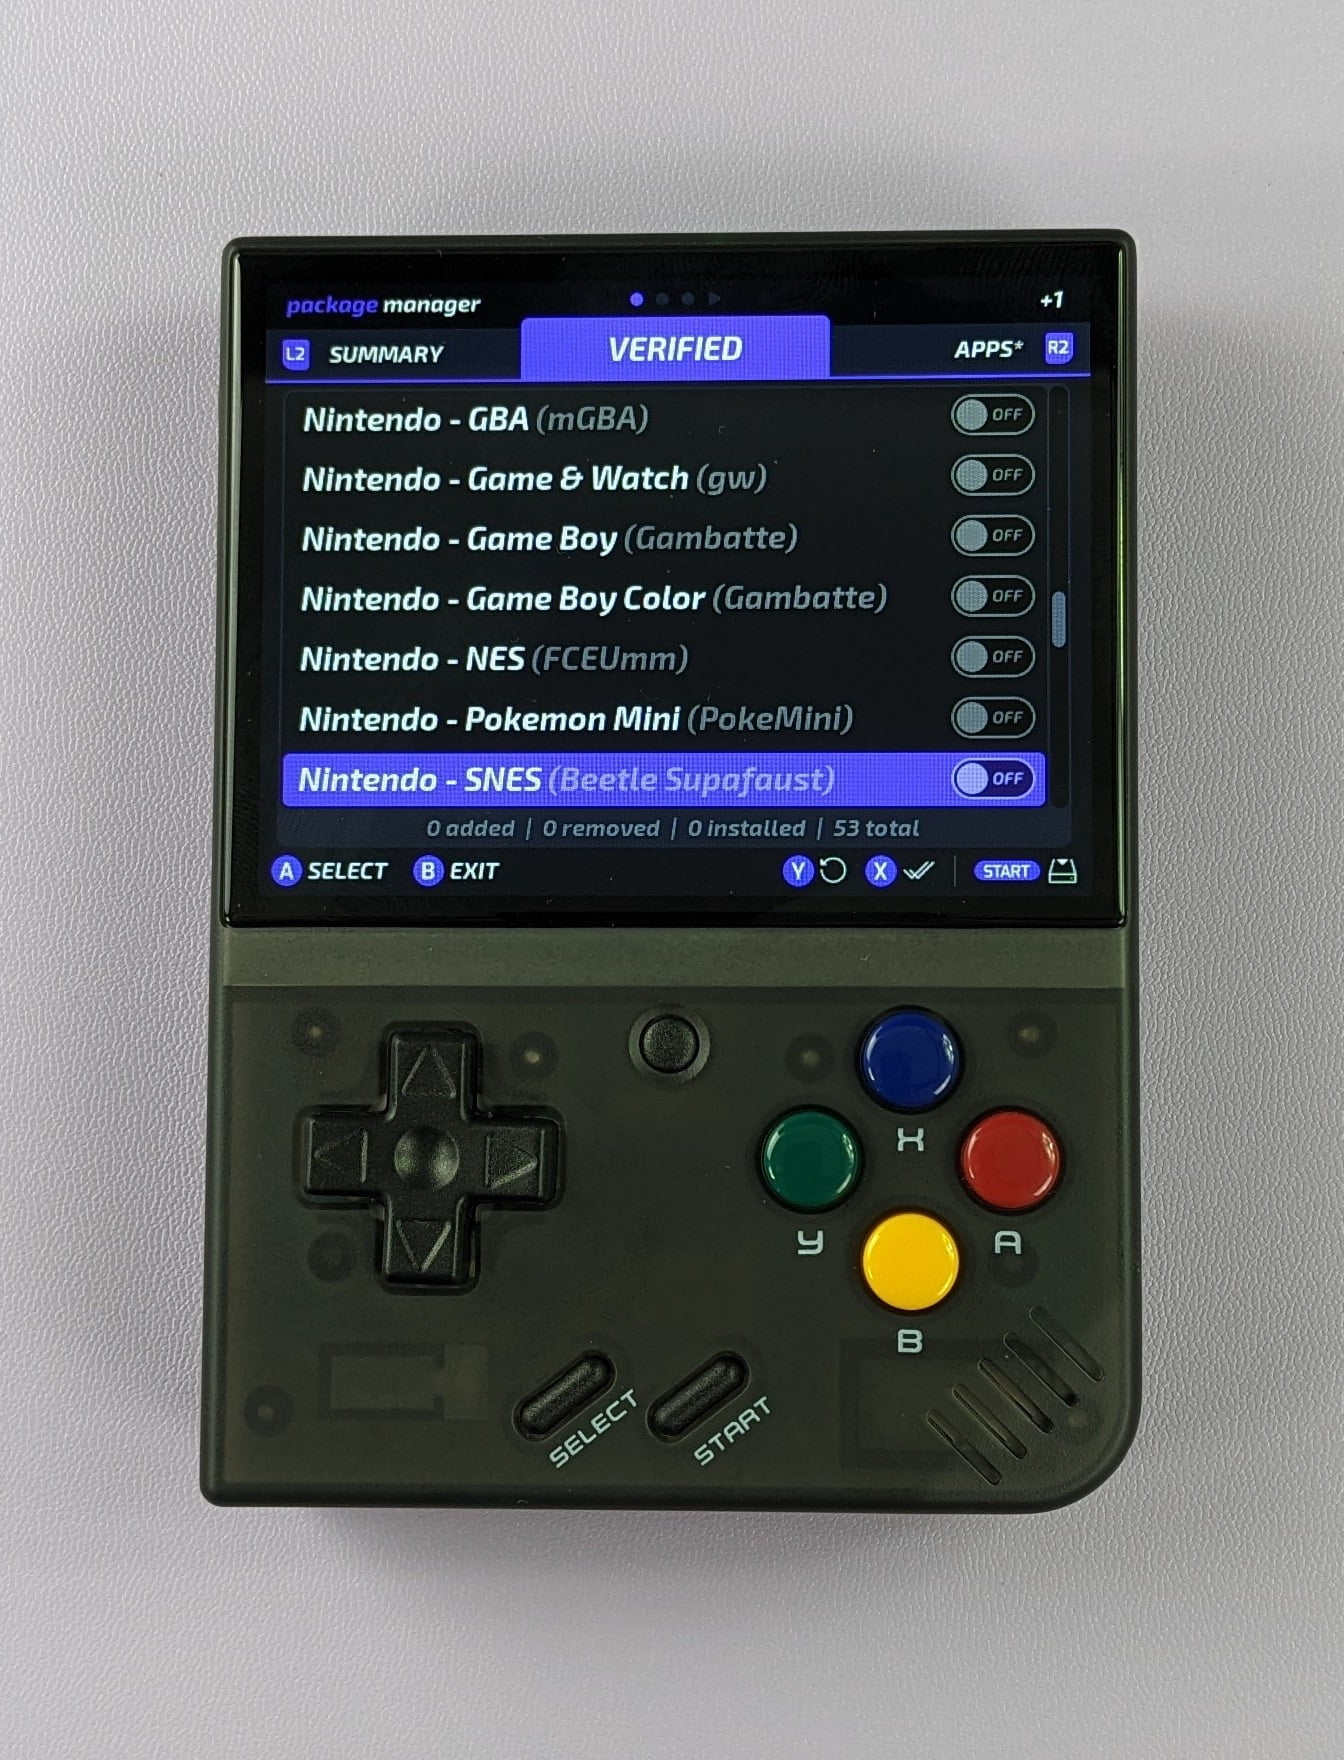
Once the process has completed you will have a few information screens. Afterwards you can choose what emulators to install. Navigate the menu with the D-Pad and press the A button to change the emulator to ON. Or you can press the X button to install all of them.
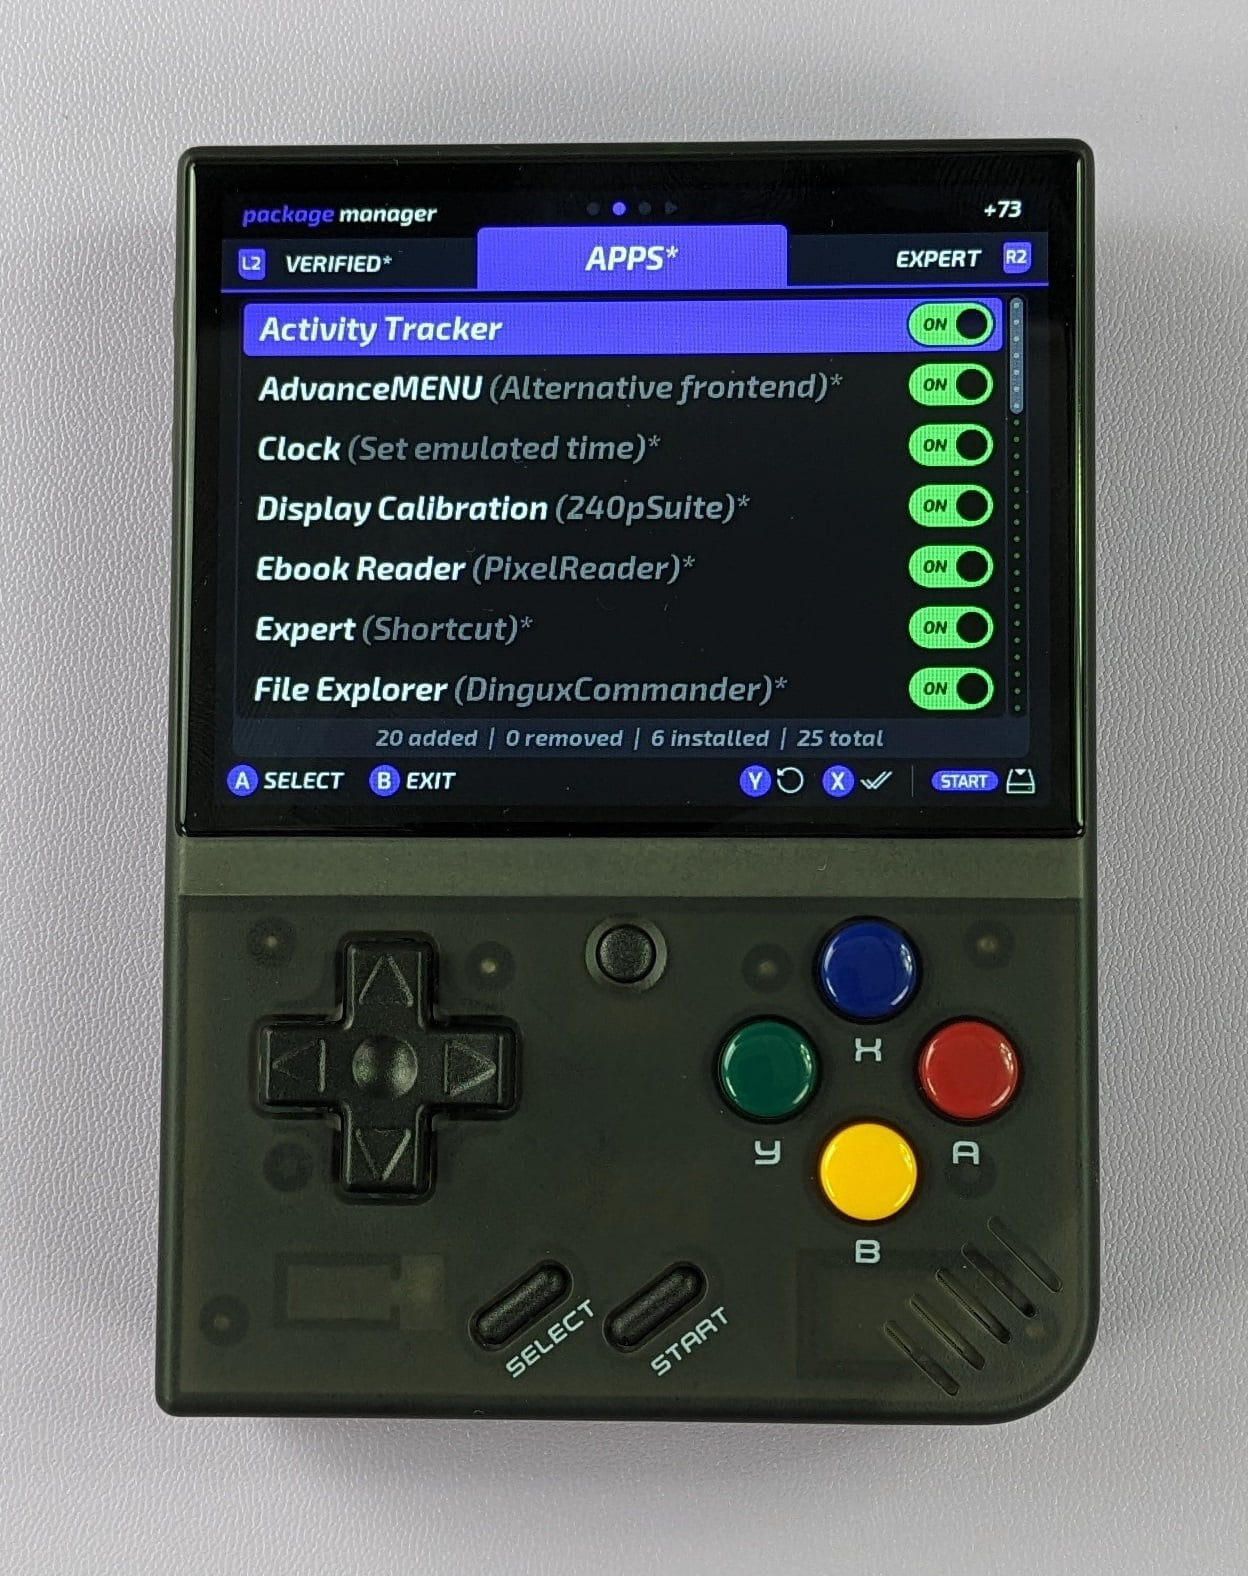
Press the R2 button on the back of the Miyoo Mini Plus to go to the next tab and choose which Apps you would like to install.
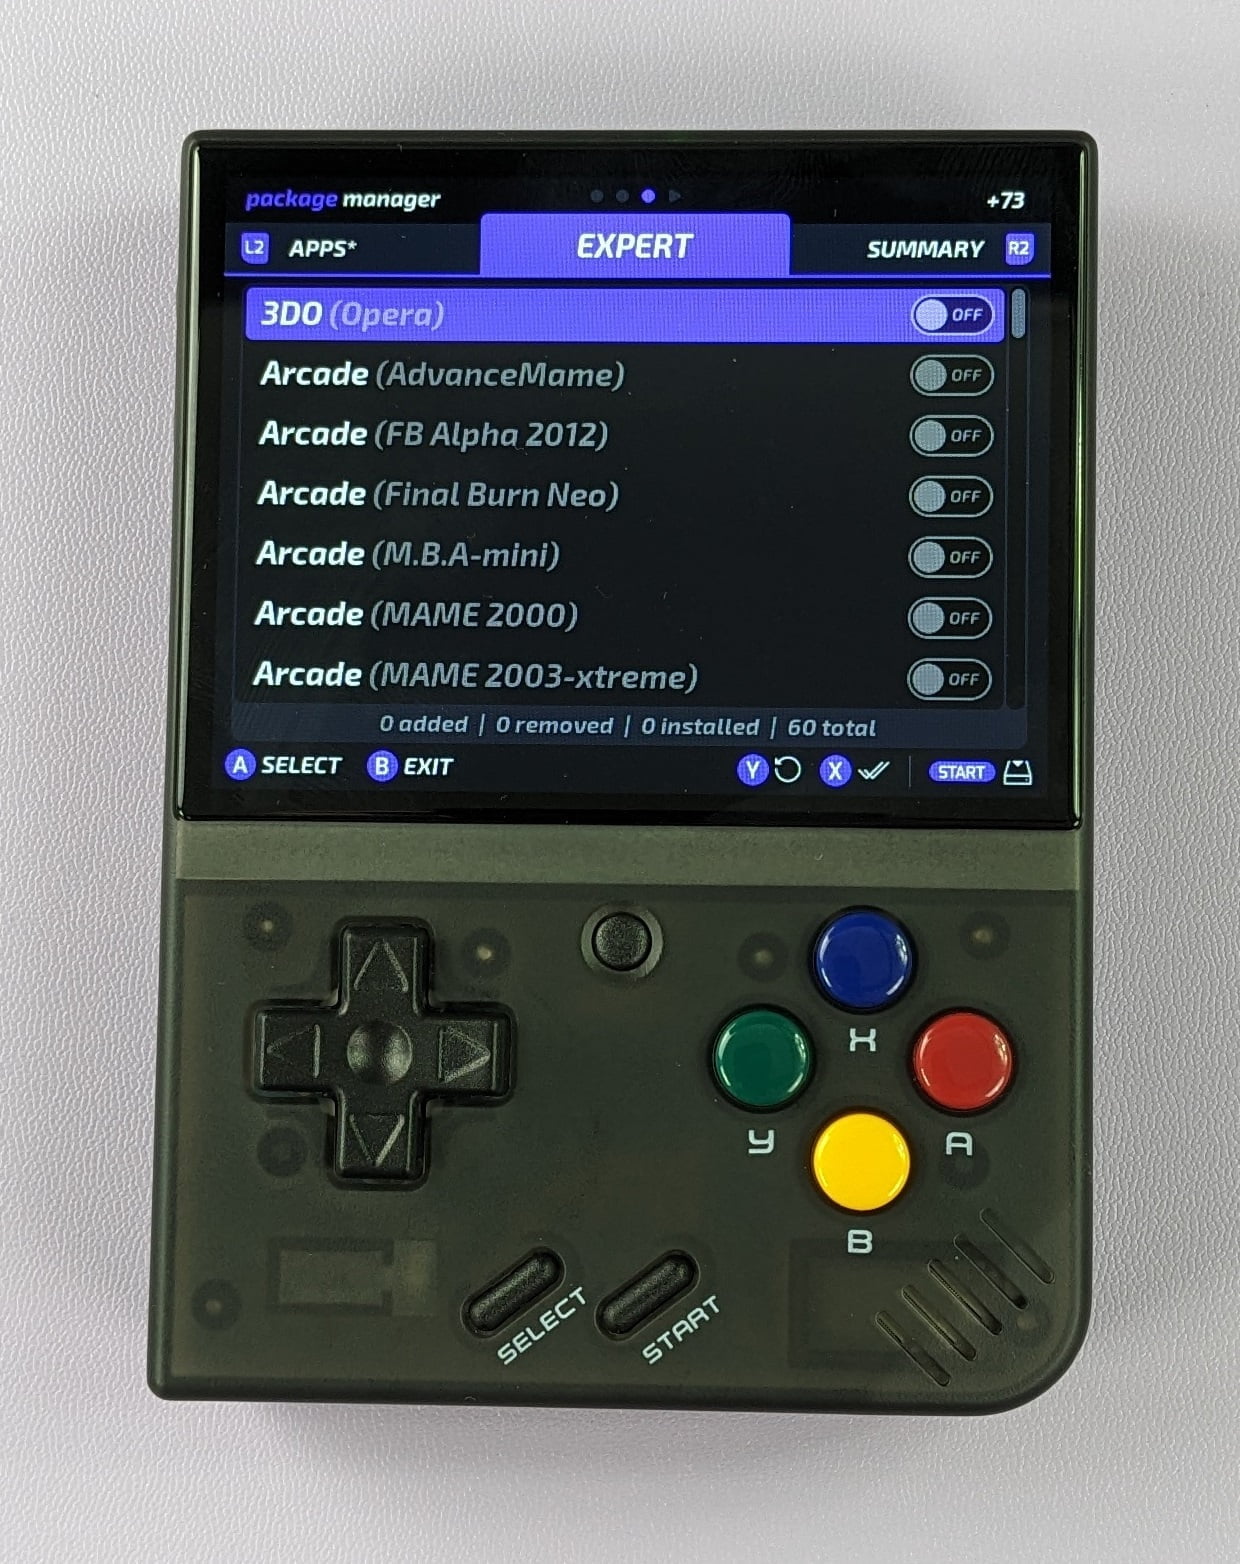
And again, press the R2 button to the Expert tab. These emulators are work in progress or may require further setting up for them to work. If you are familiar with emulators then you can install these, otherwise its recommended not to install them.
After the summary you can wait 10 seconds to automatically shut down, or press the A button to shutdown straight away.
Copying over your BIOS and ROM files
You can now copy over any system BIOS files such as those for the Neo Geo, Gameboy Advance and PlayStation. These BIOS files are required to emulate the system correctly. The BIOS files should go into the BIOS folder on the micro SD card.
Next you will need to copy your game ROMS to the micro SD card. Read our guide on how to copy ROMS above for how to do this.
Do not delete any files or folders that are already on the micro SD card as they are all required for the OS.
Once you have finished, you can now safely eject the micro SD card from your PC and insert it into the Miyoo. Switch it on and it may take a little longer to boot as it scans your card for new games. If this does not happen, you can press the SELECT button on the GAMES menu option and then choose the refresh ROMs option.
Upgrading Onion OS custom firmware
If you already have Onion OS installed and you want to update to the latest version you can do so in just a few steps. First you need to download the latest Onion OS for Miyoo Mini+. Ensure it is the Plus version and not the original!
Copy the Onion installation files
Extract the latest version to your PC there will be six folders.
- .tmp_update
- BIOS,
- miyoo
- Media
- RetroArch
- Themes
Copy all of the folders and contents to the root of your micro SD card. If you are prompted to overwrite any files, choose YES. Once copied over, safely eject the micro SD card and insert it back into the Miyoo Mini.
Run the Onion OS installation to update
Switch on your device and the update process will begin. The installer will only update the Onion OS, RetroArch, apps and emulators. No settings should be written over. When the update is complete you can wait 10 seconds to automatically shut down, or press the A button to shutdown straight away.
Check everything has updated correctly
As you are updating, all of your BIOS and ROM files are on the card and these should not be changed since the upgrade. You may need to refresh your games catalogue by pressing the SELECT button and navigate to the Games tab, then choose the refresh ROMs option.